6 7
1. Connect the camera to the transmitter. Connect 12-32V DC to the transmitter. When the
transmitter is powered, the red POWER LED will turn on.
2. Connect the receiver to the monitor via one of the video inputs. When the receiver is
powered, the red POWER LED will turn on.
3. When the receiver or transmitter is powered on, it will always try to connect to the last
paired device. It will attempt to do this for 8 seconds. If either cannot nd a previously
paired device, both will stay in pair mode for 20 seconds and look for another device.
To pair, both devices need to be in pair mode.
To reinstate pair mode on the transmitter, you must cycle the power. For the receiver,
either cycle the power or press the PAIR button for 3 seconds.
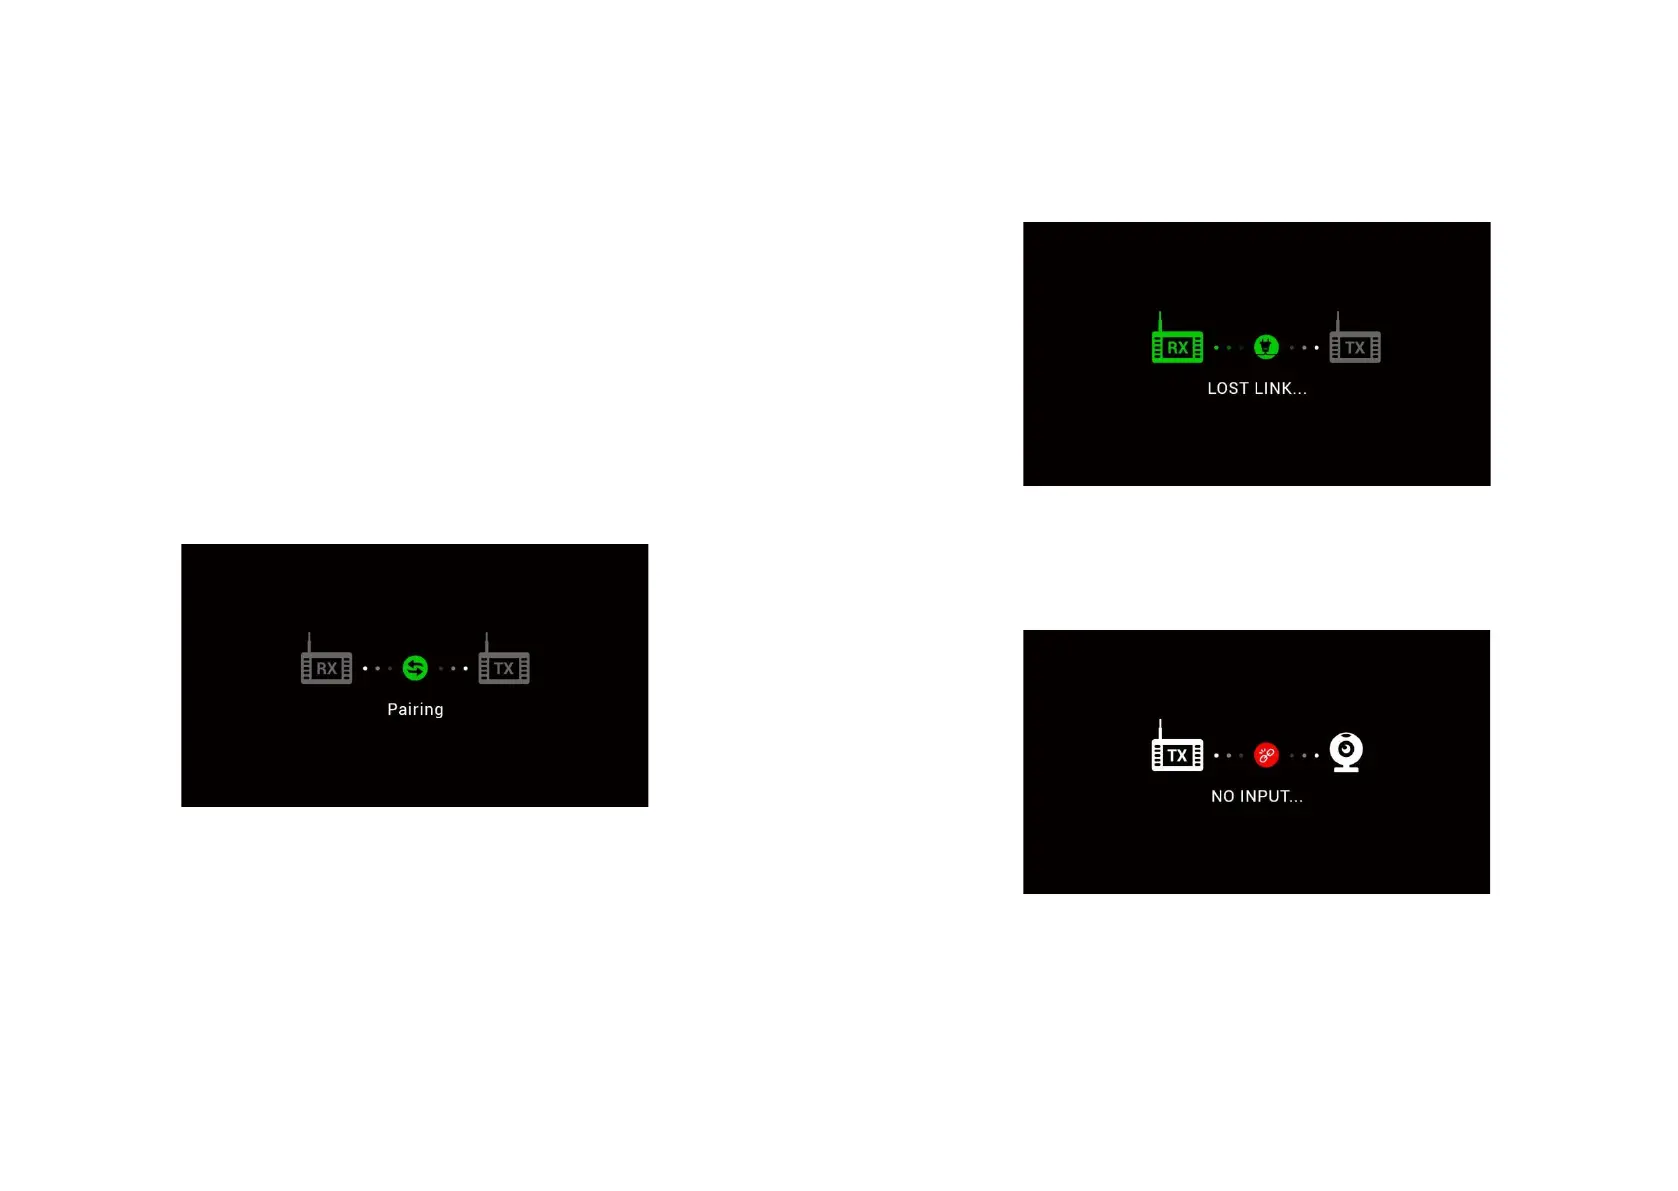
4. When either device is in pair mode, the blue PAIRING LED ashes. The monitor should
show the below. After 20 seconds of searching in pair mode, the blue PAIRING LED will
go o.
If pairing was successful then the blue PAIRING light will stay on.
4 Operating Instructions - Continued
5
4) If the receiver does not pair with a transmitter, or if the receiver
cannot receive signal from the transmitter, the receiver will display a
picture which indicates “LOST LINK”.
5) If the transmitter does not have a connected camera, or if the camera
is broken, the receiver will display a picture which indicates “NO
INPUT”.
6) The video output of the receiver will automatically match the format of
the camera which is connected to the transmitter (e.g., if a 1080P
camera is co
nnected to the transmitter, the transmitter will output a
AHD 1080P video signal).
7) Double-click the "PAIR" button to switch the mirror image.
5. If the receiver does not pair with the transmitter, or if the receiver cannot receive signal
from the transmitter, the receiver will display the below, with LOST LINK on the monitor.
6. If the transmitter and receiver are paired, but no camera is connected/broken,
the receiver will display the below on the monitor, with NO INPUT shown.
7. The video output from the receiver to the monitor will automatically match the format of
the camera connected to the transmitter. For example, if a 1080P camera is connected
to the transmitter, the receiver will output a AHD 1080P video signal to the monitor.
8. To mirror the image, double click the “PAIR” button on the receiver. This may also be
changed via the monitor settings.
5
4) If the receiver does not pair with a transmitter, or if the receiver
cannot receive signal from the transmitter, the receiver will display a
picture which indicates “LOST LINK”.
5) If the transmitter does not have a connected camera, or if the camera
is broken, the receiver will display a picture which indicates “NO
INPUT”.
6) The video output of the receiver will automatically match the format of
the camera which is connected to the transmitter (e.g., if a 1080P
camera is connected to the transmitter, the transmitter will output a
AHD 1080P video signal).
7) Double-click the "PAIR" button to switch the mirror image.
 Loading...