24
1
2
Check Battery Installation
1. Ensure the battery is in a holder with a flat
base. Tighten holder down evenly until
snug. DO NOT over tighten.
2. Clean, then lightly grease the terminals.
3. Connect positive (+) cable to positive
battery post FIRST, to prevent sparks from
accidental grounding. Tighten connector
securely.
4. Connect negative (-) cable to negative
battery post. Tighten connector securely.
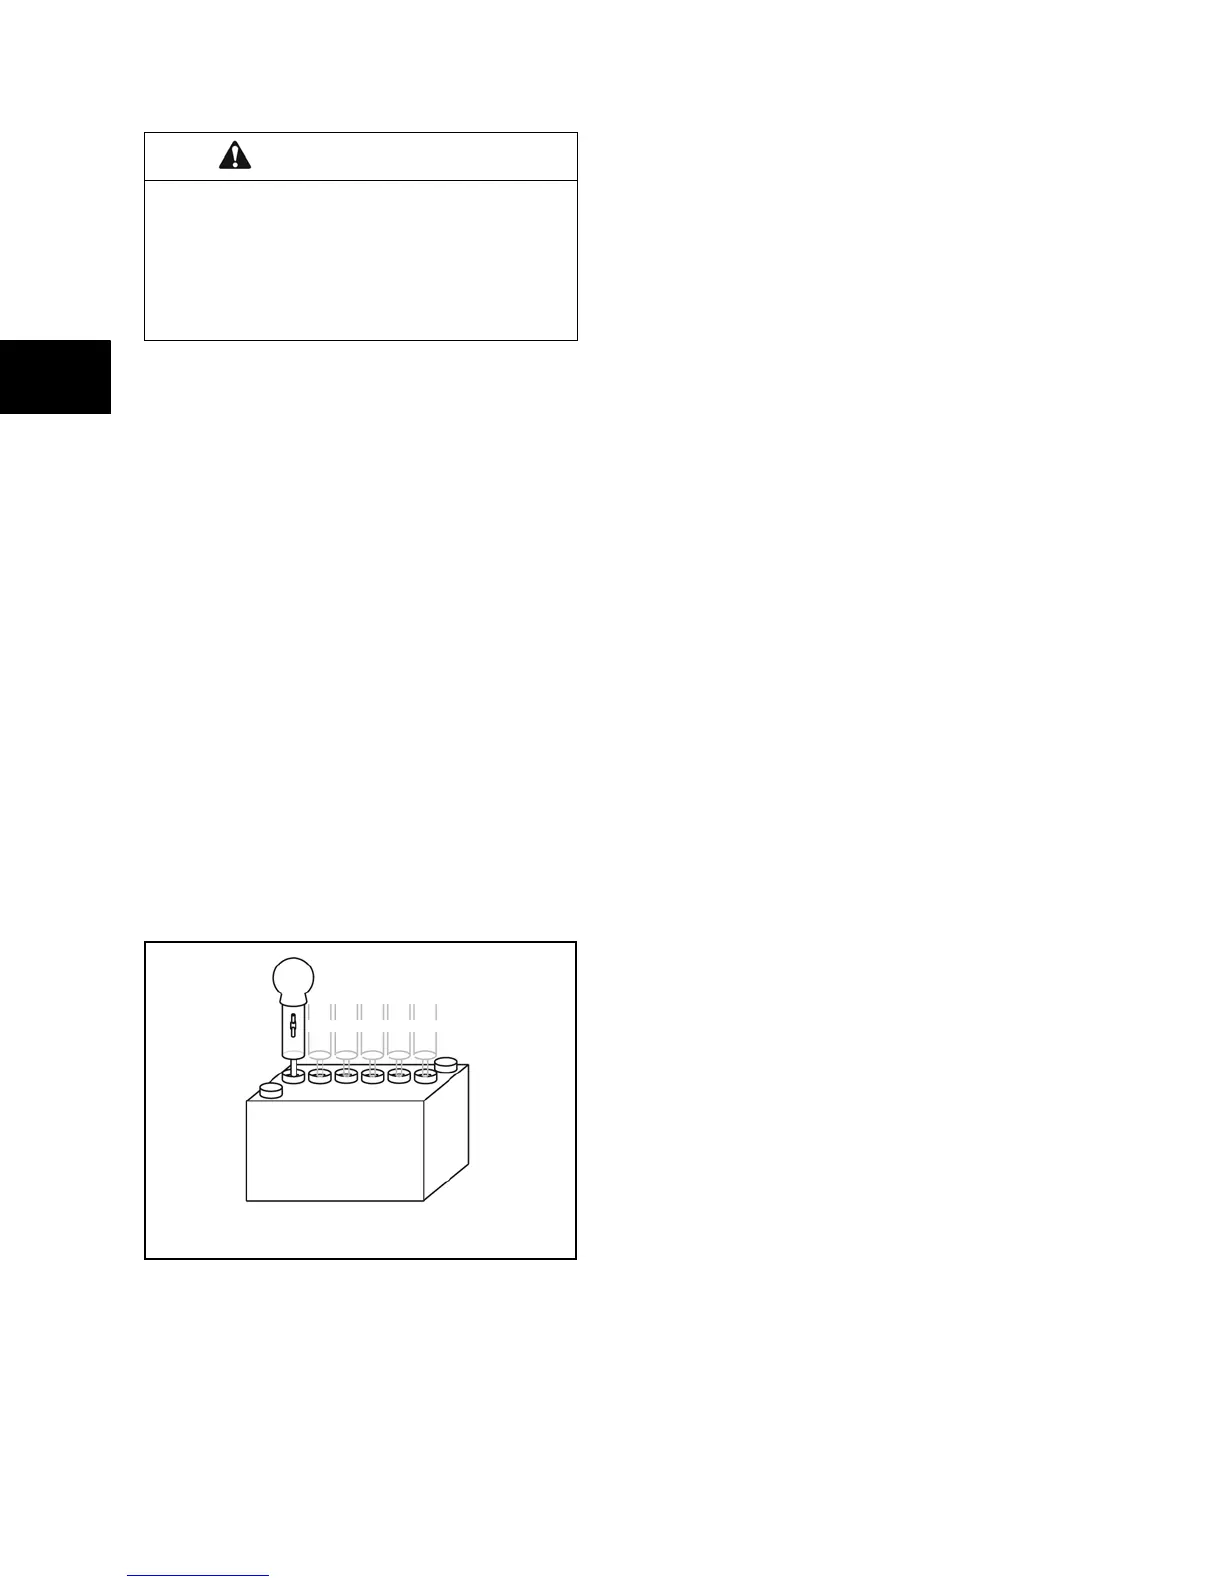
Testing Battery
1. With the battery fully charged, check the
specific gravity readings of each cell with a
temperature-compensated Battery
Hydrometer (Figure 2-9). All readings
should be above 1.250 (compensating for
temperature). If the readings vary by
0.050 or if all cells read less than 1.225,
replace the battery.
Figure 2 - 9
2. Set the digital multimeter to DC volts
position.
3. Install the battery in the equipment.
4. Disconnect wire from spark plug and
ground ignition using Ignition Tester
#19368.
5. Attach RED meter test clip to positive (+)
battery terminal. Attach BLACK meter test
lead to negative (-) battery terminal.
6. Turn switch to START. Meter should
display 9 volts or more while cranking
engine. If less than 9 volts, replace
battery.
NOTICE: To prevent damage to the starter
motor, do not crank starter for more than 15
seconds without allowing starter to cool at least 2
minutes.
WARNING
Battery posts, terminals, and related
accessories contain lead and lead
compounds - chemicals known to the State
of California to cause cancer and
reproductive harm. Wash hands after
handling.
 Loading...