GB 4
0DLQWHQDQFHZRUNV
5HPRYLQJWKHVFDULILHUUROOHUSLFWXUH(
1. Unscrew the screw (1) from the bearing.
2. Flap up the bearing half (3).
3. Lift the scarifier roller from the lower bearing
half and pull it out from the drive side (2).
To re-assemble proceed in reverse order.
5HSODFLQJWKHVFDULILHUUROOHUEODGHV
SLFWXUH)
1RWH
%HIRUH GLVDVVHPEOLQJ WKH EODGH ORRN DW
LWVPRXQWLQJSRVLWLRQ
1. Unscrew the hexagon bolt (1).
2. Carefully remove the ball bearing (2) from
the shaft (8).
3. Remove pressure ring (3), disk (4) and short
distance sleeve (5) from the shaft.
4. Successively remove blade (6) and long
distance sleeves.
To re-assemble proceed in reverse order.
The disassembly of the aerator roller and re-
placement of the steel spring beaks must be
made analogously to the scarifier roller.
+HOSLQIDXOWV
!
3XOOWKHSOXJRXWDQGZDLWXQWLOWKHEODGHUROOHUKDVFRPHWRDVWDQGVWLOOEHIRUHDQ\PDLQWH
QDQFHDQGFOHDQLQJZRUN
)DXOW &DXVH 5HPHG\
Motor does not run No voltage
Roller blocked
Check connection line and connec-
tion protection switch
Check roller
Roller does not rotate Toothed belt defective. Workshop.
Motor output drops Working depth too high
Dirty housing
Lawn too long for scarifying
Select lower working depth
Clean housing
Lawn too long for scarifying
Poor scarifying perform-
ance
Working depth too high
Worn blades
Select lower working depth
Replace worn blade
Noisy running, application
vibrates
Blade damaged Workshop
Fault, which cannot be rectified with the help of this table, may only be attended to by an authorized
company (workshop).
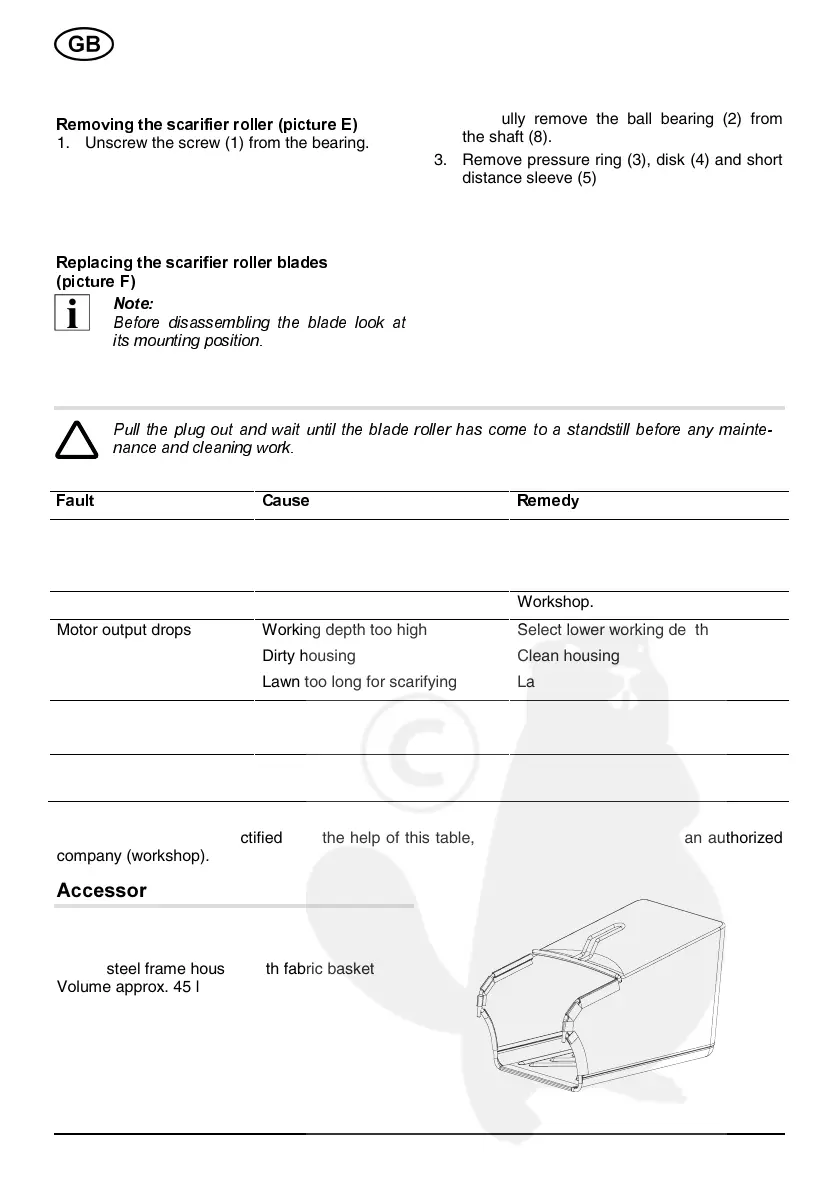
$FFHVVRULHV
*UDVVER[
Art. No. 62067
Stable steel frame housing with fabric basket
Volume approx. 45 l
 Loading...