3
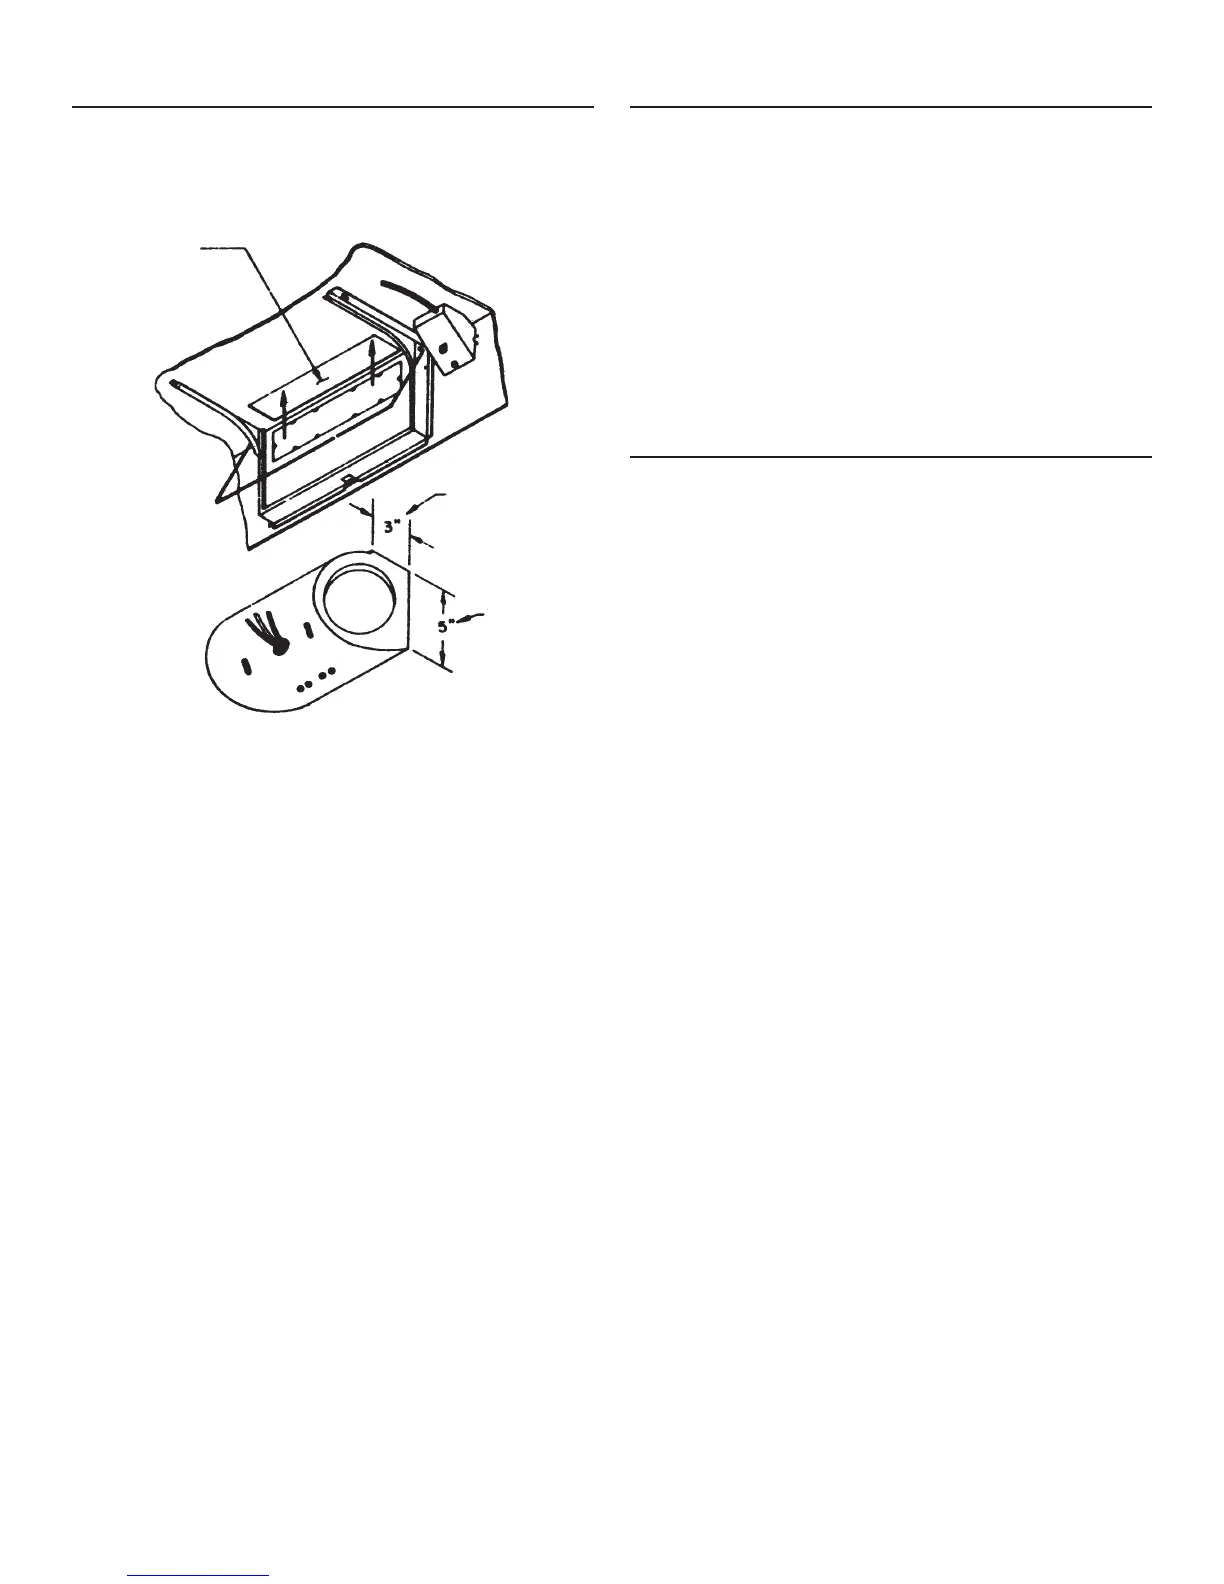
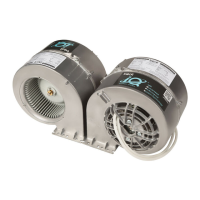
BLOWER ORIENTATION
IMPORTANT: Be sure the blower is correctly orientated. Note ar-
rowonthesideoftheblowerhousingindicatingthecorrectairow
direction (FIGURE 4).
VERTICAL
DISCHARGE
VENT
(TOP OF HOOD)
BLOWER
DISCHARGE
– LOCATE AT
DISCHARGE
VENT IN TOP
OF HOOD
THIS
SURFACE
TO REAR
FIGURE 4 – VERTICAL DISCHARGE
TO CHANGE LIGHT BULB
Remove lens cover by squeezing the retention tab and rotating the
lensout.Removeoldbulbandreplacewitha75-Watt(maximum)
bulb. Replace lens cover.
CLEANING INFORMATION
FILTER
Forgreatestefciency,thealuminumltersshouldberemovedand
cleanedperiodically.Toremovethelters,loosenthescrewinthe
centerofeachlter.
Toclean,theltershouldbesoakedinhotwateranddetergent
thenthoroughlyrinsed.Thealuminumltercanbecleanedina
dishwasher.
EXTERIOR SURFACE
To preserve its lasting beauty, clean with a mild detergent. DO NOT
use abrasive cleaners.
MOTOR SPEED
TROUBLESHOOTING
If you have a motor speed problem, please check the following list
for possible troubles.
1. Blower assembly installed wrong - instended for vertical dis-
charge, but installed for horizontal discharge (FIGURE 4).
2. Damperap-notopening.
3. Reducedairowbecausetheductistoosmall,toolong,orhas
too many transitions in the system.
4. Restriction in the duct (foreign matter, debris).
5. Undersized or restructive roff or wall cap.
6. Damperapinrooforwallcap-notopening.
7. Wait for 20-30 seconds between speed changes for RPM to
adjust.
By removing or correcting these adverse factors, the motor speed
controlwillbeabletodecreasefrommaximumRPM.