UTILITY STITCHES
48
5
Attach the presser foot indicated on the LCD.
1
The presser foot to use
•For details, refer to “Replacing the presser
foot”(page23).
6
If you would like to only sew this single
character, start sewing.
If you would like to sew a sequence of
characters, see the following procedure.
•For details on sewing characters, refer to
“Sewingthecharacterstitches”(page50).
■
Combining characters
Youcaneasilysewnames,messages,etc.by
combiningthecharacterstitches.Upto35
characters can be combined.
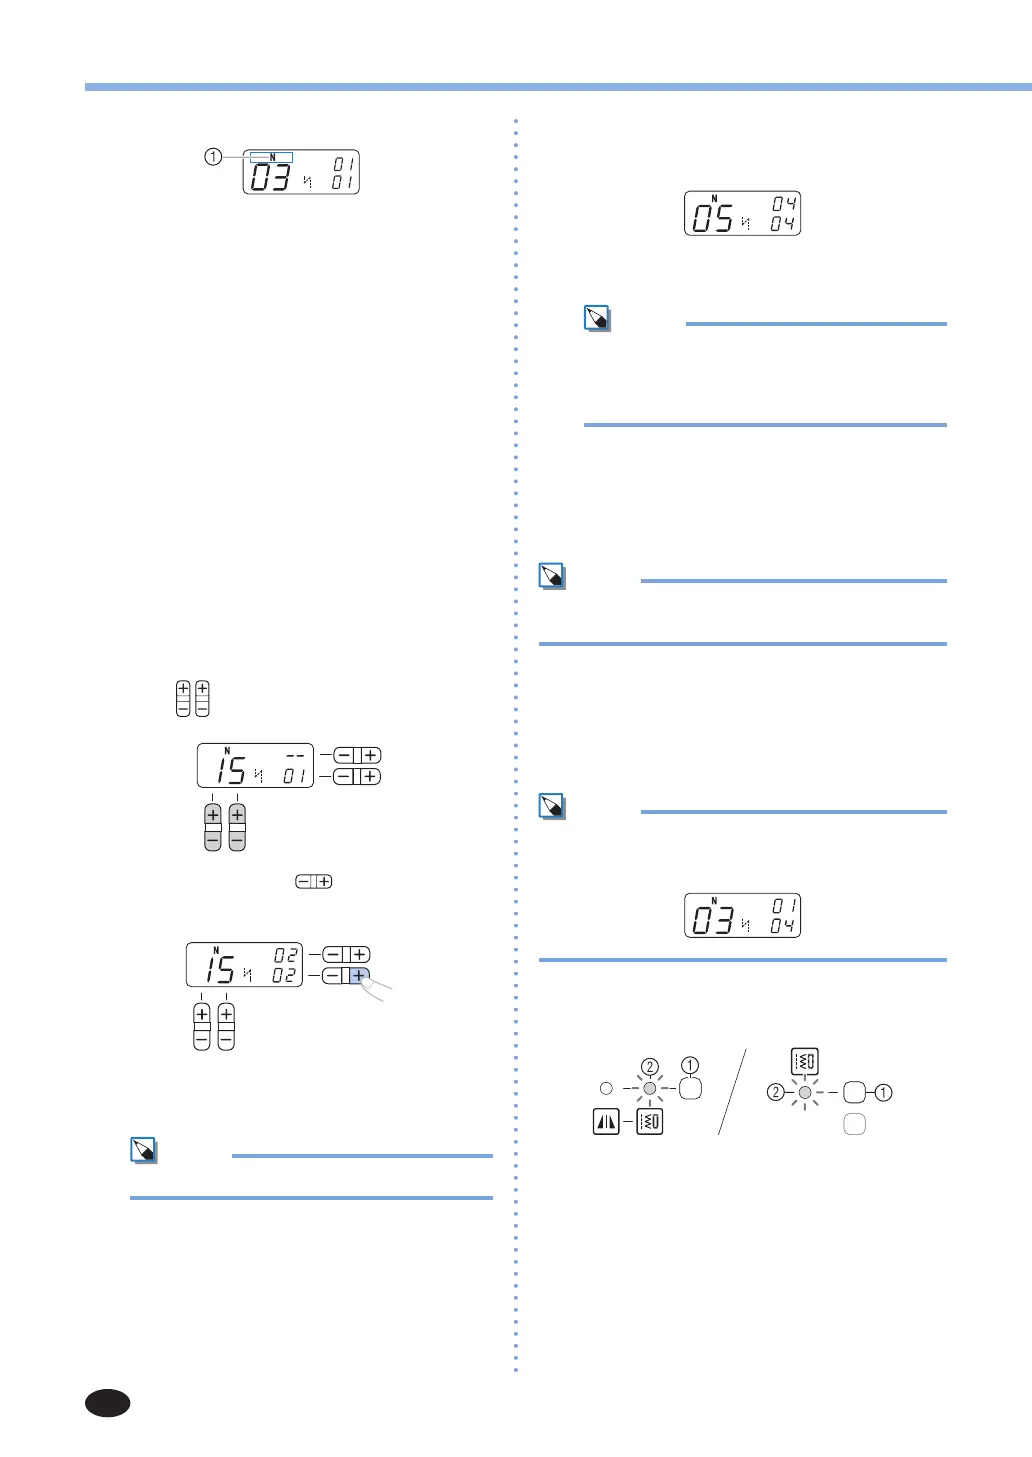
[Example] Selecting stitches “COME” (No.
03)+(No. 15)+(No. 13)+(No. 05)
1
Follow steps 1 through 5 in “Selecting
characters” (page 47) to select the first
character “C” (No. 03).
2
Press (stitch selection keys) to select the
next character, “O” (No. 15).
3
Press the “+” side of (stitch width
adjustment key) to enter the selected
character.
4
Repeat steps 2 and 3 to add “M” (No. 13)
and “E” (No. 05).
Mem
•Toenteraspace,select“_”(No.30).
5
When you have finished combining
characters, check the entered characters and
their order.
•For details on checking characters, refer to
“Checkingcharacters”(page49).
Mem
•A new character can only be added next to
thelastcharacter.Youcannotinsertanew
character between characters or before the
first character of the sequence.
6
After checking the entered characters, start
sewing.
•For details on sewing characters, refer to
“Sewingthecharacterstitches”(page50).
Mem
•The combination of characters will be stored in
memory even if you turn off the machine.
■
Adding new characters after sewing
After sewing a combination of characters, you
can add characters to the combination using the
following method.
Mem
•Whenyouhavefinishedsewing,thepatternNo.
of the first character in the current combination is
shownontheLCD.
1
Press the stitch category selection key to
select the utility stitch. (Do not skip this step.)
1
Stitch category selection key
2
Utilitystitchindicator