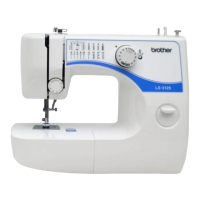
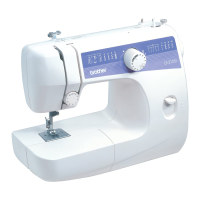
Do you have a question about the Brother LS-1217 and is the answer not in the manual?
Connects the foot controller and power supply to the machine and then to the outlet.
Connects the foot controller and power supply to the machine and then to the outlet.
Ensure the sewing needle is straight and sharp for smooth sewing.
Adjust machine height using rubber cushion for stability on uneven surfaces.
Adjusts stitch length in millimeters; setting 0 stops fabric feed.
Guides thread onto bobbin, stops automatically when full.
Installs bobbin case and thread into shuttle race.
Guides thread from spool through machine to needle.
Pulls lower thread up through needle plate to start sewing.
Stop, reposition needle/fabric, then restart sewing in a new direction.
Uses reverse stitching to lock threads at the end of seams or for reinforcement.
Use thin paper as an underlay to prevent skipped stitches and puckering.
Adjust stitch length for basic zigzag; reinforce stitches before and after.
Close zigzag stitch for decorative use, buttonholes, or edging.
Creates a thread shank for buttons, especially on heavier fabric.
Sew lettering slowly along the design at a constant speed.
Stitch design outline and fill in pattern, keeping stitches close.
Steps to remove the shuttle hook assembly from the machine.
Remove lint and oil the shuttle race and hook for proper function.
Remove lint from feed dogs and shuttle race body.
| Type | Mechanical |
|---|---|
| Buttonhole Style | 4-step |
| Free Arm | Yes |
| Number of Stitch Patterns | 17 |
| Needle Threader | No |
| Maximum Stitch Length | 4mm |
| Maximum Stitch Width | 5mm |
| Bobbin Type | Drop-in |
| Presser Feet | Buttonhole, Zipper |
| Included Accessories | Needle set, Bobbins, Screwdriver, Instruction manual |
| Weight | 12.3 lbs (5.6 kg) |
| Dimensions | 15.7 x 7.1 x 12.2 inches (40 x 18 x 31 cm) |


