The Triple Trigger System has three interchangeable trigger shoes
with different surfaces: wide with checkered surface, wide with
canted smooth surface and narrow with smooth surface. Each
trigger shoe is adjustable to three positions for length of pull.
Please heed all safety warnings, cautions and procedures found in
this owner’s manual when adjusting or installing trigger shoes.
REMOVING THE TRIGGER
Before you begin to remove the trigger, place the “safety” in the
rearward, on safe position to prevent dry firing your shotgun as
you are changing/adjusting trigger shoes.
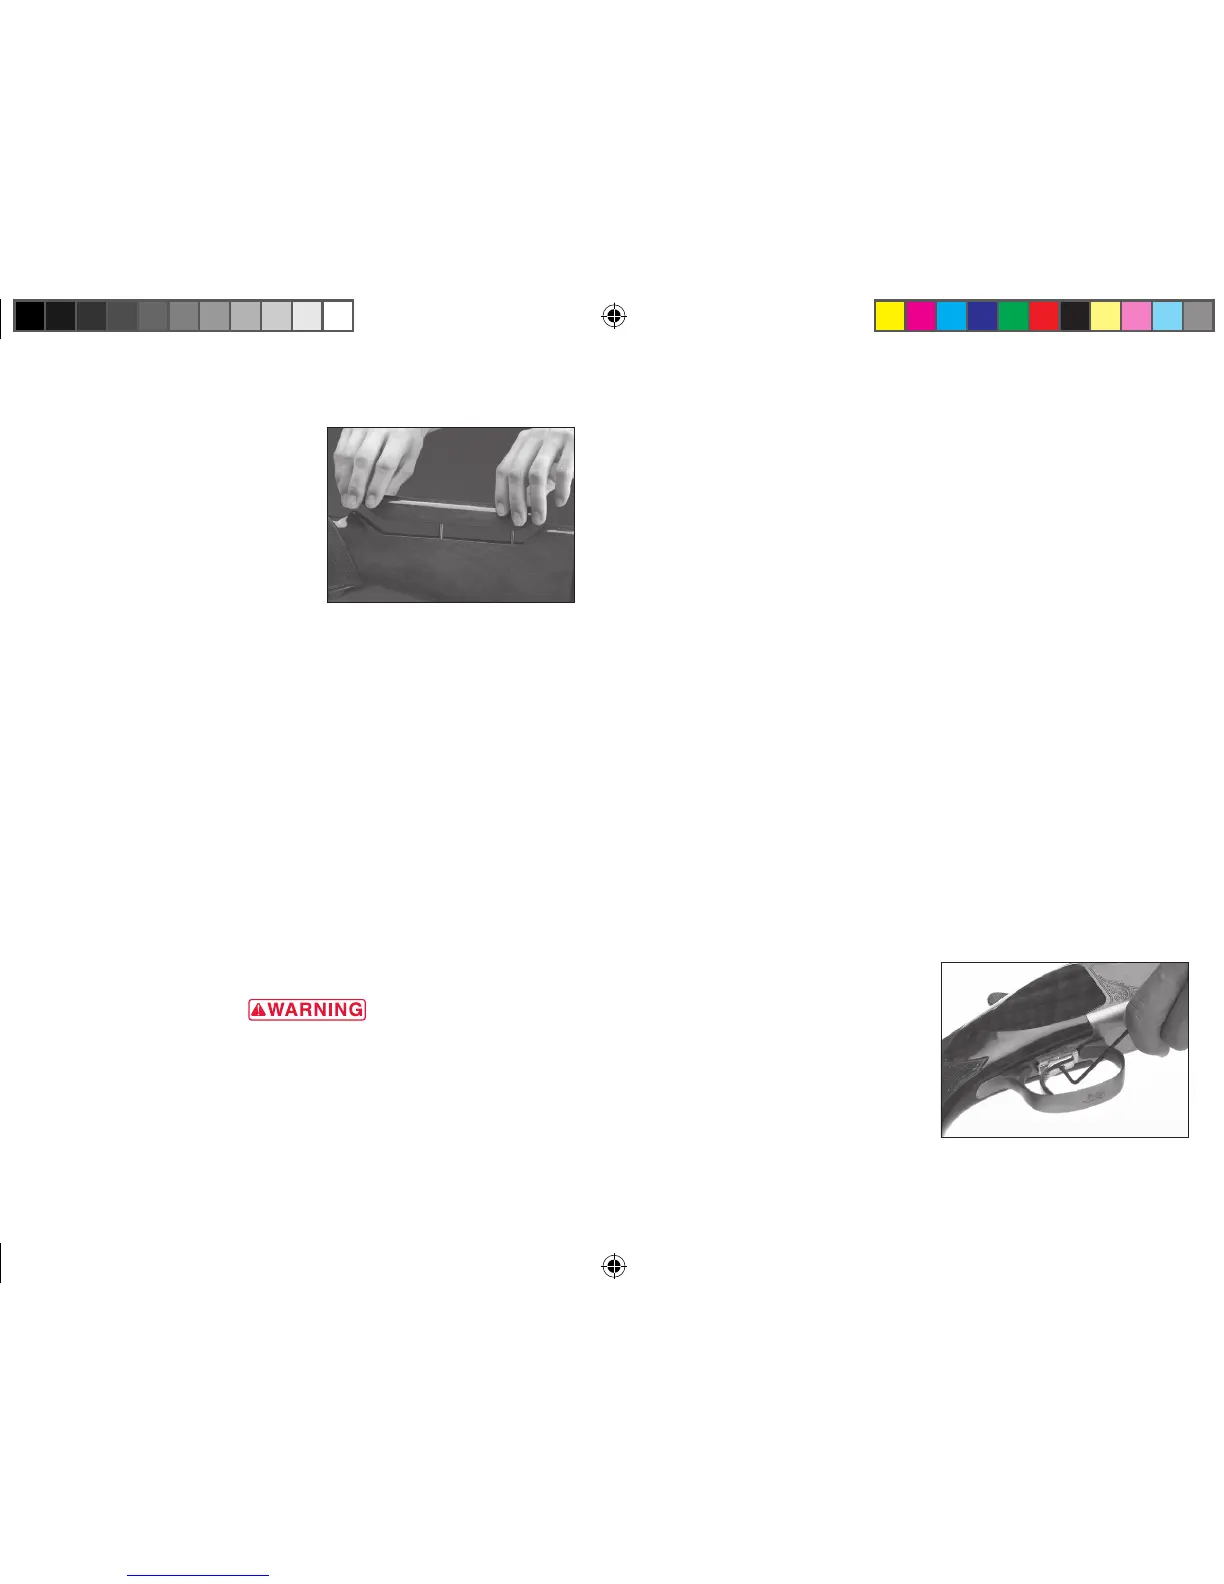
All Citori target models are supplied with three different styles of
trigger shoes. To remove the trigger shoe, loosen the center screw
with the provided 2mm (
5
/64") Allen wrench (Figure 15). Loosen the
screw so the trigger shoe slides easily on the trigger plate. Keep the
screw threaded at least one thread into the trigger shoe so the screw
is not lost.
Slide the trigger shoe forward to the end of the trigger plate. Press the
rearward end of the trigger plate down with your finger and gently
slide the trigger shoe off the trigger plate.
To replace the trigger shoe, press the rearward end of the trigger plate
and slide the trigger shoe down the side grooves of the plate.
CHANGING THE LENGTH OF PULL
With the trigger shoe loosely on the
trigger plate, select the length
of pull by lining up the notch on
the right side of the trigger shoe
with one of the three notches on
the right side of the trigger plate
(Figure 16). Make sure you line up
the notches so you do not mar the
trigger plate. When the notches are
the wrench counter-clockwise
three full turns to loosen the
Allen screw. The comb will
move freely, up and down, on
the stock adjustment posts.
2 With the Allen screw loose,
carefully adjust the comb to
desired position (Figure 14) by
raising or lowering each post
equally in the desired direction.
Each increment represents
1
/16"
of movement.
3 To decrease drop at comb, carefully slide each post up
equally. Sliding the posts equally will reduce the chance of
the posts binding.
4 To increase drop at comb, carefully slide each post down
equally. Sliding the posts equally will reduce the chance of
the posts binding.
Drop adjustments are a matter of trial and error. Adjust a little
at a time until you obtain the desired sight picture on the rib.
5 Once your desired drop at comb is obtained, tighten the Allen
screw in the recoil pad. The screw needs to be firmly tightened, but
be careful not to over-tighten. Drop is now set on your shotgun.
TRIPLE TRIGGER
™
SYSTEM
befOre Changing triggers Or perfOrming adjustment
prOCedures, plaCe the “safety” in the On safe pOsitiOn. Open
the aCtiOn and make Certain the Chambers are unlOaded.
keep the muZZles pOinted in a safe direCtiOn. failure tO fOllOw
these warnings COuld result in seriOus injury Or death.
figure 14
With the Allen screw loose, adjust comb to
desired position by sliding each post up or
down in the desired direction.
figure 15
Loosen the center screw on the trigger shoe
with the Allen wrench.