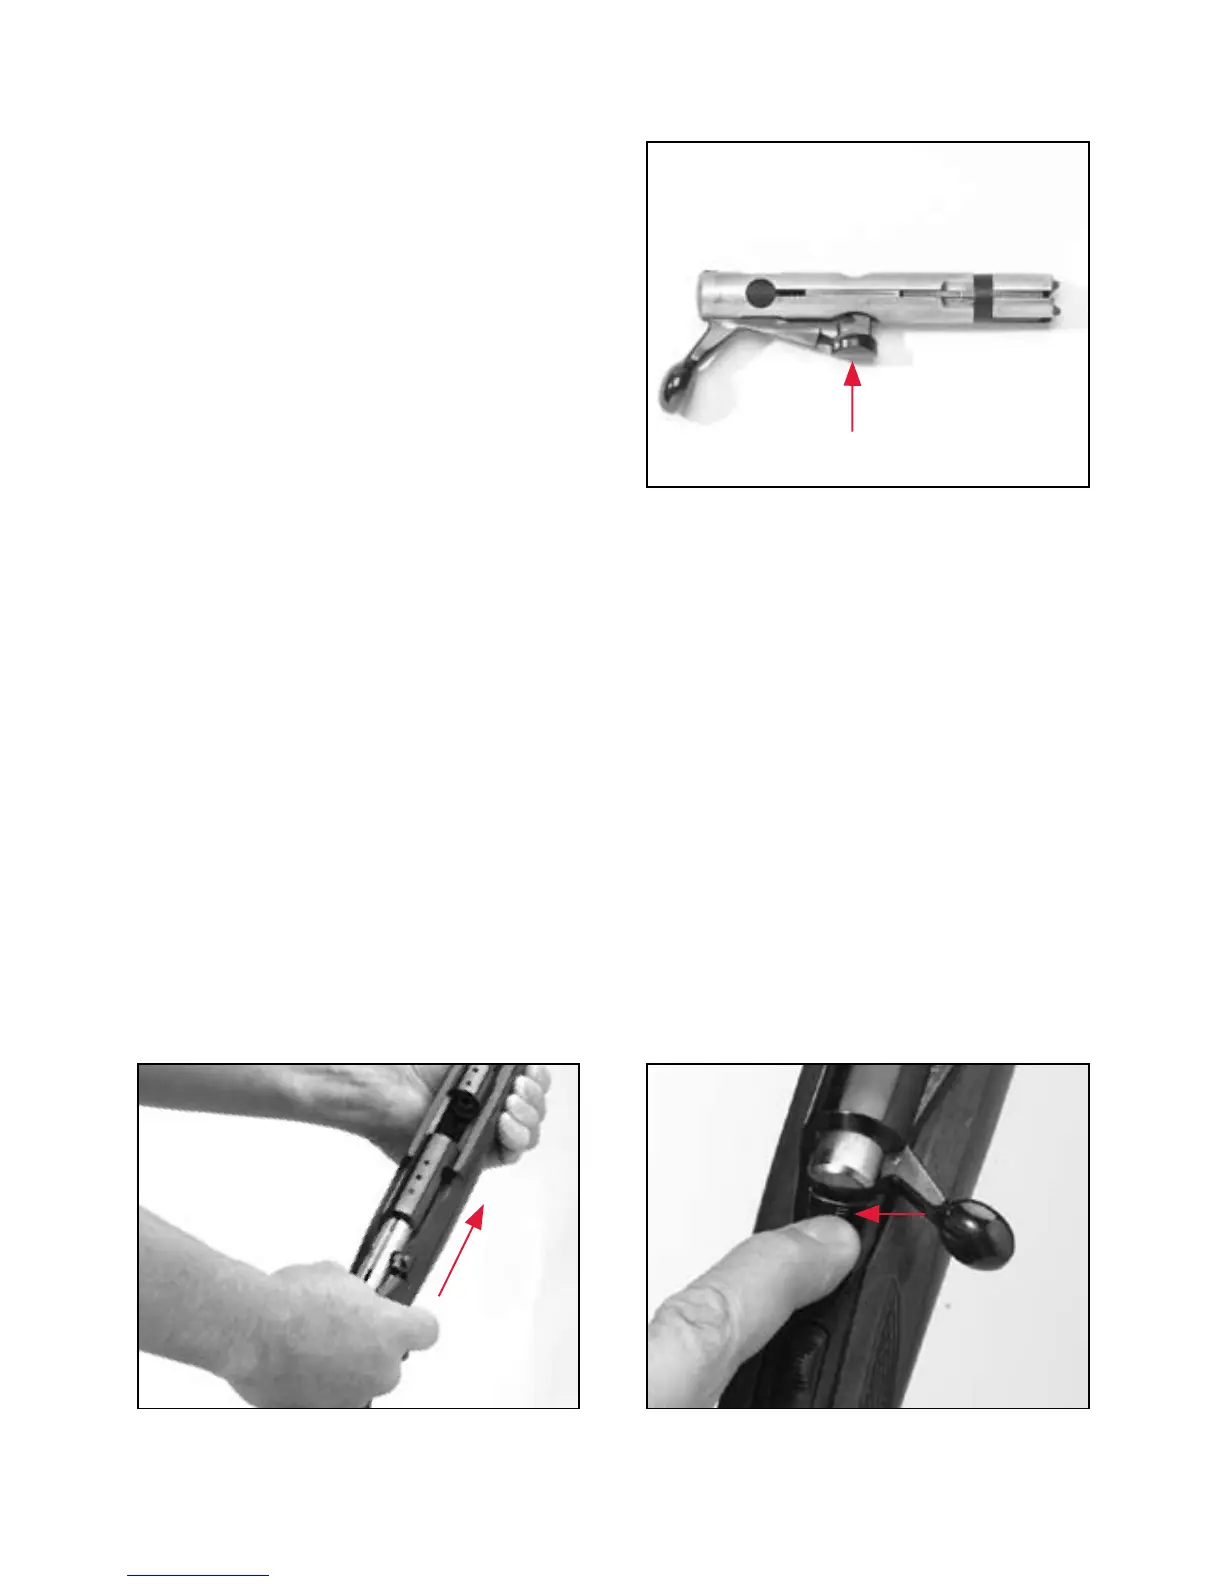
2 Make sure the bolt handle is in
the unlocked position (Figure 5).
If the bolt is not in the unlocked
position, grasp and hold the bolt
with your left hand, while
pulling rearward on the bolt
handle with your right hand.
The bolt will lock to the rear.
3 Align the forward end of the
bolt in the rear opening of the
receiver and push the bolt
completely forward until it locks
in place (Figure 6). The rifle is now completely assembled.
REMOVING THE BOLT
1 Place the “safety” in the on safe position.
2 With the bolt in the closed position, grasp the bolt handle and draw
the bolt rearward slightly, just far enough to unlock the bolt handle,
but far enough forward to allow access to the bolt release.
3 Press the bolt release down with your finger until it clicks and pull
the bolt handle rearward, removing the bolt from the rear of the
receiver (Figure 7).
13
figure 5
The bolt handle must be in the unlocked
position prior to installation.
figure 7
Draw the bolt to the rear just far enough to
expose the bolt release.
figure 6
Insert the bolt into the receiver until it latches
into place.