125
7. Install gauge, secure with the screws.
ttiigghhtteenniinngg TToorrqquuee
Gauge screws 2.5 ± 0.2 Nm (22 ± 2 lbf-in)
8. Install:
– Side panels
– Hood
– Windshield
SSiiddee PPaanneellss
WWAARRNNIINNGG
NNeevveerr ooppeerraattee eennggiinnee wwiitthh ssiiddee ppaanneellss ooppeenneedd oorr rreemmoovveedd ffrroomm
vveehhiiccllee..
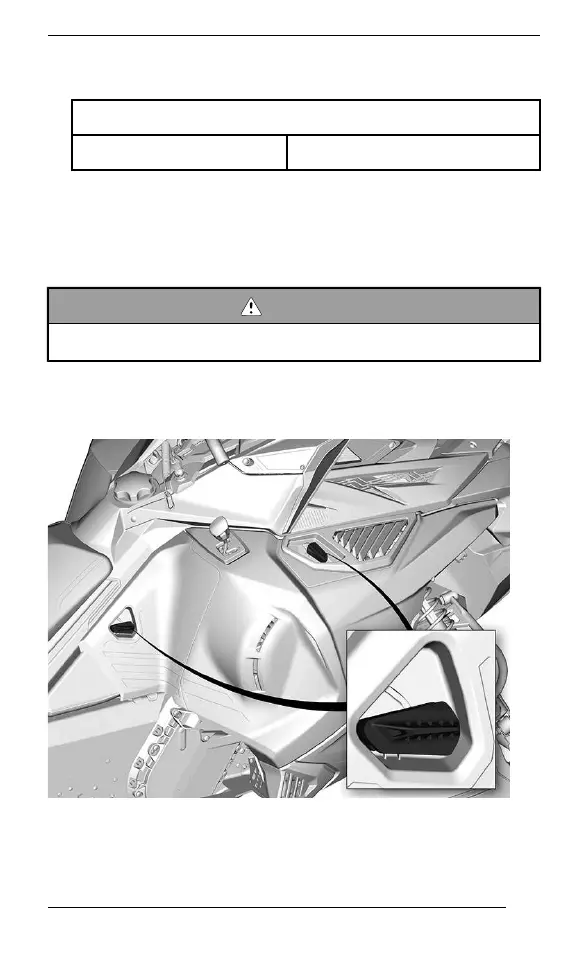
RReemmoovviinngg tthhee SSiiddee PPaanneellss
1. Unlock all latches, then open panel.
2. Pivot side panel around lower edge.
BODY AND SEAT