32
Adjustment
). In most instances, if
a good quality lubricant is used
and the lubricant levels are main-
tained, it may not be necessary to
completely repack the bearings.
However, if the grease appears to
be contaminated or broken down,
completely repack to remove all of
the old grease from the bearings
and hubs. Removing the rear bear-
ing will most likely damage the rear
seal. Install a new one when
reassembling.
BBeeaarriinngg AAddjjuussttmmeenntt
The wheel bearings have been pread-
justed at the factory. However, check-
ing the bearing adjustment after the
first 80.5 km (50 miles) of use and
checking again every time the bear-
ings are repacked will maximize their
life.
1. Using a jack, lift one side of the
trailer.
2. Grip the edge of the wheel and try
to rock it or move it. If there is a
play, remove the dust cap and the
cotter pin.
3. While rotating the wheel, tighten
the spindle nut to specifications.
Do not over tighten.
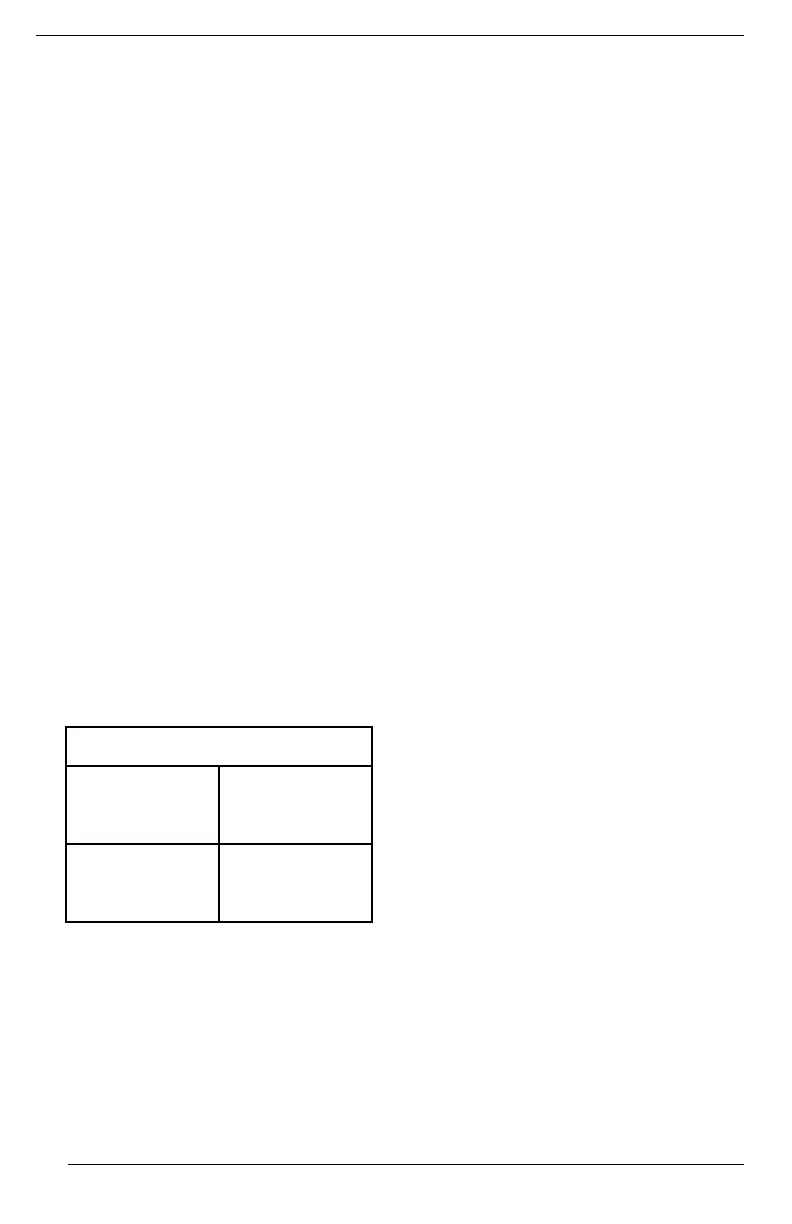
TTiigghhtteenniinngg TToorrqquuee
Two 1-1/16"
bearings
set-up
2.3 Nm (20
lbf-iinn)
1-3/8" and 1-1/
16" bearings
set-up
3.4 Nm (30
lbf-iinn)
4. Look for the hole in the spindle
through the slots in the spindle nut.
– If you can see any part of the
hole through the slot in the nut,
turn the nut counterclockwise
until the next slot in the nut
lines up with the cross hole. In-
sert cotter pin.
– If you cannot see any portion of
the hole in the spindle through
the slots in the nut, turn the nut
counterclockwise until the hole
lines up with the first slot avail-
able in the nut. Insert cotter pin.
– This adjustment will give you
from one-thousandths to ten
thousandths end play, which is
in tolerance for proper
adjustment.
5. Check wheel again for the move-
ment. If there is no lateral move-
ment, spin the wheel. Wheel
should turn easily and have no end
play.
6. Bend the ends of the cotter pin to
keep it from coming off.
NNOOTTEE:: A large cotter pin must be
used to fill the hole for the Sure Lube
system to work properly.
7. Install the dust cover. Tap lightly
on the edges to place the dust
cover.
8. Use a screwdriver and a hammer
to tap the dust cover until it is com-
pletely into the hub and the flange
on the dust cover is tight against
the hub face. Alternate sides
around the dust cover to avoid any
bending.
9. Repeat on other wheels.
LLiigghhttss
All the lights are built with LEDs (light
emitting diode) and this technology
proved to be reliable. In the unlikely
event they do not work, have them
checked by an authorized Sea-Doo
dealer.
WWiinncchh
WWiinncchh IInnssppeeccttiioonn
Inspect gears, bushings and strap for
wear or damage.
MAINTENANCE AND INSPECTION PROCEDURES
 Loading...