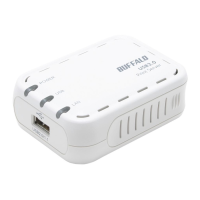
The Basic Settings menu will appear. Enter an acceptable Print
Server Name. This can be left as default if desired. The Web-based
Configuration system can be password protected by entering and
verifying a new password. Press the ‘Set’ button when configuration
is complete. A message will appear stating that the print server is
rebooting. You will be prompted to login using the new password.
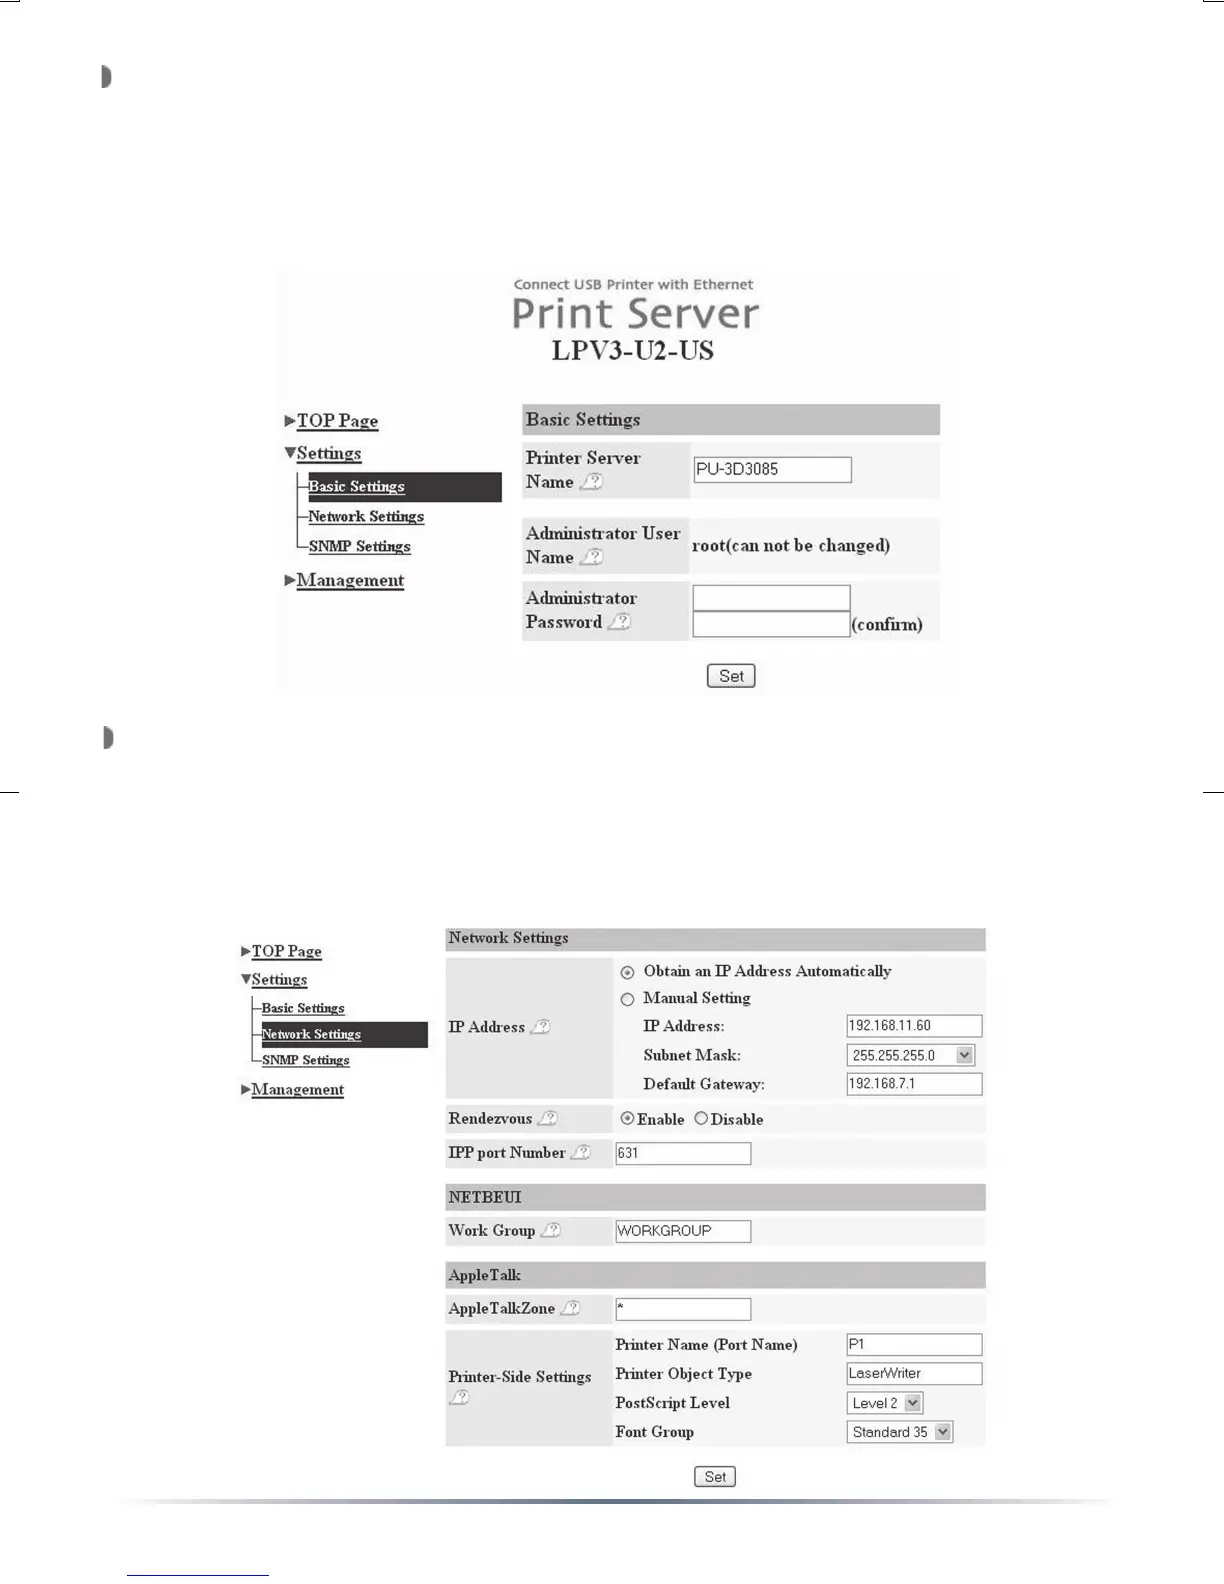
Click on the ’Network Settings’ link. Enter a fixed IP address or set
the bullet to ‘Obtain an IP address automatically’. This will be the IP
address used for PC-Based printing and for configuration. Store the IP
address in a safe place in case you need to access the configuration
options again. Press the ‘Set’ button when configuration is complete. A
message will appear stating that the print server is rebooting.