13
WARNING: An empty spa (spa without water in it) must
not be left exposed to sunlight as shell damage may occur. Once
the spa is unwrapped, ll spa with water immediately or shade the
spa with cover to prevent direct exposure to sunlight.
IMPORTANT: Do not turn power on to the spa without
water in the spa. Serious damage to the pump and heater may
occur.
WARNING: Make sure power is o to your spa prior to
following spa lling procedure. Failure to do so may result in
serious injury.
Spa Filling Steps (M Series)
Step 1: Select any seat with a JetPak. Lift the headrest and cap
assembly to exposed the opening behind the JetPak.
Step 2: Place garden hose in the opening behind the JetPak.
IMPORTANT: Never ll the spa with soft water unless an
appropriate mineral supplement is immediately added (see your
authorized Bullfrog Spas Dealer). If your water is extremely hard,
it is preferable to either dilute the water’s hardness by blending
the water with water from a water softener, using a mineral lter,
or by the addition of a special water softening chemical (see your
authorized Bullfrog Spas Dealer).
Step 3: Fill to the water level indicator or the mid point of the
lter intake grate and proceed to start up procedure.
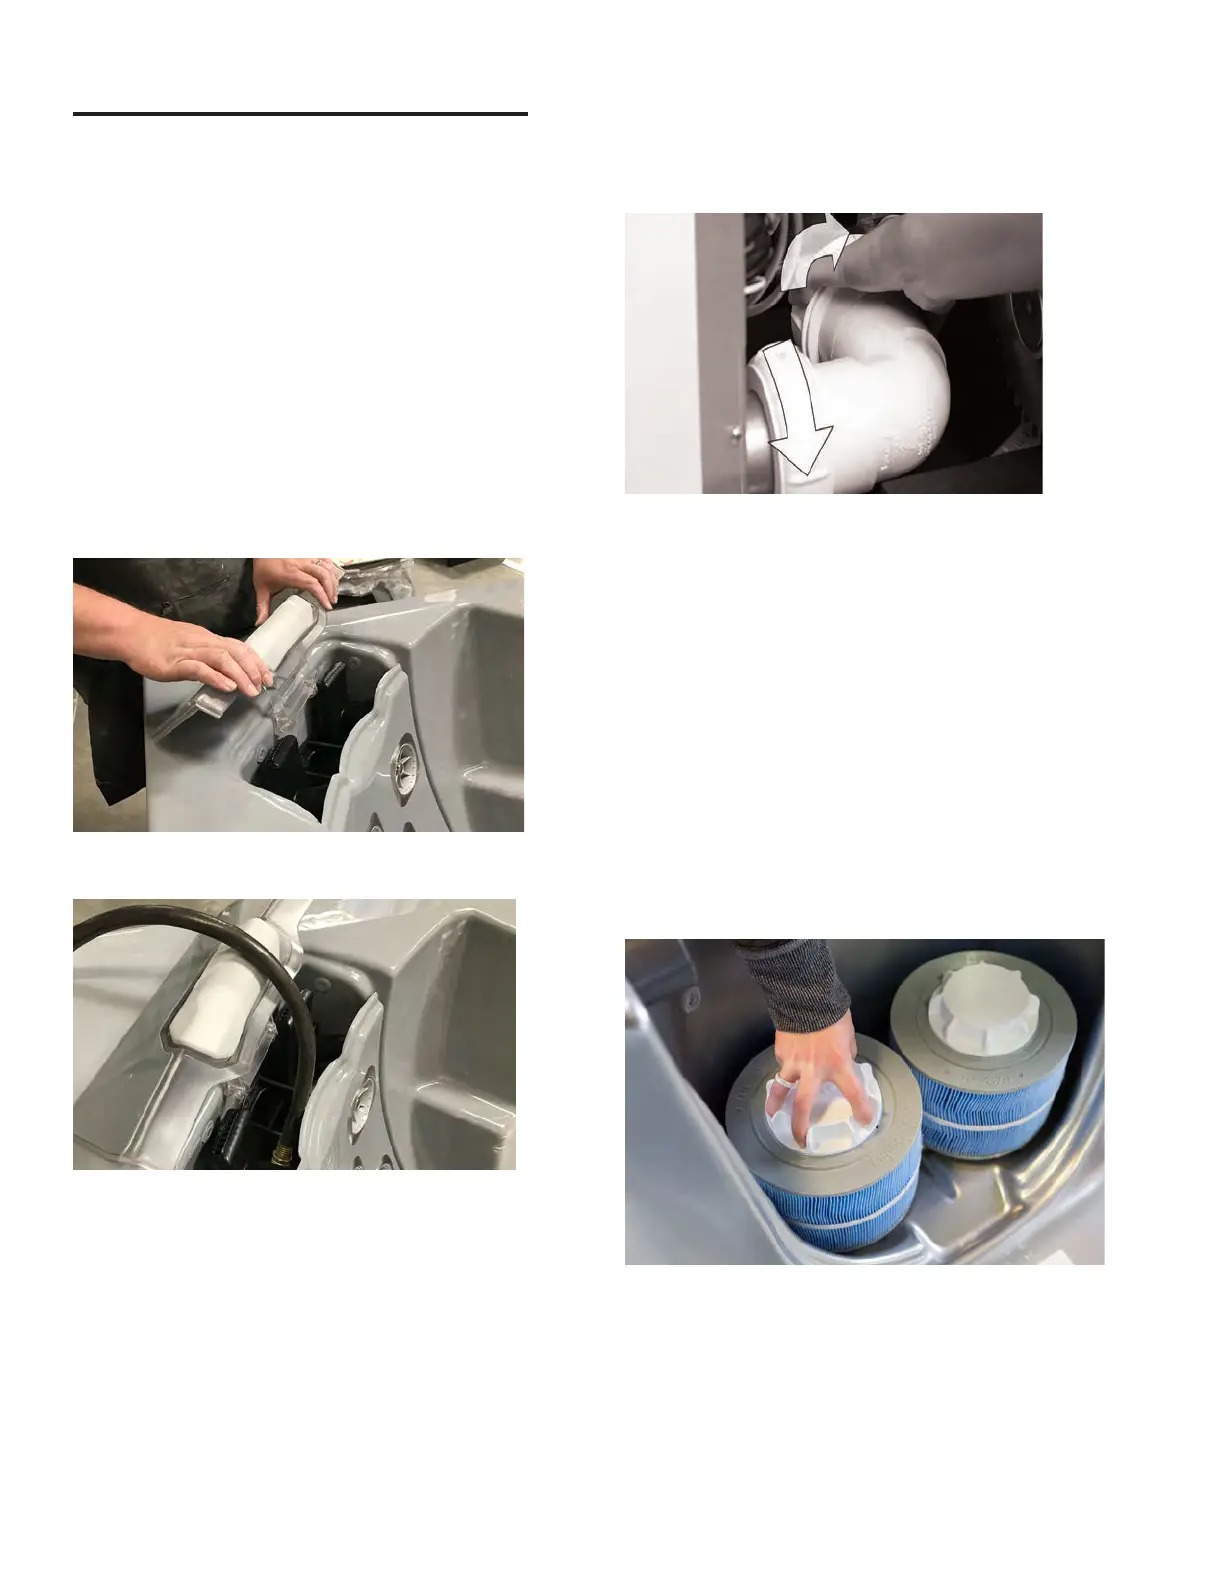
Step 4: Check for leaks: After the spa is lled, check all ttings
and equipment in equipment compartment for signs of leakage
before turning on the spa. Turn on pump(s), once again, check
for leakage. If a leak is detected, tighten the tting by hand. If the
leak persists contact your authorized Bullfrog Spas Dealer.
Step 5: Install Cover: e spa cover comes with tie down
straps and locking hardware that attaches the cover to the spa or
decking. If your dealer did not install the cover, refer to the Cover
Installation Instructions included with the cover.
Cover locks are an essential component for compliance with the
ASTM F1346-91 safety standard for spa covers.
Spa Filling Steps (A Series, R
Series, X Series, STIL)
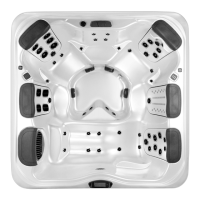
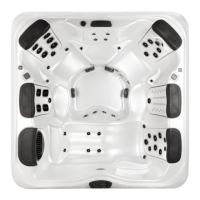
Step 1: Remove lter cover by lifting until snap ttings release.
Note: Images show spa with lter plate removed for clarity.
Step 2: Remove a lter cage cap.
FILLING YOUR SPA