Slowly roll the leading edge back a few
times, progressivly until you get a shape
that matches top of fuselage.
Apply glue liberally to wing roots. Tape roots together at leading and trailing
edge, should form a 4.75” dihedral.
Now is a good time to paint your parts.
Be carfull not to paint areas where you
will be gluing later.
Mount motor mount to firewall with
supplied screws.
Assemble motor to speed control and
install JST plug to connect to battery.
Push wires and speed controller down
through top hole in firewall and install
motor onto mount.
Using velcro attach speed controller to
left side of fuselage. Attach receiver to
top of compartment.
Install servos into holes as shown, secure
with a small amount of glue.
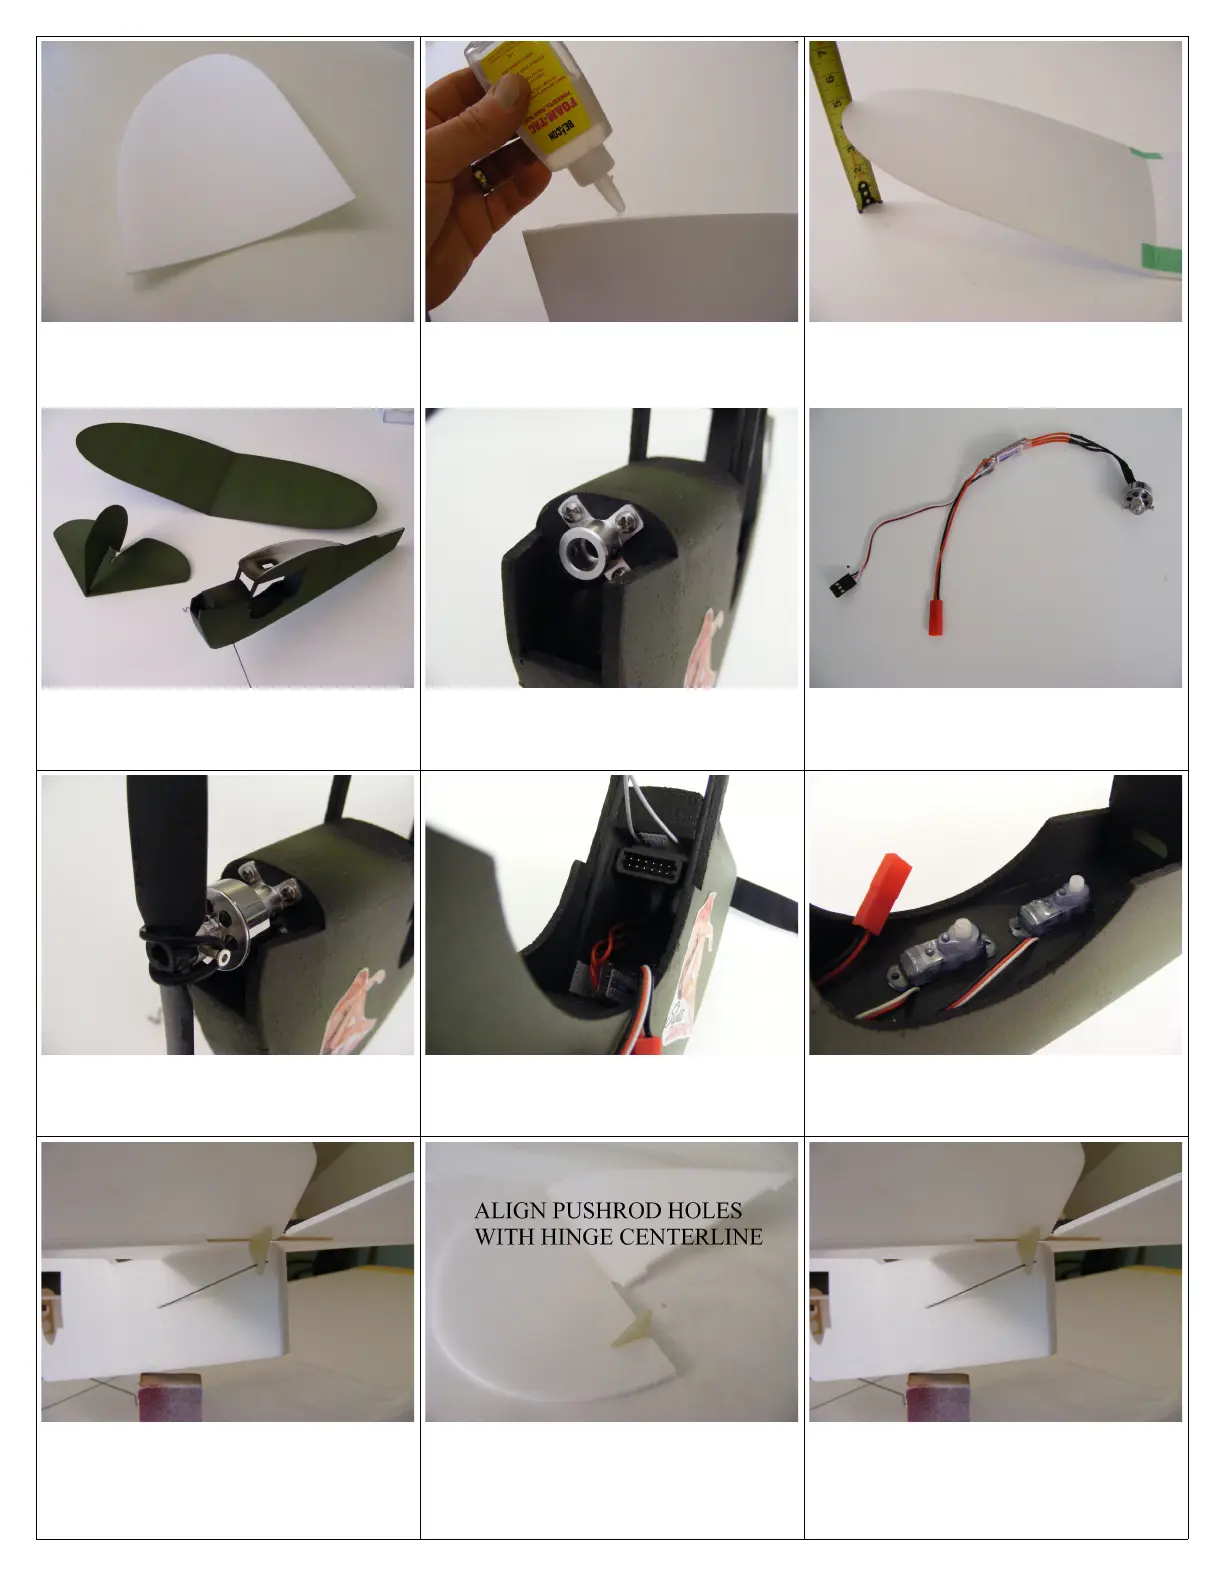
Temporarily insert elevator and rudder
pushrods into slots and through holes in
F3 and F2 into cabin area. Temporarily
place control surfaces onto fuselage.
Mark elevator and rudder for the control
horns. Rudder on the right, elvator on the
left. Cut slots for control horns. Elevator
horn has notch, glue horns into place.
Insert pushrod into middle hole of control
horn, slide pushrod back into fuselage,
glue horizontal stabilizer into place.