INTRODUCTION
Thank you for purchasing a by.schulz product. Please
read the manual carefully before installation and usage.
If you have any further question please contact your spe-
cialist dealer. Have a great ride!
TABLE OF CONTENTS Page
1. Usage Approval 02
2. Scope of delivery 02
3. Safety Instructions 02
4. Technical Data 03
5. Function 03
6. Components 04-05
7. Spring Elements 05
8. Installation Requirements 06
9.1 Seatpost Installation 06
9.2 Saddle Installation and Adjustments 07
10. Changing the Spring Element 08-09
11. Maintenance and Care 10
12. Warranty 10
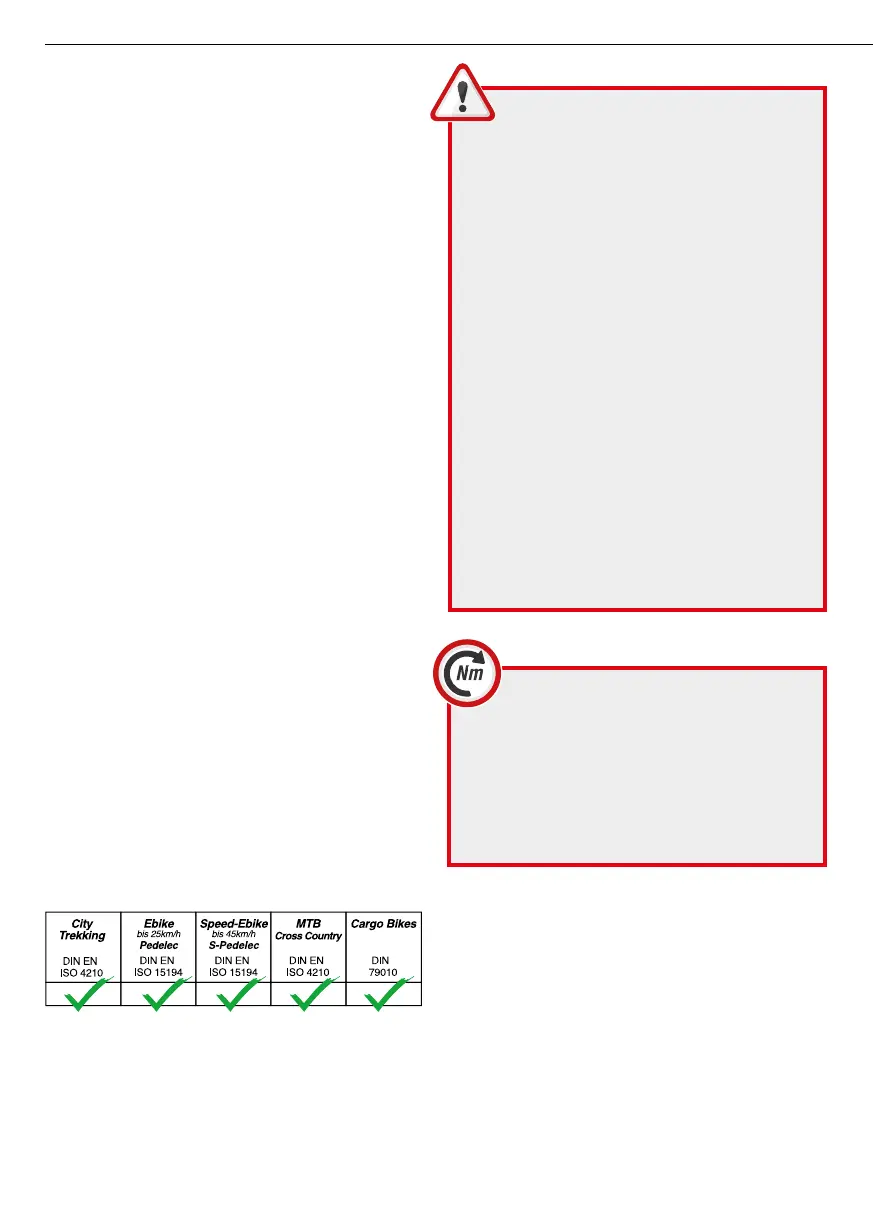
1. USAGE APPROVAL
By,schulz products (e.g. the speedlifter system) are avail-
able on the bike market for more than 25 years, and we
are an international supplier for bike manufacturer, whole-
sale dealers and dealers. Multiple components are stan-
dard equipment on bicycles, cross country MTB, pedelecs
and e-bikes.
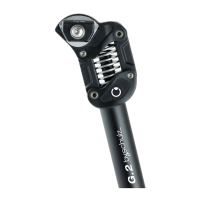
The G.2 ST / LT seatpost is suited for use in bicycles, cargo
bikes, pedelecs and e-bikes up to 45 km/h. It is NOT us-
able for extreme stress such as downhill riding, dual slalom,
free-riding or riding with jumps.
The G.2 ST / LT seatpost is forged from aluminium and is
tested and approved according to the DIN norm:
2. SCOPE OF DELIVERY
· Seatpost
· Mudcover (not included, if original equipment)
· Operating instructions
3. SAFETY INSTRUCTIONS
Before the rst ride:
We strongly recommend checking the overall tness of the
bicycle and the operational safety of the seatpost before
each ride.
First check that the saddle is rmly attached to the seat
clamp. Also make sure that the seatpost tube is rmly at-
tached to the bicycle frame without any slack. It must be
clamped in the desired position so that it cannot be turned
or shifted inside the seatpost tube. Please note that the
minimum insertion depth of the seatpost is 90 mm.
1. This instruction contains important informa-
tion on the proper installation, use, and main-
tenance of the G.2 ST / LT seatposts. Please take
the listed warnings and safety instructions seriously.
Otherwise personal injury and material damage may
occur, for which the dealer or manufacturer is not li-
able.
2. The installation is easily possible on bicycles and
e-bikes, but pay attention to the Installation Requi-
rements (see page 6) beforehand. If you do not have
the appropriate expertise, we strongly recommend
installation by a specialist dealer.
3. Child seats, trailer couplings or luggage racks may
not be attached to the G.2 ST / LT seatposts because
this can lead to breakage or damage.
4. We recommend to always use the protective cover
made from neoprene to prevent soiling. Be sure to
use the mudcover to cover the spring mechanism if
a child seat is attached behind the seatpost. Without
the cover, there is a risk of injury to children's hands!
5. To avoid further accident risks after a fall with da-
mage, the seatpost must be replaced.
02/12
This symbol indicates an important screw
connections, and the screw must be tightened
with an specic tightening torque. The correct tigh-
tening torque is either listed on the part itself or in the-
se operating instructions. A torque wrench is required
for proper installation Screws that are not tightened
correctly, may loosen or break without warning. This
may cause a fall and lead to personal injuries and
material damage.
Installation + Operating Instructions G.2 ST / LT Seatpost
 Loading...