1.
You can find video instructions for CanaKit Raspberry Pi cases at:
www.canakit.com/pi-case
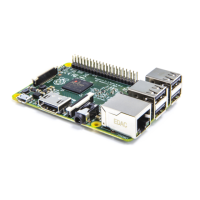
2. Insert a pre-programmed MicroSD card into the MicroSD card slot on
the bottom side of the Raspberry Pi.
3. Connect a USB keyboard and mouse to the USB ports.
4. Connect a HDMI monitor or TV to the Raspberry Pi using a HDMI cable.
Ensure your monitor or TV is turned on and that you have selected the
correct input.
5. If you intend to use an Operating System other than Raspbian, connect
the Raspberry Pi to your network using an Ethernet cable. If a wired
Internet connection is detected during the first boot, you will be presented
with additional choices of Operating Systems to install.
If you have a case, start by installing the Raspberry Pi inside the case.
GETTING STARTED
3
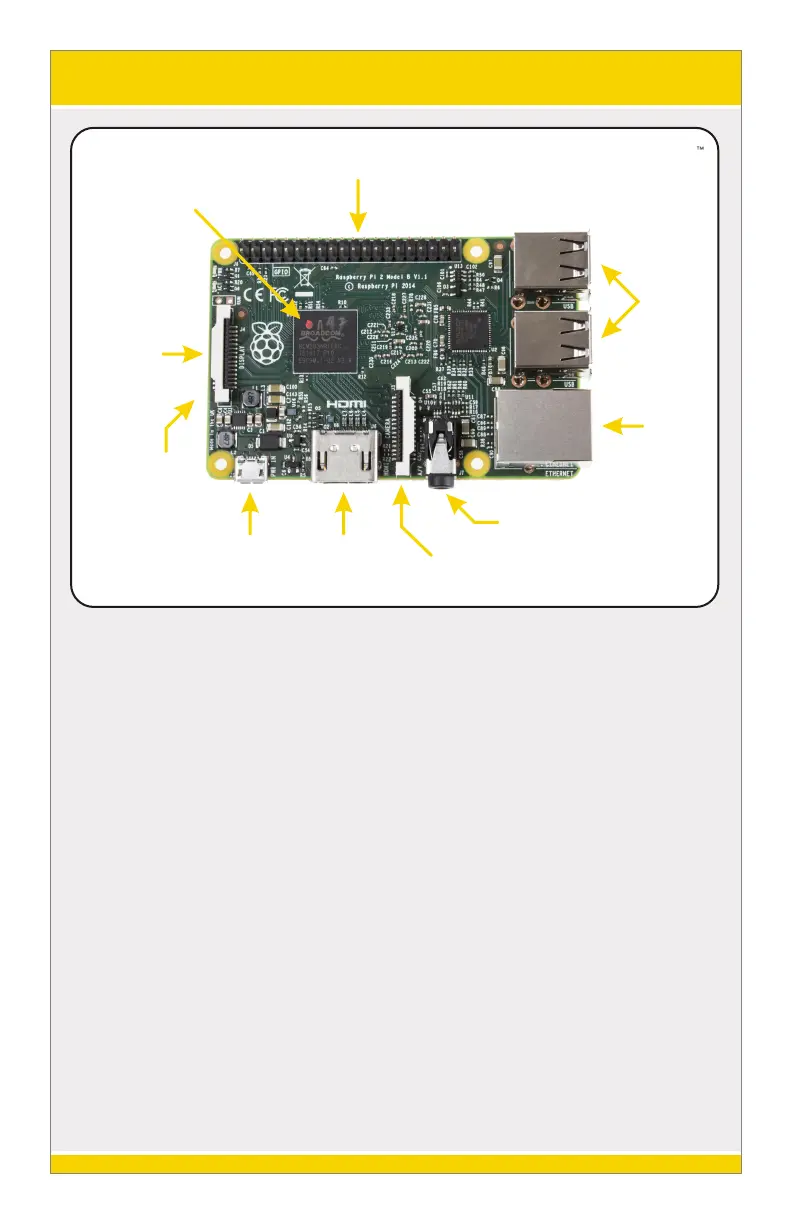
40-Pin GPIO Header
Broadcom CPU
DSI Display
Connector
USB
Ports
Ethernet
Port
CSI Camera Connector
HDMI
Port
5V MicroUSB
MicroSD
Card Slot
(On Underside)
4-Pole 3.5mm
Audio & Composite Video
Cana Kit