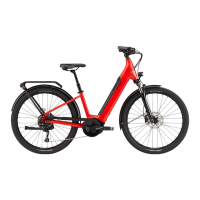
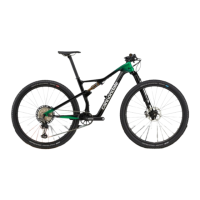
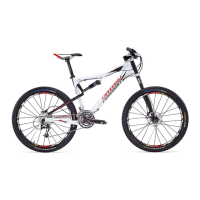
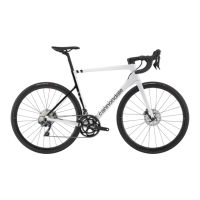
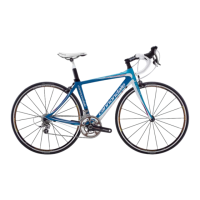
This is a Quick Start Guide for Cannondale Alloy Road Disc bicycles, specifically applicable to Topstone Al, Synapse Al, and CAAD X models. It provides step-by-step instructions for assembling the bike at home and includes important safety information.
Function Description:
The Cannondale Alloy Road Disc bicycles are designed for active sport bicycling, offering a versatile riding experience. This guide focuses on the initial setup of the bike, ensuring it is ready for use after purchase. The assembly process is designed to be straightforward, allowing users to build their bike at home, with the option of following along with a how-to video for additional support.
Important Technical Specifications (implied from assembly steps):
- Handlebars: Require installation and proper tightening of bolts and faceplate to a specified torque. The stem faceplate bolts should be tightened in an "X" pattern.
- Seat Post: Features a minimum insertion line for safe installation. The seatpost clamp needs to be tightened with an Allen key, typically to a torque of 5 Nm, to prevent the seatpost from being pulled from the frame.
- Front Wheel: Utilizes a thru-axle system for secure attachment to the fork. It includes disc brakes, requiring careful alignment of the disc brake rotor with the brake pads. The thru-axle head is adjustable for angle without affecting tightness.
- Pedals: May or may not be included with the bike. Installation requires identifying left (L) and right (R) pedals and tightening them firmly with an Allen key or 15mm pedal wrench.
- Brakes: The guide emphasizes checking both front and rear brakes for proper engagement and ensuring the brake lever and handlebar do not come into contact when the brakes are fully engaged.
- Tires: Tire pressure should be inflated according to the manufacturer's recommended pressure, which is marked on the tire sidewall.
- Reflectors: The rear reflector should point straight back, and the front reflector straight ahead, perpendicular to the ground. The wheel reflectors should be pulled toward the rim to ensure they are snug.
Usage Features:
- Home Assembly: The guide facilitates self-assembly of the bicycle at home, making it accessible for new owners.
- Online Support: Users can visit
ridersupport@cannondale.com for a how-to video that complements the written instructions.
- Customer Service: A dedicated rider support staff is available via phone at 1-800-245-3872 (BIKE USA) for any questions during the assembly process.
- Social Media Engagement: Owners are encouraged to tag #ridecannondale on social media to share their new bike experience.
- Quick Start Guide: This document serves as a quick start guide, providing essential steps for initial setup. It is not a comprehensive owner's manual.
Maintenance Features (implied from pre-ride checks):
- Handlebar Alignment: Regular confirmation of handlebar alignment and angle, with adjustments as necessary, is crucial for comfortable and safe riding.
- Torque Checks: The guide highlights the importance of checking torque specification markings on the front and back of the stem, as well as the head of the seatpost, and tightening bolts to specified values (e.g., 7 Nm for stem/seatpost bolts, 5 Nm for seatpost collar).
- Seat Height Adjustment: Users can adjust seat height by loosening the seatpost collar, ensuring a slight bend in the knee when the pedal is at the bottom of its rotation.
- Reflector Positioning: Proper positioning of front and rear reflectors is a safety check.
- Wheel Engagement: Verifying that both thru-axles are tightened securely and that the lever leaves a mark in the hand is a key safety check.
- Brake Functionality: Regular checks of front and rear brakes to ensure they are tightened and engage fully without contact between the lever and handlebar.
- Tire Pressure: Maintaining correct tire pressure as indicated on the sidewall is essential for performance and safety.
- Twist Checks: Securing the front wheel between the legs and turning the handlebar to ensure the handlebar and wheel move independently, indicating that stem bolts are tight.
The guide explicitly states that bicycling is an active sport with inherent risks, including serious injury, paralysis, or death, which cannot be eliminated. It emphasizes that this is a Quick Start Guide and not an Owner's Manual. Users are strongly advised to read the complete Cannondale Bicycle Owner's Manual, available online at www.cannondale.com, particularly the "IMPORTANT SAFETY INFORMATION" section, to minimize risks. Tools required for assembly include a flat-head screwdriver, Phillips-head screwdriver, box cutter, scissors, torque wrench, Allen keys, and a pedal wrench.