Do you have a question about the Canon EOS Series and is the answer not in the manual?
Explains Linked Shot mode, master/slave setup, and connection limits for multiple cameras.
Turn on the camera with WFT unit attached and navigate to WFT settings.
Access WFT settings and select the 'Connection wizard' option.
Choose 'LinkedShot' from the communication method selection screen.
In Linked Shooting settings, select the camera as the 'Master'.
The master camera enters a 'Busy...' state while slaves connect.
Turn on the slave camera with WFT unit and navigate to WFT settings.
Access WFT settings on the slave camera and select the connection wizard.
Select 'LinkedShot' as the communication method for the slave camera.
In Linked Shooting settings, select the camera as the 'Slave'.
Confirm connection to the master camera by pressing OK.
Master camera shows connected slave count; press OK to finalize connection.
Return to WFT settings menu to select the 'Disconnect' option.
Re-establish connection by setting master and slaves to 'LinkedShot'.
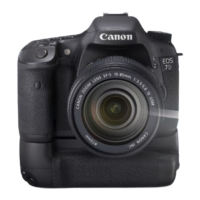
| Brand | Canon |
|---|---|
| Model | EOS Series |
| Category | Digital Camera |
| Language | English |