For details
"Setting Up Using the Setup Guide" in the User's Guide
3.
Take note of the SSID and network key.
• Check the label on the router.
User's Guide
• The setting operation is easier if the router is
provided with a WPS mark.
User's Guide
4.
Set the access point and network key
according to the screen below.
OK
For more
information, refer
to the manual.
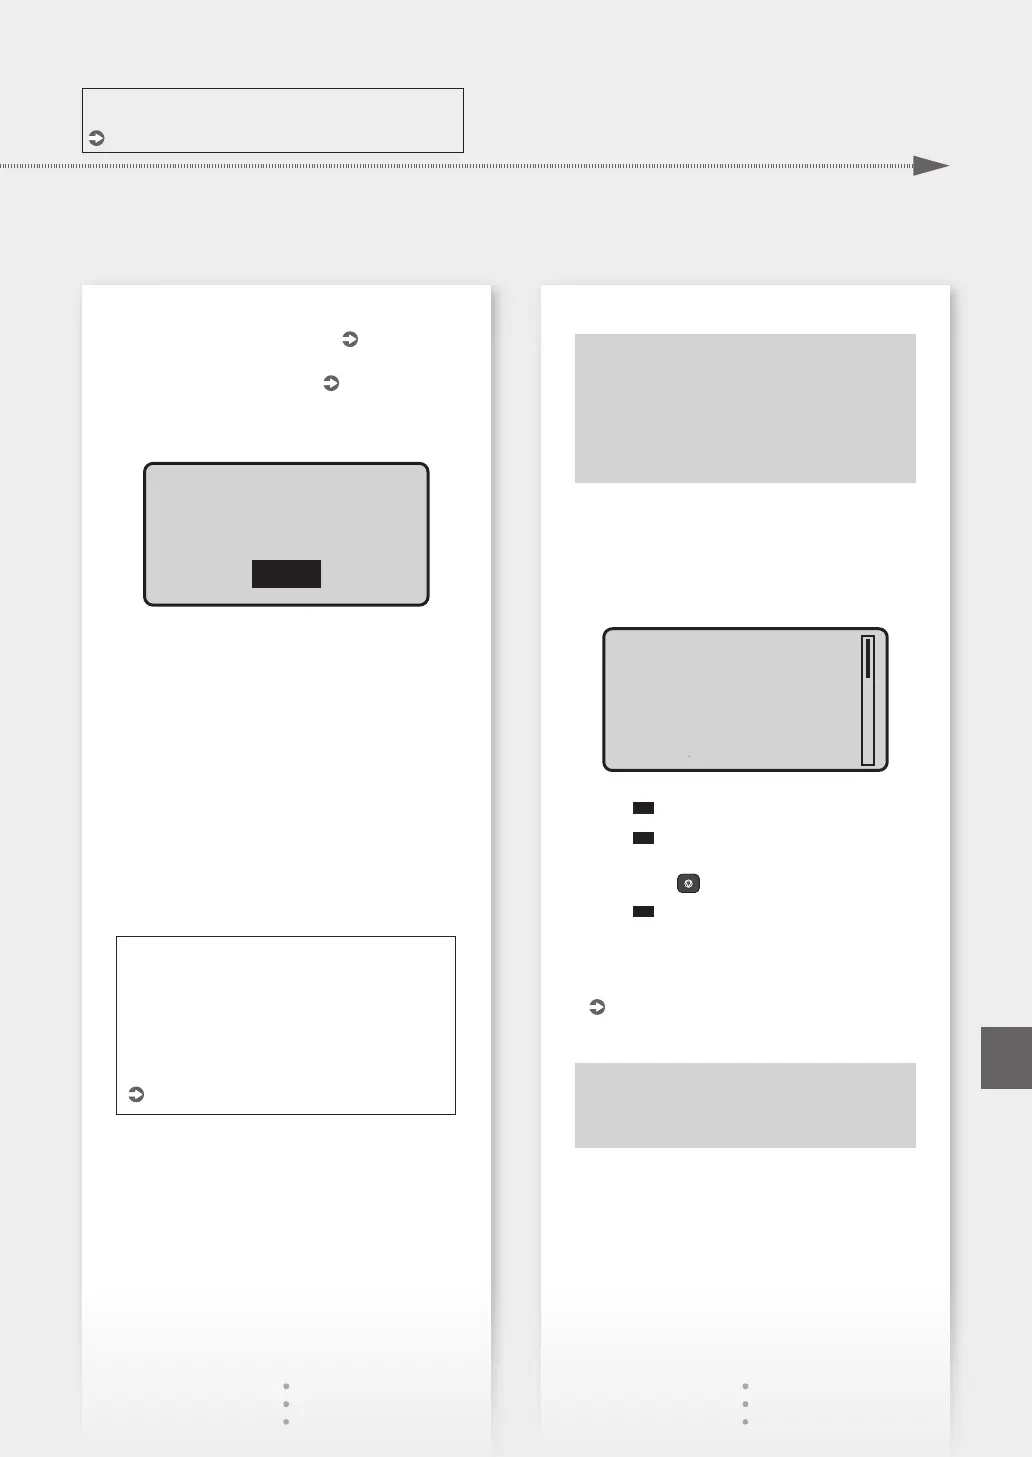
1. Select <OK>.
2. Select <SSID Settings>.
3. Select <Select Access Point>.
4. Select the access point (SSID).
5. Enter a WEP key (network key), and select
<Apply>.
6. Select <Yes>.
• Wait until message <Connected.> is displayed.
7. Select <Close>.
• The IP address will be automatically
configured in a few minutes.
To view a video guide on the process
You can find a video and guide to assist the
process for the Wireless Network connection
from the URL below. Viewing these guides will
ensure a smooth setup of the device into your
existing wireless environment.
http://www.usa.canon.com/WirelessHelp
"Toner replenishment service" settings
Precautions
• Use of the toner replenishment service
requires prior registration with select
retailers. This service is only available in
certain countries.
Through the toner replenishment service, new
toner cartridges are automatically delivered to you
before your existing toner cartridge is used up.
• This service can be set up through "Toner
Delivery Settings" displayed on the Home screen.
toner replenishment
service when you
purchased this
product?
To continue setup
for automatic toner
delivery, press OK,
then press OK again
(if you agree) on
the next screen.
*Network connection
required to complete
registration.
Next Screen:
Press OK
1.
Press
OK
.
2.
Press
OK
.
• To skip "Toner replenishment service" (or set it
later), press
and proceed to Step 4.
3.
Press
OK
.
• If an error message appears, follow the on-screen
instructions to resolve it.
4.
Install the driver and software.
P.9 "Installing the software"
Now you are nished with the
conguration of the initial settings.
7
Quick Setup
En