

P
Paula JohnsonJul 30, 2025
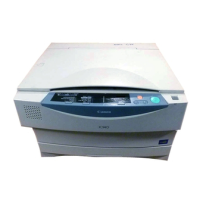
What to do if Canon PC400 has no AC power?
- XxturnerJul 30, 2025
If your Canon Copier is not getting AC power, first ensure the power plug is properly connected. Also, check that all doors and covers are completely closed. If the issue persists, it might not be a problem with the copier itself, so further investigation of the power supply may be needed.