Note
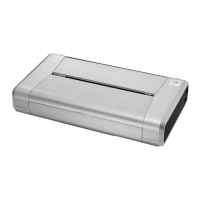
When moving the printer, carry the printer at both ends as shown below.
aPlacetheprinteronaatandhorizontalsurface,anddonot
placeanyobjectsinfrontoftheprinter.
PulluptheShippingtapeonthetopoftheprinter,andremoveittogetherwith
theProtectiveSheet.RemovealltherestoftheProtectiveSheets.
ThenopenthePaperSupport.
bOpen the Front Cover, then remove the Protective Material on
the right side.
Protective Material
Caution
Before turning on the printer, remove all of the shipping tapes.
cClose the Front Cover.
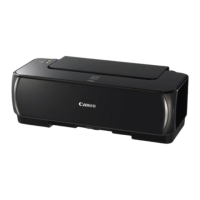
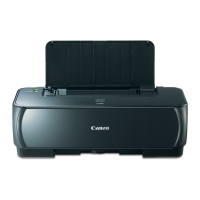
1 Prepare the Printer
dPlugthepowercordinthebackoftheprinterandconnectthe
otherendtothewalloutlet.
Power Cord
Note
DoNOTconnecttheUSBcableatthisstage.
ePress the POWERbuttontoturnontheprinter.Theprinterwill
initialize.Waituntilthe
POWERlampstopsashingandremains
lit green.
fOpentheFrontCover.TheFINECartridgeHolderautomatically
movestotheleft.
SerialNumber
g
Writedowntheserialnumberlocatedinsidetheprinter.Youwill
needthistoregisteryourproduct.
2 Install the FINE Cartridges
aRemovetheColorFINECartridgefromitsbox.
bRemovetheProtectiveTapegently.
To the FINE Cartridge Holder
Protective Tape
PrintHeadNozzles
Electrical Contacts
Note
DonottouchtheelectricalcontactsorPrintHeadNozzlesonaFINECartridge.The
printermaynotprintoutproperlyifyoutouchit.
DonotreattachtheProtectiveTapeonceyouhaveremovedit.
Becarefulnottostainyourhandsorsurroundingworkareawithinkontheremoved
Protective Tape.
c Insert the Color FINE Cartridge slightly slanted into the right slot
C
.
•
•
•
dPushuptheFINECartridgeuntilitclicksintoplace.
Important
For correct printer operation, make sure the FINE Cartridge is secure in slots.
Click
eRepeattheprocedurefortheBlackFINECartridge,insertingit
intotheleftslot
B
.
f Close the Front Cover.
Important
Once you have installed the FINE Cartridges, the POWER lamp will ash green.
Wait for about one to two minutes, until the POWER lamp stops ashing and
remains lit green and the printer has stopped making operating noises, before
proceeding.
Hardware setup is complete.
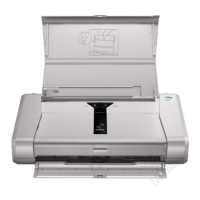
Photo Printer