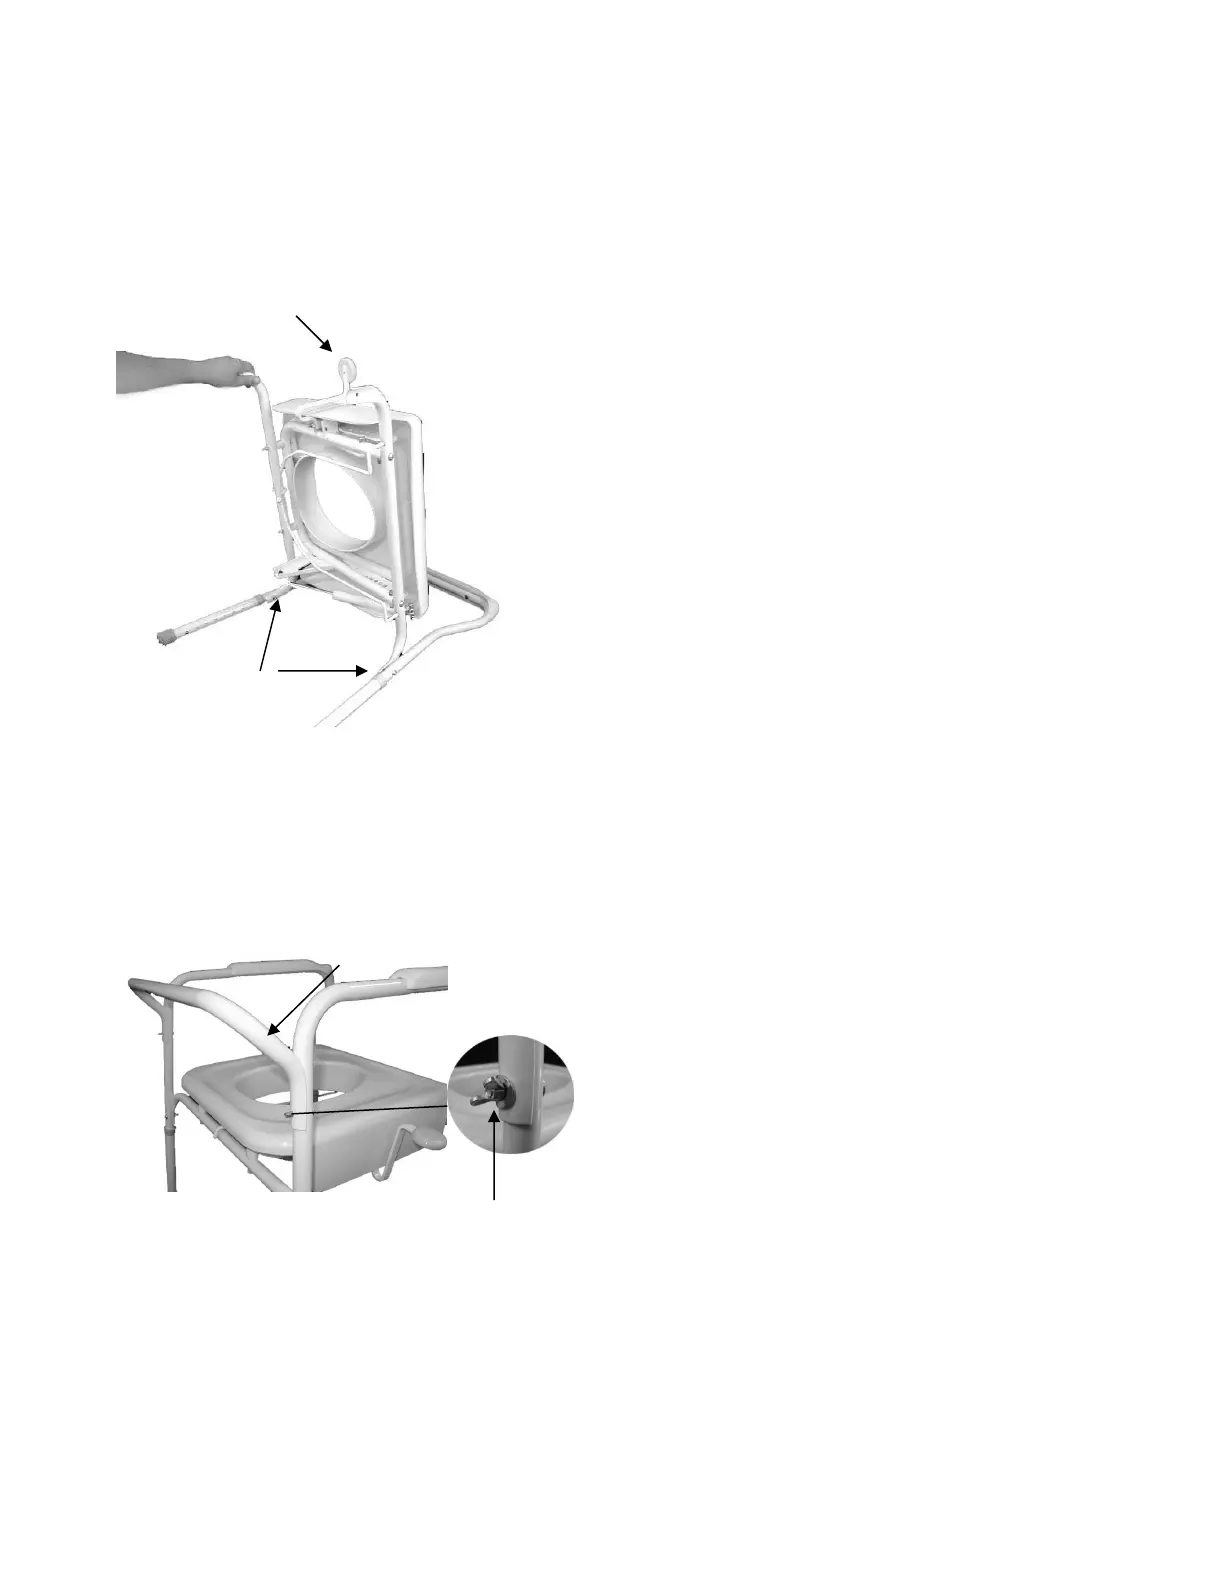
▪ Place the Commode in an upright position on
a level floor and hand tighten the four (4) nuts.
When all are inserted, fully tighten using a
7/16” wrench. (Figure B)
▪ Install the Back Rest Bar on the back of the
unit by guiding the pre inserted bolts through
the corresponding holes in the Backrest Bar.
Affix to the unit by installing a rounded washer
and butterfly nut.
▪ Hand tighten the butterfly nut.
▪ Place one Commode Leg flat on the floor, with the
front of the leg on the right hand side. Be careful to
identify the front and back of these items. These are
easily identified by the “F” for front and “B” for back
labels located on the Commode Legs.
▪ Remove and discard the clear, plastic protectors on the
bolts.
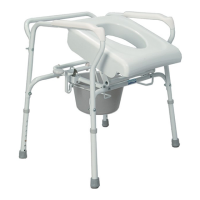
▪ Hold the Upper Lifting Assembly with the lock release
handle facing up toward the ceiling, (not facing the
floor), and lowering the assembly onto the leg, affix the
front bar of the Upper Lifting Assembly to the front of
the leg. This is done by sliding the pre inserted bolt
through the hole in the front bar of the upper lifting
assembly, then placing a rounded washer and installing
the nut. This should be hand tightened.
▪ Attach the back bar of the Upper Lifting Assembly to
the back of the same Leg. (Figure A)
▪ When this is complete, attach the other Commode
Leg, front and back, to the Upper Lifting Assembly.
 Loading...