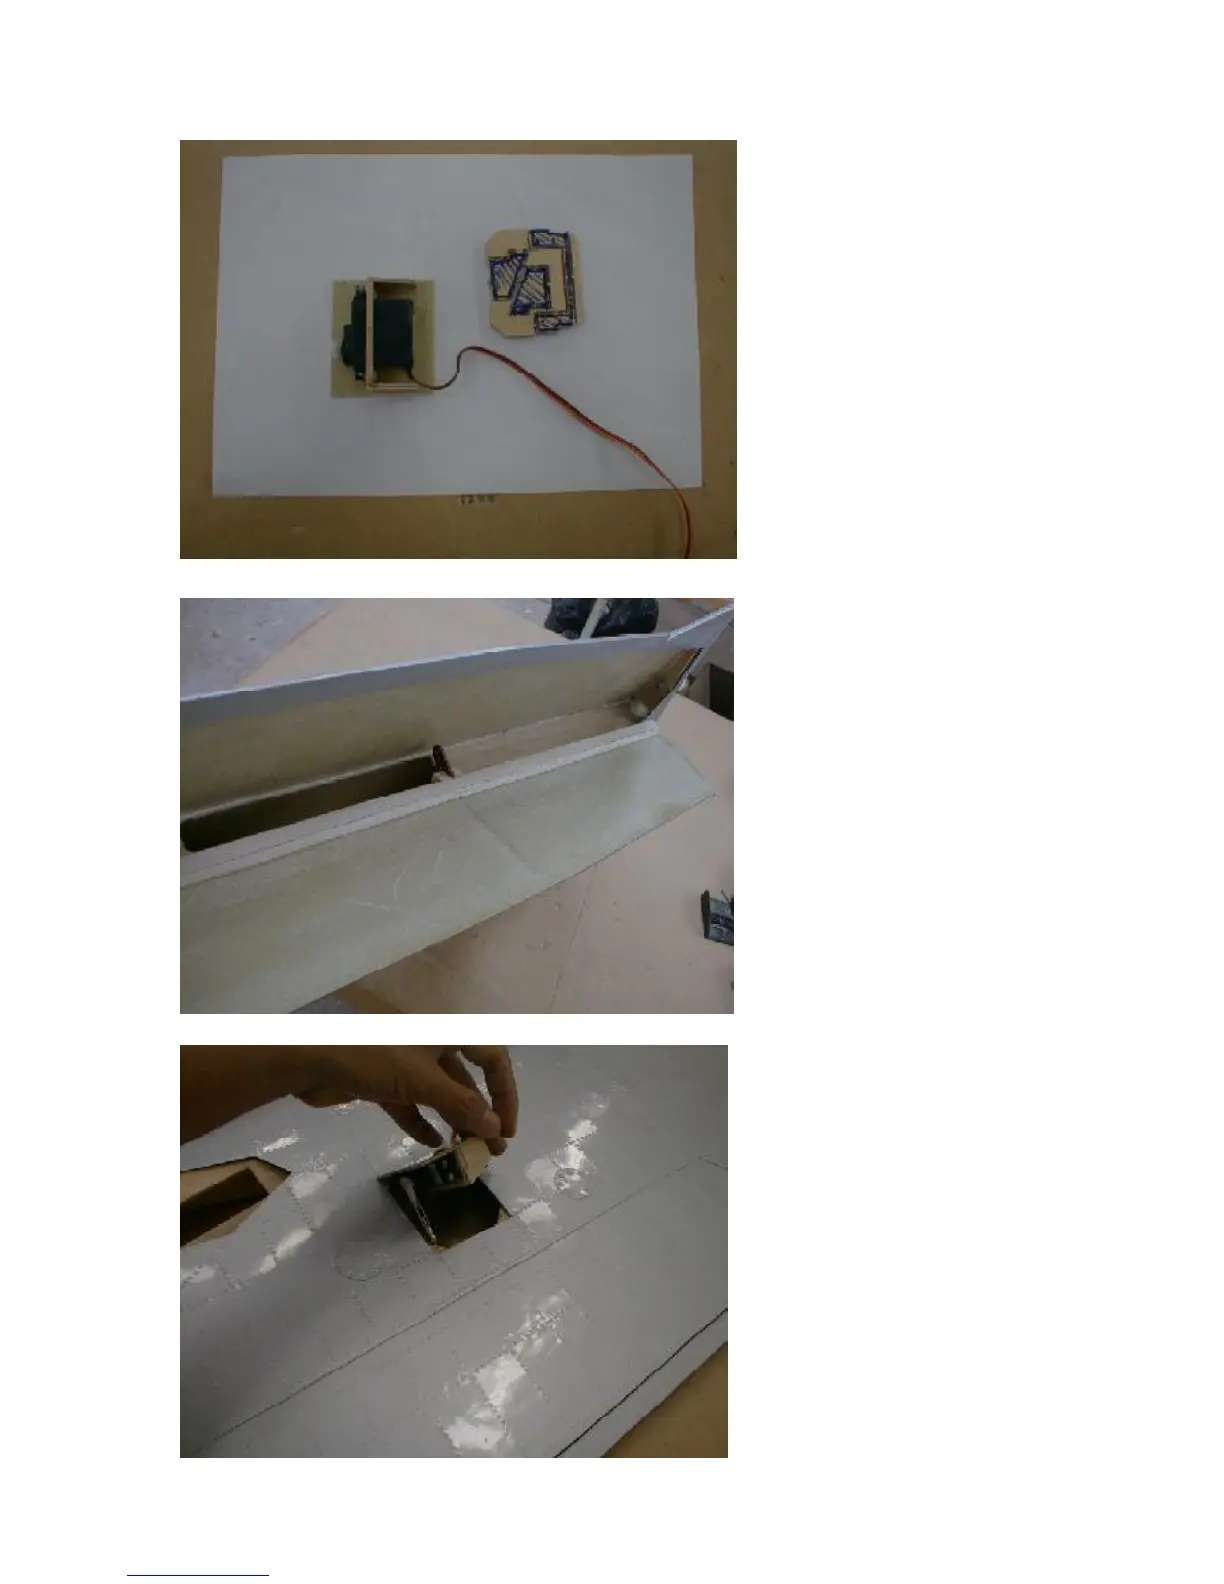
Take out the hatch and assemble
the servo mount. The photo shows,
which parts to use. Make sure that
you glue the milled wood parts very
well to the hatch cover. Use CA
glue first, and then fill excessively
with epoxy and milled fiber to get a
strong bond. To sand the surfaces
with a rough sandpaper is
mandatory and not further
mentioned in this instruction book.
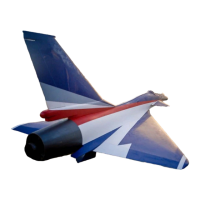
Then build a frame into the cutout
in the wing, so that you can mount
the hatch with 4 sheet metal
screws. It will be sufficient if you
use small plywood triangles and
glue these 45 deg. into each corner
of the cutout, so that the hatch can
rest on the triangles. Make sure
that the screws have a good grip in
the wood, as there is a lot of load
espcially on the flap servo. Mount
the servo in the wood frame, using
the standard servo screws.
Now assemble the balsa stick and
the control horn inside the flap. You
must understand, that the control
horn must point 30 deg. forward, to
have a symmetrical travel through
the whole throw, especially to have
enough holding power on the flap
when fully extended.
Cut 3mm balsa triangles, using the
vacuum formed pattern as a
template, so that the “ribs” are not
across the holes. then glue the
vacuum formed pattern on the
wood frame of square balsa spar
and triangle balsa ribs. Make sure
that the bond of the control horn is
strong.
After that assemble the linkage
with the M3 all thread and the
clevises and nuts, and mount the
servo in the socket. Connect the
rod to control horn and servo horn,
adjust the length and check the
servo travel by moving the flap by
hand up and down. You should
have the full servo travel for 60
deg, of flap movement!
If necessary, use a shorter servo
horn!