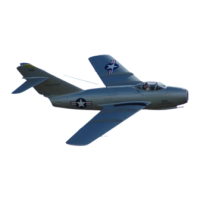
Now install the servos with
short servo arms into the servo
mount. You will have to make
sure that the servo arms do
not hit the fiberglass. It is very
tight inside, and it might afford
several attemptsto install
servos and linkages so that
everyting movessmoothly.
After the linkage is set up with
ball links, push rods, threaded
ends and clevises in the right
length, assemble everything
again and confirm. After that
take out the elevators again
and apply epoxy glue to the
hinges, and glue them in
permanently.
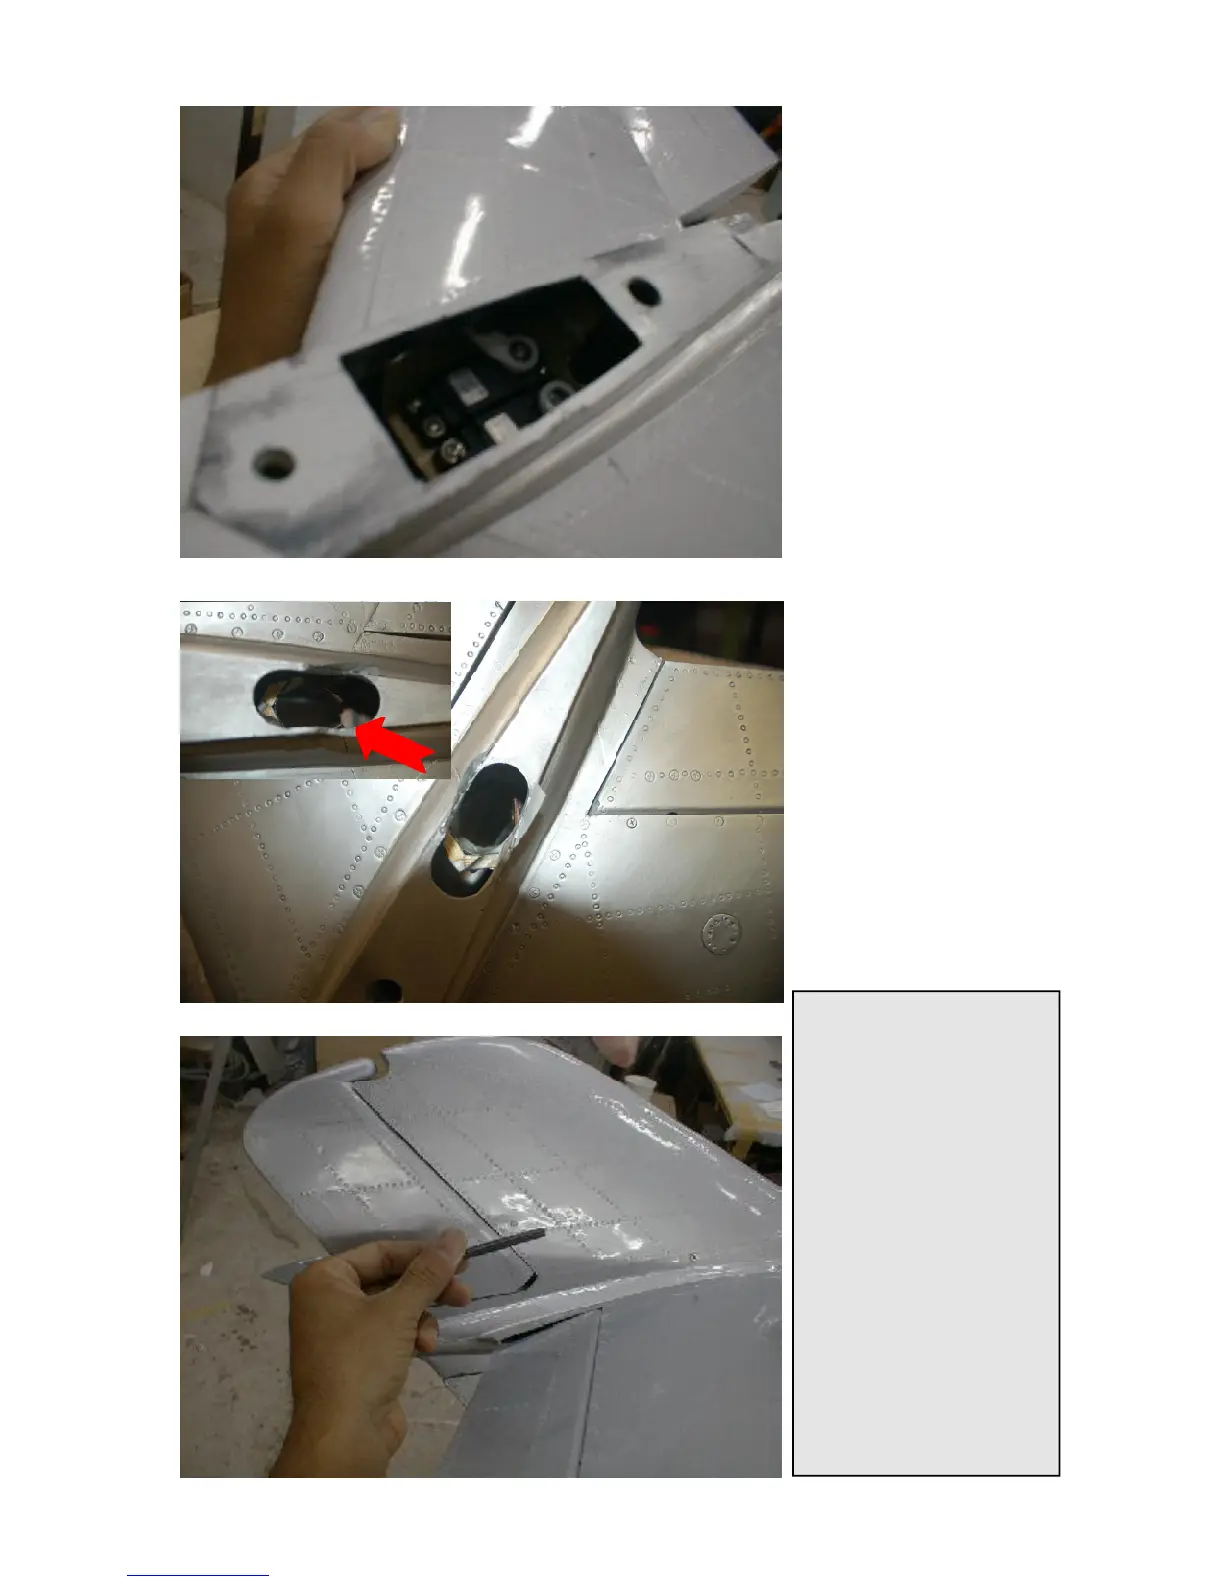
To reduce the play and the risk
of a flutter it is recomended to
additionally hinge the torsion
rods in the center. Use a 3mm
plywood pice for this and drill a
6.1mm hole in where the
torsion rods are hinged in.
Glue this pice against the stab
spar.
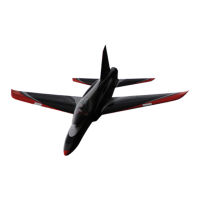
The top rudder part is fixed
mounted to the fin. Drill two
6mm holes in each rudder and
fin, and glue the carbon dowels
in. Then join the 2 parts and
glue permanently with epoxy.
Tip for the Pro’s:
Whenever you finally mount a
servo into a difficult accessible
area, make sure that the servo
arm is properly centered.
Therefore connect the servo to
a receiver and center th servo
electronically.Adjust the servo
arm perpendicluar to the
linkage direction, and then
mount the servofinally.
If you don’t do that, you might
have a bad surprise after you
hooked up your radio system.
When the servo arms are out
of center, you will have to take
out the servo again, which is a
very painfuljob, if everything
else is finished already. Think
smart in advance!!