1. Flush the line thoroughly after plumbing changes to eliminate the
possibility of foreign contaminants reaching the meter. GPC GPC GPC GPC
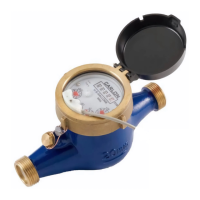
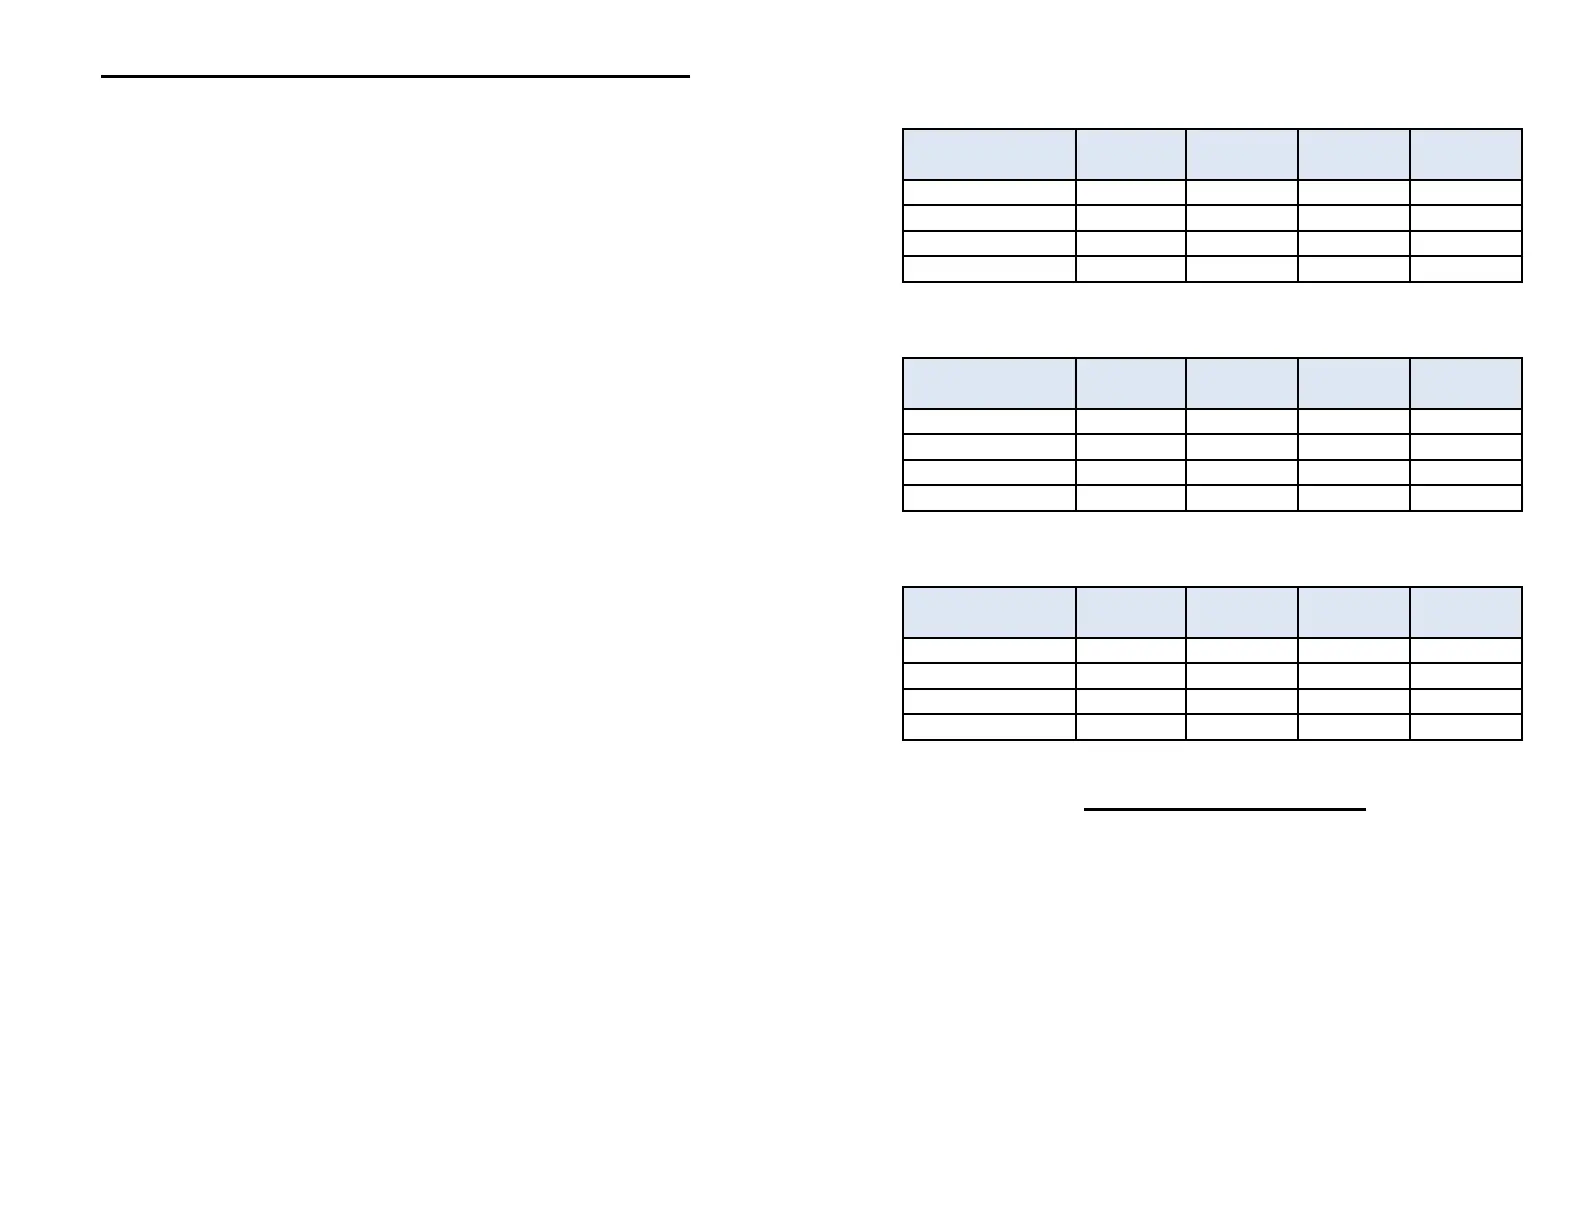
2. Install meter horizontally with the register facing up and the inlet port 750MRS X X X X
facing the supply water line. 1000MRS X X X X
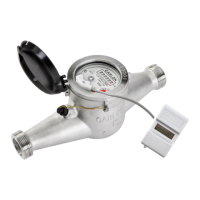
3. Using the insulated 18/20 gauge two wire cable provided, connect 200MRS N/A X X X
the reed switch on the register to the meter input leads on the
controlling device. N/O Reed Switch rated at 100 mA, 24V AC/DC.
Note: GPC setting to determine frequency of operation.
4. Operating pressure maximum of 150 psi. 0.01 0.1 1 10
5. It is recommended that if there is any possibility the water supply 1000MRS N/A X X X
contains foreign contaminants, a Carlon strainer be installed between
150MRS N/A X X X
the water supply and the meter. 200MRS N/A X X X
6. It is not recommended that the meter be run for long periods of
time at the maximum flow rating as excess wear will result and
the life of the meter will be reduced. LPC LPC LPC LPC
7. To reduce potential harmful effects to equipment from water 750MRS X X X X
hammer caused by quick closing valves, it is suggested that you 1000MRS N/A X X X
purchase and install a Carlon slow-closing solenoid valve.
150MRS N/A X X X
8. Protect the meter from freezing and from heat in excess of 120° F.
9. Protect meter from any backflow of water opposite indicated direction
Dry Contact Reed Switch Output
10. For outdoor installation, protect meter from direct exposure to the
elements. Output Switch Ratings: 24V AC/DC maximum
■ The straight, unobstructed pipe section in front of the meter
Inlet Path - One Bend = 10 x Diameter of pipe
Valves (check, gate, etc.) = 12 X Diameter of pipe
Two Bends or One Tee and one bend(s) at random =
■ Straight, unobstructed pipe section downstream of meter =
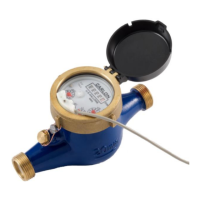
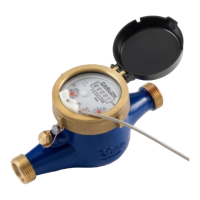
MRS® Multi-Jet Meter Installation Instructions
Gallon Contact Settings Available:
Electrical Specifications:
MRS® Contact Settings Available
Cubic Foot Contact Settings Available:
Liter Contact Settings Available:
 Loading...