


J
Johnny AllisonAug 20, 2025
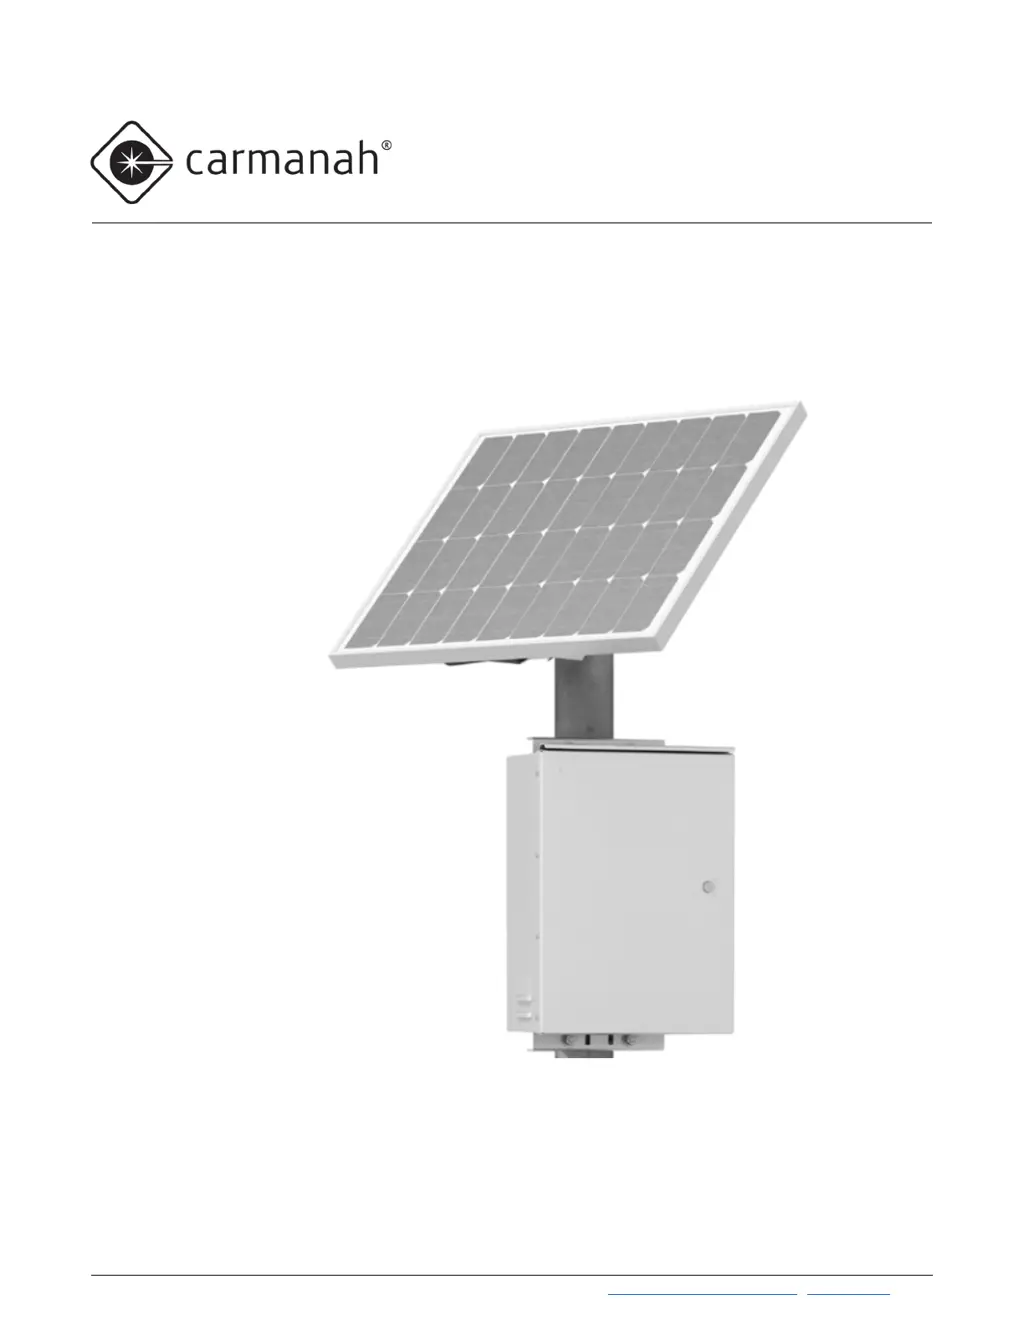
Why are the LEDs on my Carmanah G Series flashing dimly?
- Rrichard94Aug 20, 2025
If the LEDs on your Carmanah Security System are dim when flashing, it could be due to low battery voltage. First, check the OBUI for ALC status and battery voltage. Make sure the solar panel is clean and free from obstructions like debris, buildings, or vegetation that could be shading it. Also, check the ambient light sensor on top of the solar engine to ensure it's clean and correctly detecting day and night.