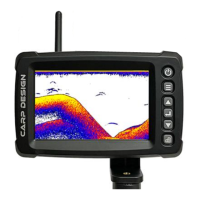
Increasing sensitivity is equivalent to reducing the "sieve", so there is a little more left on the screen (the dots on the
screen), of course, which may result in a cluttered display.
Reducing the sensitivity, on the other hand, is equivalent to increasing the "sieve hole," so that less remains on the
screen (the dots displayed on the screen) and the system filters out some of the information, making the display
relatively simple. But be aware that you're filtering out potentially important information.
So, after you've used it for a while, choosing the right sensitivity and the right depth range (which we'll get to later)
becomes critical.
Generally, we recommend that you can increase the sensitivity when the water is deep or clear, and you can lower the
sensitivity when the water layer has more impurities or is turbidity or shallow. This reduces the number of false probes.
We can also use this function to distinguish between large and small fish when there are more fish. Turn down the
sensitivity, increase the "sieve", and the less reflective objects will be filtered out, leaving the relatively large fish
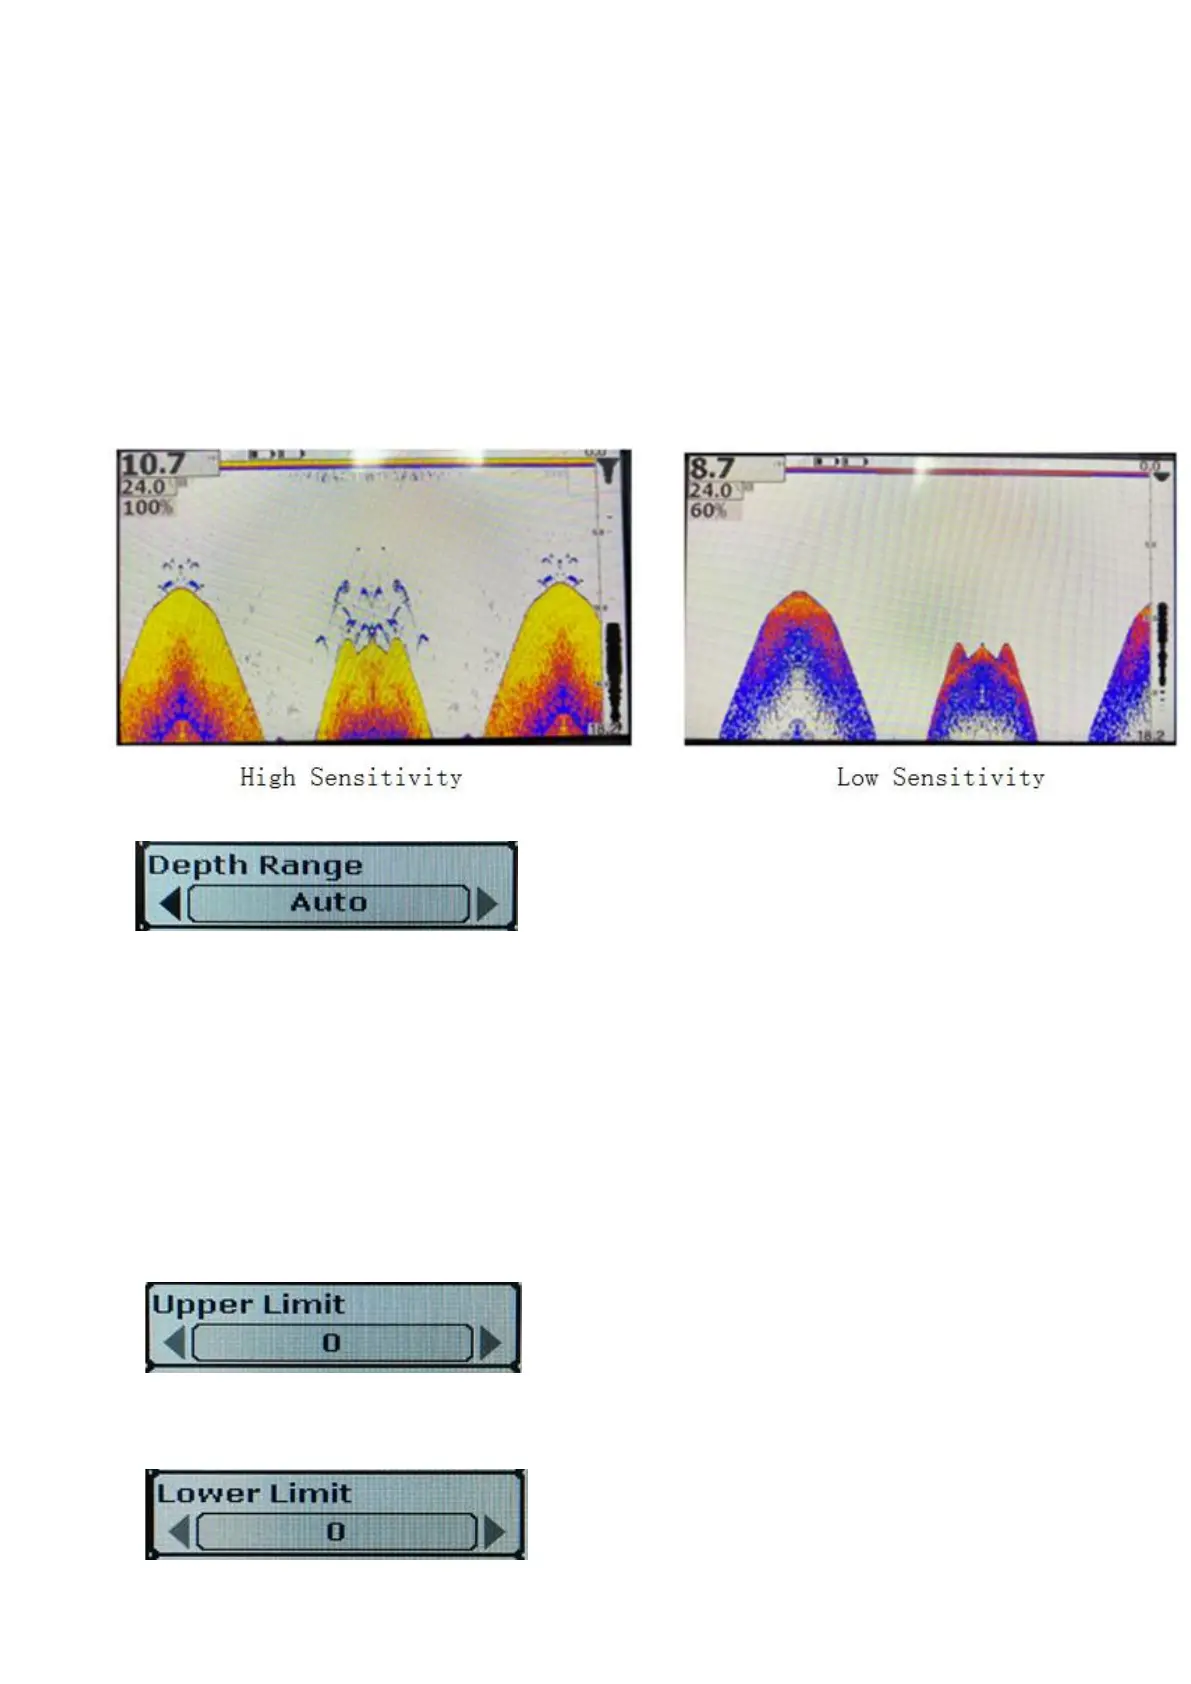
• 2)Depth range setting
Press the On/Off key to select the "Sonar" menu group, press the up/Down key to select the depth range item, and
press the left/right key to select it
Set the unit as "FT" in depth (FT), value of "0-9 FT" respectively, "0-15 FT" "0 to 30 FT" "0-60 FT" "0-90 FT" "0-120
FT" "" automatic".
Unit set to "M" in depth (M), the value of 0 to 3 M, respectively "0 to 5 M" "0 to 10 M" "0-20 M" "0 to 30 M" "0 to 40 M"
"automatic".
When the depth range is set to a fixed value, the screen will adjust to the corresponding display range according to the
set value. Content outside the set range will no longer be displayed.
3)Upper limit of the depth range
Optional values: 0 to 120FT (0 to 40m)
4)The lower limit of the depth range is set
Optional value: 9FT to 120FT (3m to 40m)
 Loading...