Specifications subject to change without notice.
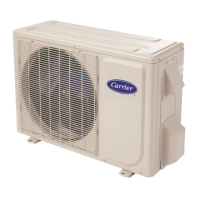
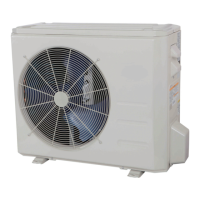
Fig. 1 —Sizes 9K to 36K
NOTES: Read the entire instruction manual before starting the
installation.
Images are for illustration purposes only. Actual
models may differ slightly.
TABLE OF CONTENTS
PAGE
SAFETY CONSIDERATIONS........................................................2
INTRODUCTION ............................................................................3
ACCESSORIES................................................................................3
DIMENSIONS..................................................................................4
CLEARANCES ................................................................................7
INSTALLATION REQUIREMENTS .............................................8
INSTALLATION .............................................................................8
Step 1 - Check Equipment ................................................................8
Step 2 - Mount Unit ..........................................................................8
Step 3 - Condensate Drain Installation .............................................9
Step 4 - Refrigerant Piping ...............................................................10
Step 5 - Evacuate Coil And Tubing System .....................................13
Step 6 - Electrical Connections.........................................................14
WIRING ...........................................................................................14
ELECTRICAL DATA......................................................................15
CONNECTION DIAGRAMS ..........................................................15
START-UP .......................................................................................16
CARE AND MAINTENANCE........................................................16
TROUBLESHOOTING ...................................................................16
OUTDOOR UNIT DIAGNOSTIC GUIDES ...................................17
DUCTLESS START-UP CHECKLIST ...........................................18
Installation Instructions
38MA*R
Outdoor Unit Single Zone Ductless System
Sizes 09 to 36



 To Next Page
 General