Do you have a question about the Casablanca Mission and is the answer not in the manual?
Discusses optimal placement for fan installation and choosing the appropriate fan size.
Provides table of recommended pole lengths and usage advice for sloped ceilings.
Explains how to determine fan compatibility with sloped ceilings using a template.
Lists fan parts found in the carton and details the Perma-Lock™ hardware.
Steps for preparing the downrod assembly and outlet box requirements for installation.
Steps for installing the crossbar mounting bracket to the ceiling outlet box.
Securing the bracket with lag screws and attaching the canopy to the bracket.
Connecting the fan body to the canopy and wiring it to house electrical supply.
Securing the canopy hatch after wiring connections are made.
Preparing fan blades with rubber grommets and blade holders.
Steps for securing the fan blades to their respective holders.
Attaching the assembled blades to the fan's flywheel plate.
Initial steps for preparing the light kit before wiring and mounting.
Connecting the wires from the fan to the light kit base.
Mounting the light kit base onto the fan's switch housing.
Lists the hardware components required for assembling the glass shade.
Steps for attaching the glass shade support to the glass shade.
Installing light bulbs and threading the glass assembly onto the fan.
Finalizing the glass attachment by securing the light kit cap and finial.
Instructions for wiring a single Inteli-Touch W-33 wall control.
Instructions for wiring Inteli-Touch W-33 controls for a three-way setup.
Using the power button, controlling fan speed, and reversing airflow direction.
Adjusting light brightness, turning lights on/off, and activating the demo program.
Automating light shut-off after two hours and providing exit lighting.
Simulating occupancy with timed lights and auto fan speed reduction.
Caring for fan finishes, blades, and procedures for changing light bulbs.
Diagnosing and fixing common problems like wobbling, noise, or incorrect speed.
Steps for removing the holster and installing the control bracket to the wall.
Options for wall mounting the bracket and attaching the holster.
Installing batteries and understanding important operating notes for the remote.
Using the remote to control fan speed, direction, lights, and special features.
Activating the security lighting program and changing DIP switches for frequency.
Steps to resolve issues when the fan is not functioning after installation.
Caring for finishes, blades, and fixing fan problems like noise or wobble.
Diagnosing problems with remote control, batteries, and fan lights.
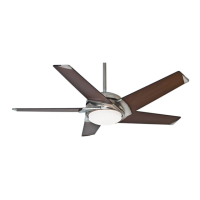
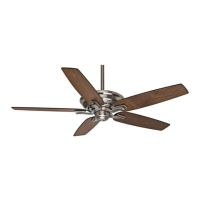
Details on the fan's model number, physical dimensions, and weight.
Information on motor, airflow, electricity usage, and airflow efficiency.
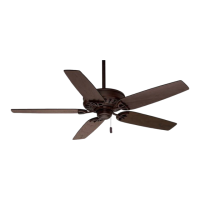
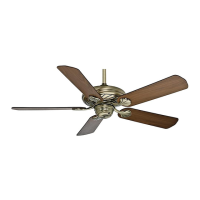
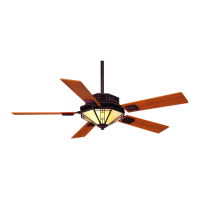
| Blade Material | Wood |
|---|---|
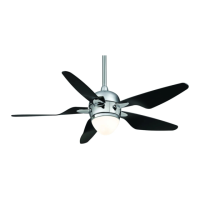
| Number of Blades | 5 |
| Motor Type | AC |
| Remote Control | Yes |
| Light Kit Compatible | Yes |