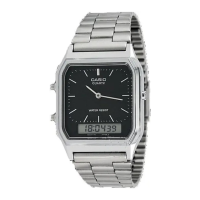
1840-3
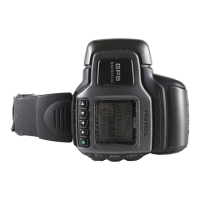
ALARM MODE
You can set an alarm time at which a beeper
sounds for about 20 seconds each day. Press
any button to stop the alarm.
The watch also has an hourly time signal that
beeps twice every hour on the hour when
turned on.
To set the alarm
1. In any mode, press the MENU button to display the Menu Screen.
2. Use L and K to move the highlighting to SET UP.
3. Press ● to display the Set Up Menu.
4. Use L and K to move the highlighting to ALARM and then press ●.
• This displays the current alarm time setting, with the hour digits flashing.
5. Use H and J to move the flashing between the hour digits and the
minutes digits.
6. Press K to increase the flashing digits or L to decrease them.
• Holding down either button changes the flashing digits at high speed.
7. After the alarm time is the way you want it, press GPS to exit the Setting
Screen and return to the screen you started from in step 1.
Hourly Time Signal
on indicator
Mode name
Alarm time
Alarm on indicator
To turn the alarm and Hourly Time Signal on and off
In the Alarm Mode, each press of ● cycles through the alarm and Hourly Time
Signal on/off settings as shown below.
[Alarm On Indicator/Hourly Time Signal On Indicator]
• An indicator appears above ALM at the bottom of the display when the
alarm is turned on, and above SIG when the hourly time signal is turned on.
To test the alarm
In the Alarm Mode, hold down ● to sound the alarm.
Both Off Hourly Time
Signal On
Both OnAlarm On
ALM SIG ALM SIG ALM SIG ALM SIG
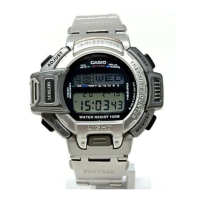
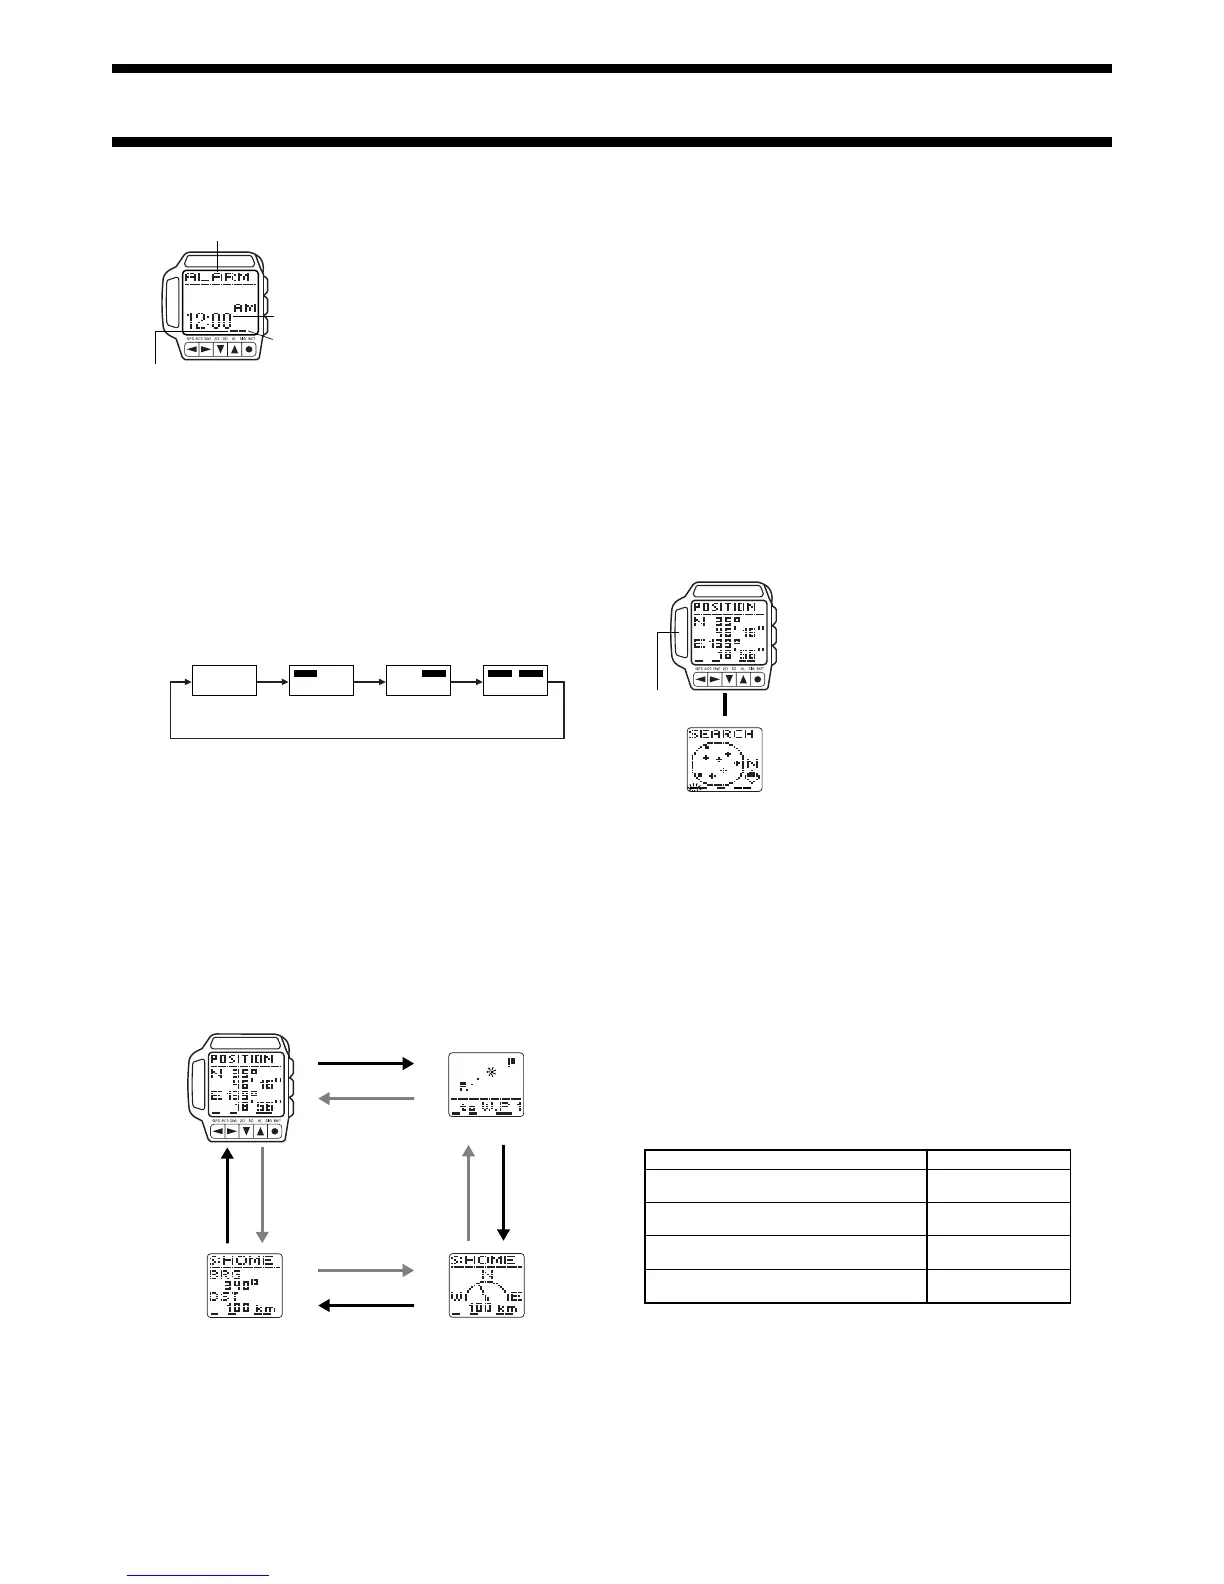
GPS MODE
The GPS Mode provides you with a collection of powerful GPS functions that
allow you to determine your current position and perform other useful
navigation operations. After entering the GPS Mode, use the L and K
buttons to cycle through four GPS Data Screen formats as shown below.
GPS Data Screens
• The Position Screen appears first whenever you enter the GPS Mode.
Plot Screen
PressK.
PressL.
Graphical Navigation ScreenDirection and Speed Screen
Position Screen
LKKL
L
K
Use:
Quick Mode
One-Shot Mode
Continuous Mode
Auto Mode
To perform:
One-shot measurement with standby for
subsequent measurements
One-shot measurement with no standby
(power save)
Continuous measurement with standby for
subsequent measurements
Continuous measurement with semi-standby
(power save)
Setting Up the GPS Mode
The following are settings you need to make before actually taking any
measurements with the GPS Mode. Most of these need to be made only the
first time you use the watch. See the referenced pages for full information
about each setting.
• Area setting (See “Setting Your Area”)
• Datum setting (See “Setting a Datum”)
• Distance unit setting (See “Setting the Distance Unit”)
• Speed unit setting (See “Setting the Speed Unit”)
Important!
• The Timekeeping Mode time and date settings are also used to determine
the current positions of satellites. Make sure that your time and date setting
are always accurate.
Taking a GPS Measurement
The following are the basic steps for taking a position measurement in the
GPS Mode. See the referenced pages in this manual for further details.
The following procedure uses the One-Shot Mode as an example. See “GPS
Measurement Modes” for information about other measurements.
Important!
• GPS measurements may take a long time to complete or may even be
impossible due to satellite and other conditions.
To take a GPS measurement
1. While a GPS Data Screen is on the
display, press ●.
• This example procedure starts from the
Position Screen.
• This changes to the Satellite Search
Screen.
• The indicator flashes above GPS at the
bottom of the screen to indicate that the
watch is searching for overhead satellites.
• To interrupt an ongoing GPS
measurement, press ● again.
• Make sure the antenna is pointing up at
the sky while a measurement is taking
place.
2. When the measurement is successful, the watch beeps a number of times
and returns to the GPS Data Screen you started from in step 1.
• See “To add a landmark by registering your current location” for information
about storing GPS measurement data in Landmark Memory.
• See “GPS Measurement Modes” for more information about indicators and
how the watch updates measurement data.
• If the watch is unable to successfully complete the measurement within
about two minutes, it plays a short tune and displays SATELLITE at the top
of the display to let you know. If this happens, press ● twice to return to the
GPS Data Screen, move to a more open area, and try again.
• If you perform the above GPS measurement operation within the area
defined by 20° to 46° north latitude and 122° to 149° east longitude, a
successful measurement causes a map of Japan to appear on the display
for a few seconds, followed by a GPS Data Screen.
GPS Measurement Modes
You can select from among four different GPS measurement modes. The
mode you should select depends on how quickly you want your position data
updated balanced against how important it is for you to conserve remaining
battery power.
Remember, however, that no matter which GPS measurement mode you use,
it can take a considerable amount of time to achieve the first measurement.
• The standby modes provide faster updating of measurement data following
the first measurement, but they consume more battery power because the
watch’s GPS circuit remains in standby (half power). The indicator flashing
above GPS at the bottom of a GPS Data Screen indicates that GPS
measurement is in standby.
L
Antenna
 Loading...