— 7 —
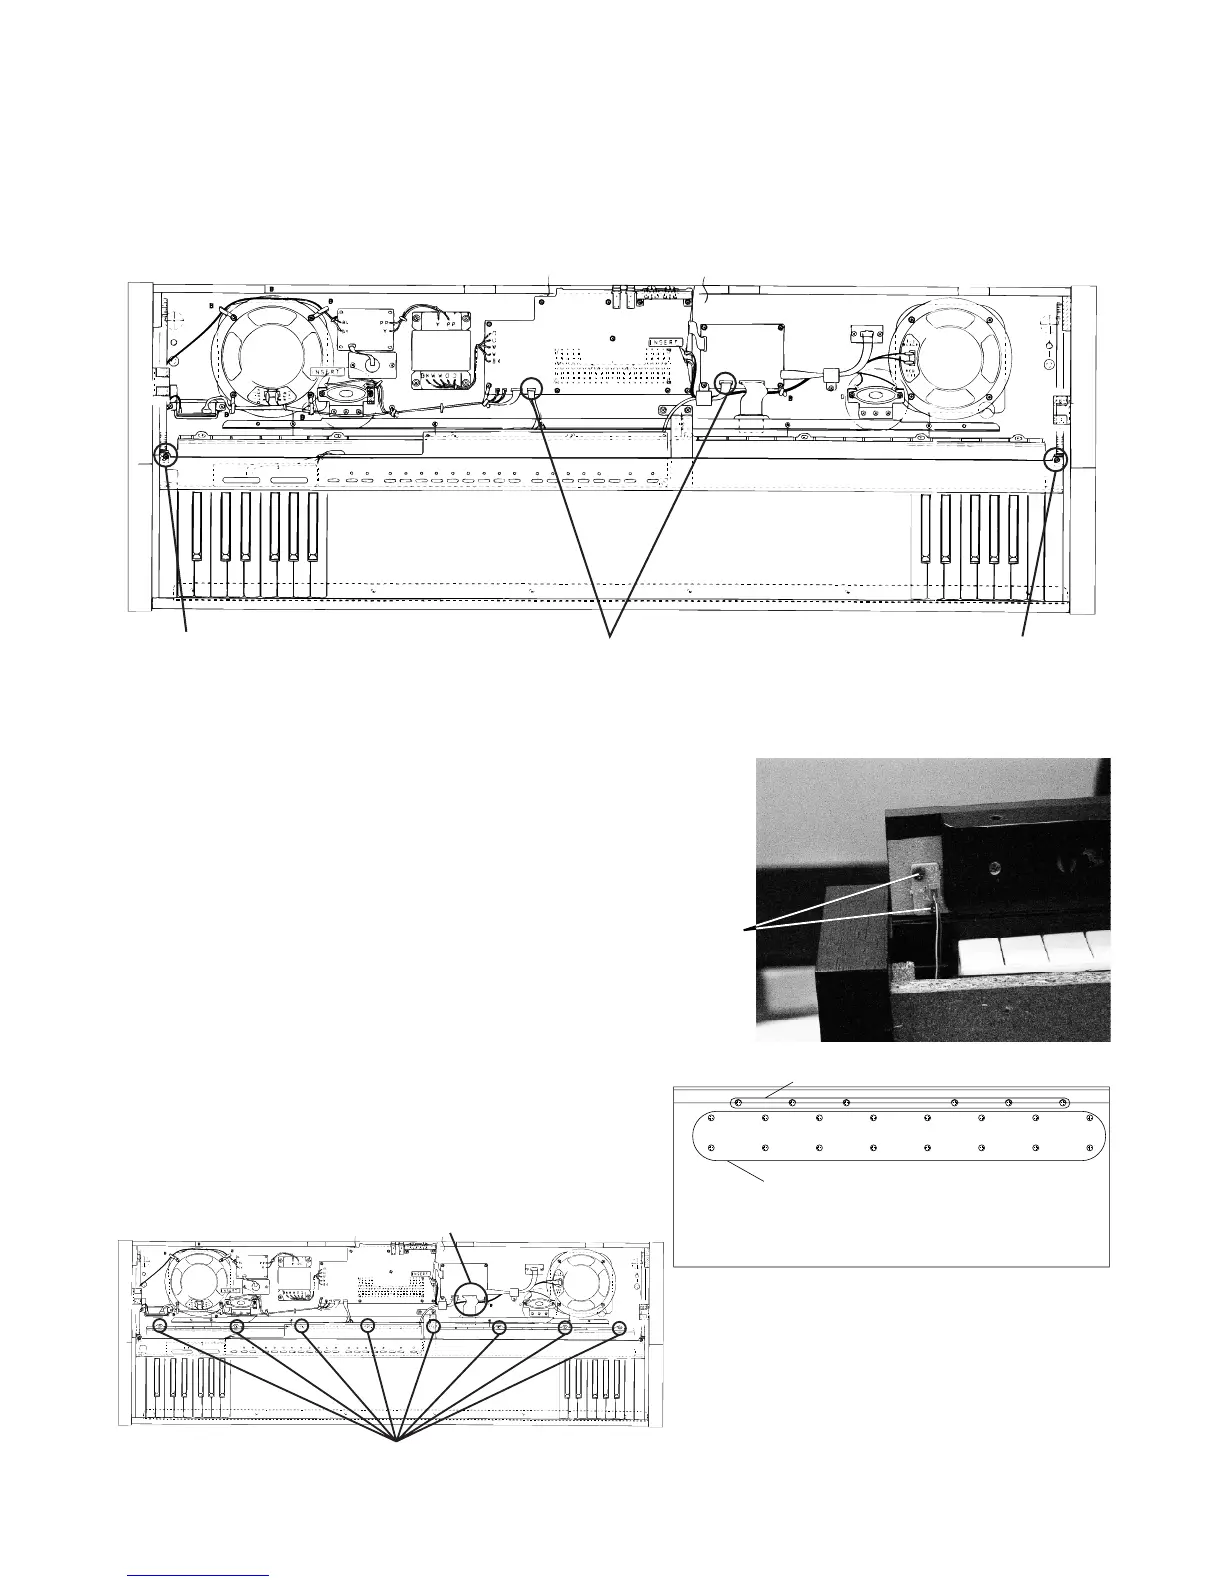
5. Removal of keyboard unit
5-1. Remove the connectors.
5-2. Remove 24 screws that affix the keyboard unit
(16 on the bottom of the case and 8 on the
keyboard unit).
5-3. Lift and remove the keyboard unit.
4. Removal of front cover
4-1. Remove 6 screws from the front end of the lower case.
4-2. Lift the front cover and remove the pilot lamp that is affixed
by 2 screws. Then remove the front cover.
3. Removal of console panel
3-1. Remove 2 connectors.
3-2. Lift the console panel and turn it over and remove the power switch, which is affixed by 2 screws.
Then remove the side panel.
Caution: Be careful not to scratch the side panels.
Front cover screws
Bottom
Keyboard screws
Keyboard screws
Connector
Screw
ScrewConnectors
screws