Using the Pattern Sequencer
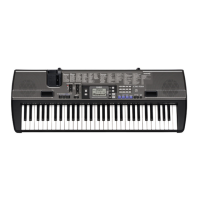
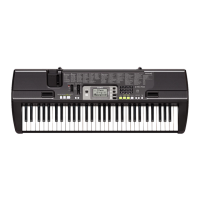
E-111
1.
Press the C-5 (PATTERN SEQUENCER) button.
• This displays the pattern sequencer screen. For details
about screen contents, see step 2 under “To rehearse
before editing an existing rhythm” (page E-104).
2.
Perform the procedure under “To clear all rec
areas included in the currently selected
rhythm” (page E-120).
3.
Perform the procedure under “To configure
pattern rec settings (Rec Menu)” (page E-106).
• This step is not necessary if you want to perform
operations using initial default settings or if you want to
use previous settings without changing them.
4.
Use buttons L-12 (INTRO) through L-15
(SYNCHRO/ENDING) to select the
accompaniment pattern you want to create
anew.
5.
Perform steps 4 and 10 under “To create a new
accompaniment pattern” (page E-109).
6.
Repeat steps 4 through 5 to create all of the
accompaniment patterns you want.
7.
After completing all of the operations you want,
adjust the tempo of the rhythm as desired.
• The tempo you set here becomes the initial default
tempo of the accompaniment pattern.
8.
For details about how to save the final version
of the rhythm as a user rhythm, see “To store
an edited or newly created rhythm” below.
1.
While the pattern sequencer screen is on the
display after rhythm editing or creation is
complete, hold down the R-13 (FUNCTION)
button as you press the C-17 (MENU) button.
• This displays the pattern sequencer menu screen.
2.
The 0 should be next to “Store”, so press the
R-16 (ENTER) button.
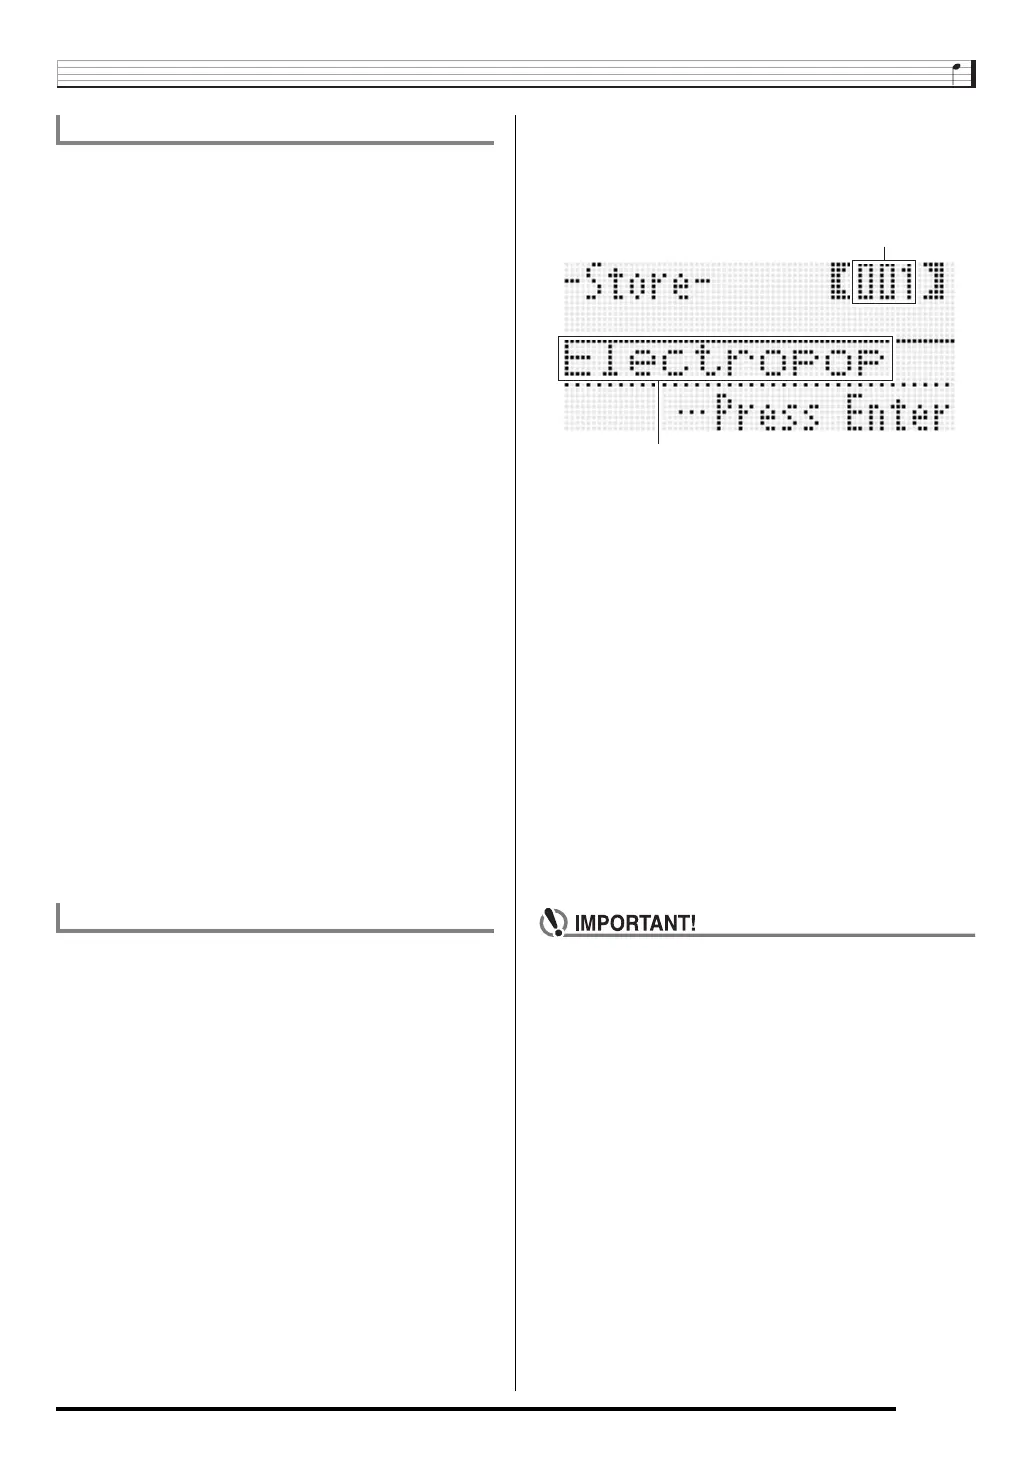
• This displays a screen for specifying the destination
user rhythm number and rhythm name.
3.
Use the dial or the R-14 (–, +) buttons to select
the destination user rhythm number you want.
4.
Use the R-17 (u, i) buttons to move the
cursor to the name character position you want
to change, and then use the dial or R-14 (–, +)
buttons to select the character you want.
• For details about the characters you can input, see
“Supported Input Characters” (page E-160).
• To input a space, press both of the R-14 (–, +) buttons
at the same time.
5.
Press the R-16 (ENTER) button.
• This stores the data.
• If the user rhythm number where you are storing the
data already has data stored to it, a message
(Replace?) will appear on the display to confirm
whether you want to overwrite the existing data with the
new data. Press the R-14 (YES) button to overwrite.
• The message “Please Wait” will remain on the display
while a data save operation is in progress. Do not
perform any other operation while it is displayed.
Turning off the Digital Keyboard or removing the
memory card can cause Digital Keyboard data to be
deleted or become corrupted. It also can cause the
Digital Keyboard to fail to turn on when the L-1 (P)
button is pressed. If this happens, refer to
“Troubleshooting” (page E-150).
To create a new rhythm from scratch
To store an edited or newly created rhythm
Destination user rhythm number
Rhythm name
CTK7300IN_e.book 111 ページ 2013年7月19日 金曜日 午後12時1分
 Loading...