Using the Mixer
E-37
1.
Press the C-7 (MIXER) button.
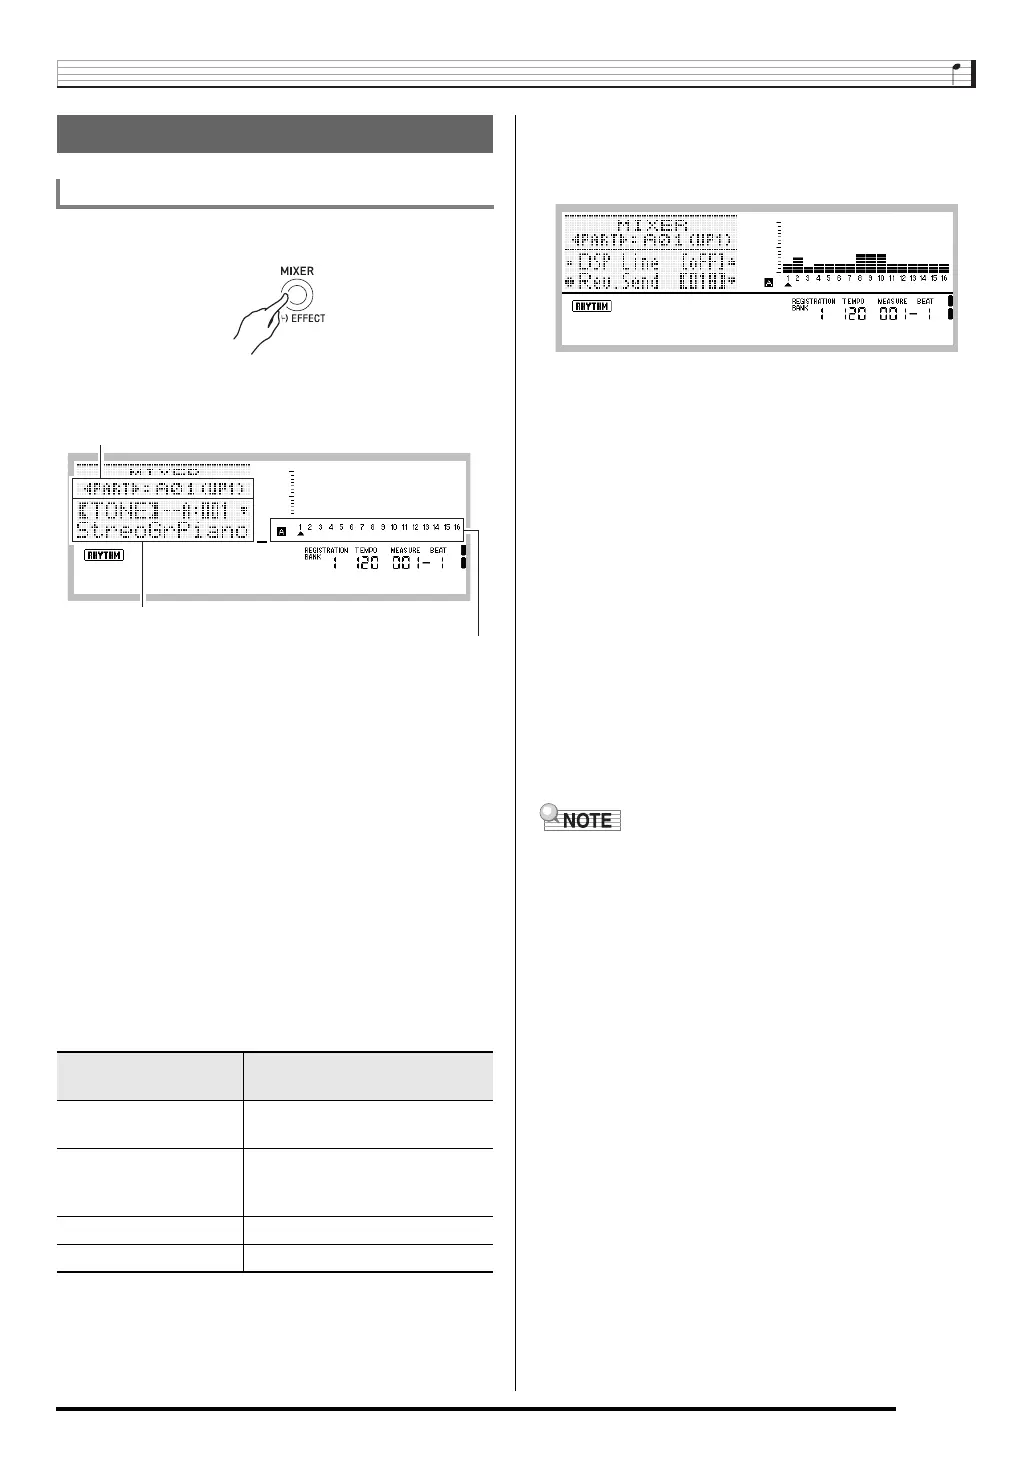
• This causes the mixer screen to appear.
2.
Use the R-17 (u, i) buttons to select the
mixer parameter you want to change.
• You can select master (MASTER), effect (DSP), MIC/
INST input (EXT(M/I)), or a part (A01 through A16, B01
through B16). The currently selected setting is shown in
the line two of the display.
• While a part is selected, you can toggle between Group
A and Group B by pressing both of the R-17 (u, i)
buttons at the same time.
3.
Use the R-17 (t, y) buttons to move the thick
brackets (%) to the parameter you want to
change.
• The parameters that can be configured depend on the
currently selected setting. For details, refer to the
sections shown in the table below.
• When you move the thick brackets (%) to one of the
setting values of a part parameter, all of the part
parameter values of the Group (A or B) to which the
part belongs are indicated by level meter black boxes.
4.
Use the dial or R-14 (–, +) buttons to change the
setting value.
• Pressing the R-14 (–, +) buttons at the same time
returns a parameter to its initial default setting.
• You also can change the settings of parameters using
the D-1 (PART/COMMON), D-2 (GROUP A/B), and
D-3 (1-8/9-16) buttons, and sliders D-4 (1/9/EXT) to
D-12 (MASTER). For more information, see “Using the
Sliders to Change Parameter Settings” (page E-38).
• While the “Part” (part on/off) setting of a part parameter
is being configured, pressing both of the R-14 (–, +)
buttons at the same time will change the setting to “Sol”
(Solo). For details, see “Part Parameters” (page E-43).
5.
Repeat steps 2 through 4 as required to
configure other parameters.
6.
To exit the mixer, press the C-7 (MIXER) button
or the R-15 (EXIT) button.
• This exits the mixer screen.
• While master (MASTER), effect (DSP) or MIC/INST input
(EXT(M/I)) is selected in step 2 above for setting, you also
can perform normal keyboard play (play using layer, split,
and Auto Accompaniment).
• While an individual part (A01 through A16, B01 through
B16) is selected in step 2 above for setting, pressing a
keyboard key will sound only notes of the selected part. All
other types of performance operations (layer, split, Auto
Accompaniment, etc.) are disabled.
Mixer Operation
To change mixer parameters
When this setting is
selected:
These parameters can be
configured:
MASTER MASTER Parameters
(page E-41)
EXT(M/I) MIC/INST Parameters (External
MIC IN/INST IN <EXT(M/I)>)
(page E-42)
DSP DSP Parameters (page E-41)
A01 to A16/B01 to B16 Part Parameters (page E-43)
Currently selected setting
(MASTER, EXT(M/I), DSP, or A01 to A16/B01 to B16)
Parameter/Setting value
Currently selected setting part
(when currently selected setting is A01 to A16/B01 to B16)
CTK7300IN_e.book 37 ページ 2013年7月19日 金曜日 午後12時1分
 Loading...