66
Maintenance Section
Cooling System Coolant (DEAC) - Change
2. Close the drain valve (if equipped). Clean the
drain plugs. Install the drain plugs. Refer to
the Specifications Manual for your particular
engine for more specific information on the
proper torques. Refer to the Specifications,
SENR3130, “Torque Specifications” for more
general information on the proper torques.
NOTICE
Fill the cooling system no faster than 19 L (5 US gal)
per minute to avoid air locks.
3. Fill the cooling system with a mixture of clean
water and Caterpillar Fast Acting Cooling
System Cleaner. Add .5 L (1 pint) of cleaner per
3.8 to 7.6 L (1 to 2 US gal) of the cooling system
capacity. Install the cooling system filler cap.
4. Start the engine and run the engine at low
idle for a minimum of 90 minutes. The coolant
temperature should be at least 82
C (180
F).
NOTICE
Improper or incomplete rinsing of the cooling system
can result in damage to copper and other metal com-
ponents.
To avoid damage to the cooling system, make sure
to completely flush the cooling system with clear wa-
ter. Continue to flush the system until all signs of the
cleaning agent are gone.
5. Stop the engine and allow the engine to cool.
Loosen the cooling system filler cap slowly
in order to relieve any pressure. Remove the
cooling system filler cap. Open the drain valve (if
equipped) or remove the cooling system drain
plugs. Allow the water to drain. Flush the cooling
system with clean water. Close the drain valve (if
equipped). Clean the drain plugs. Install the drain
plugs. Refer to the Specifications Manual for your
particular engine for more specific information on
the proper torques. Refer to the Specifications,
SENR3130, “Torque Specifications” for more
general information on the proper torques.
Fill
Refer to the Operation and Maintenance Manual,
“Coolant Specifications” topic for information
regarding acceptable water, coolant/antifreeze, and
supplemental coolant additive requirements. Refer
to the Operation and Maintenance Manual, “Refill
Capacities” topic for the capacity of the engine’s
system.
Engines that are Equipped with a Coolant
Recovery Tank
NOTICE
Fill the cooling system no faster than 19 L (5 US gal)
per minute to avoid air locks.
1. Fill the cooling system with coolant/antifreeze.
Refer to the Operation and Maintenance
Manual, “Cooling System Specifications” topic
(Maintenance Section) for more information on
cooling system specifications. Do not install the
cooling system filler cap.
2. Start the engine and run the engine at low idle.
Increase the engine rpm to 1500 rpm. Run the
engine at high idle for one minute in order to
purge the air from the cavities of the engine
block. Stop the engine.
3. Add coolant to the cooling system until the
cooling system is full.
4. Clean the cooling system filler cap. Inspect the
gasket that is on the cooling system filler cap. If
the gasket that is on the cooling system filler cap
is damaged, discard the old cooling system filler
cap and install a new cooling system filler cap.
If the gasket that is on the cooling system filler
cap is not damaged, perform a pressure test. A
9S-8140 Pressurizing Pump is used to perform
the pressure test. The correct pressure for the
cooling system filler cap is stamped on the face
of the cooling system filler cap. If the cooling
system filler cap does not retain the correct
pressure, install a new cooling system filler cap.
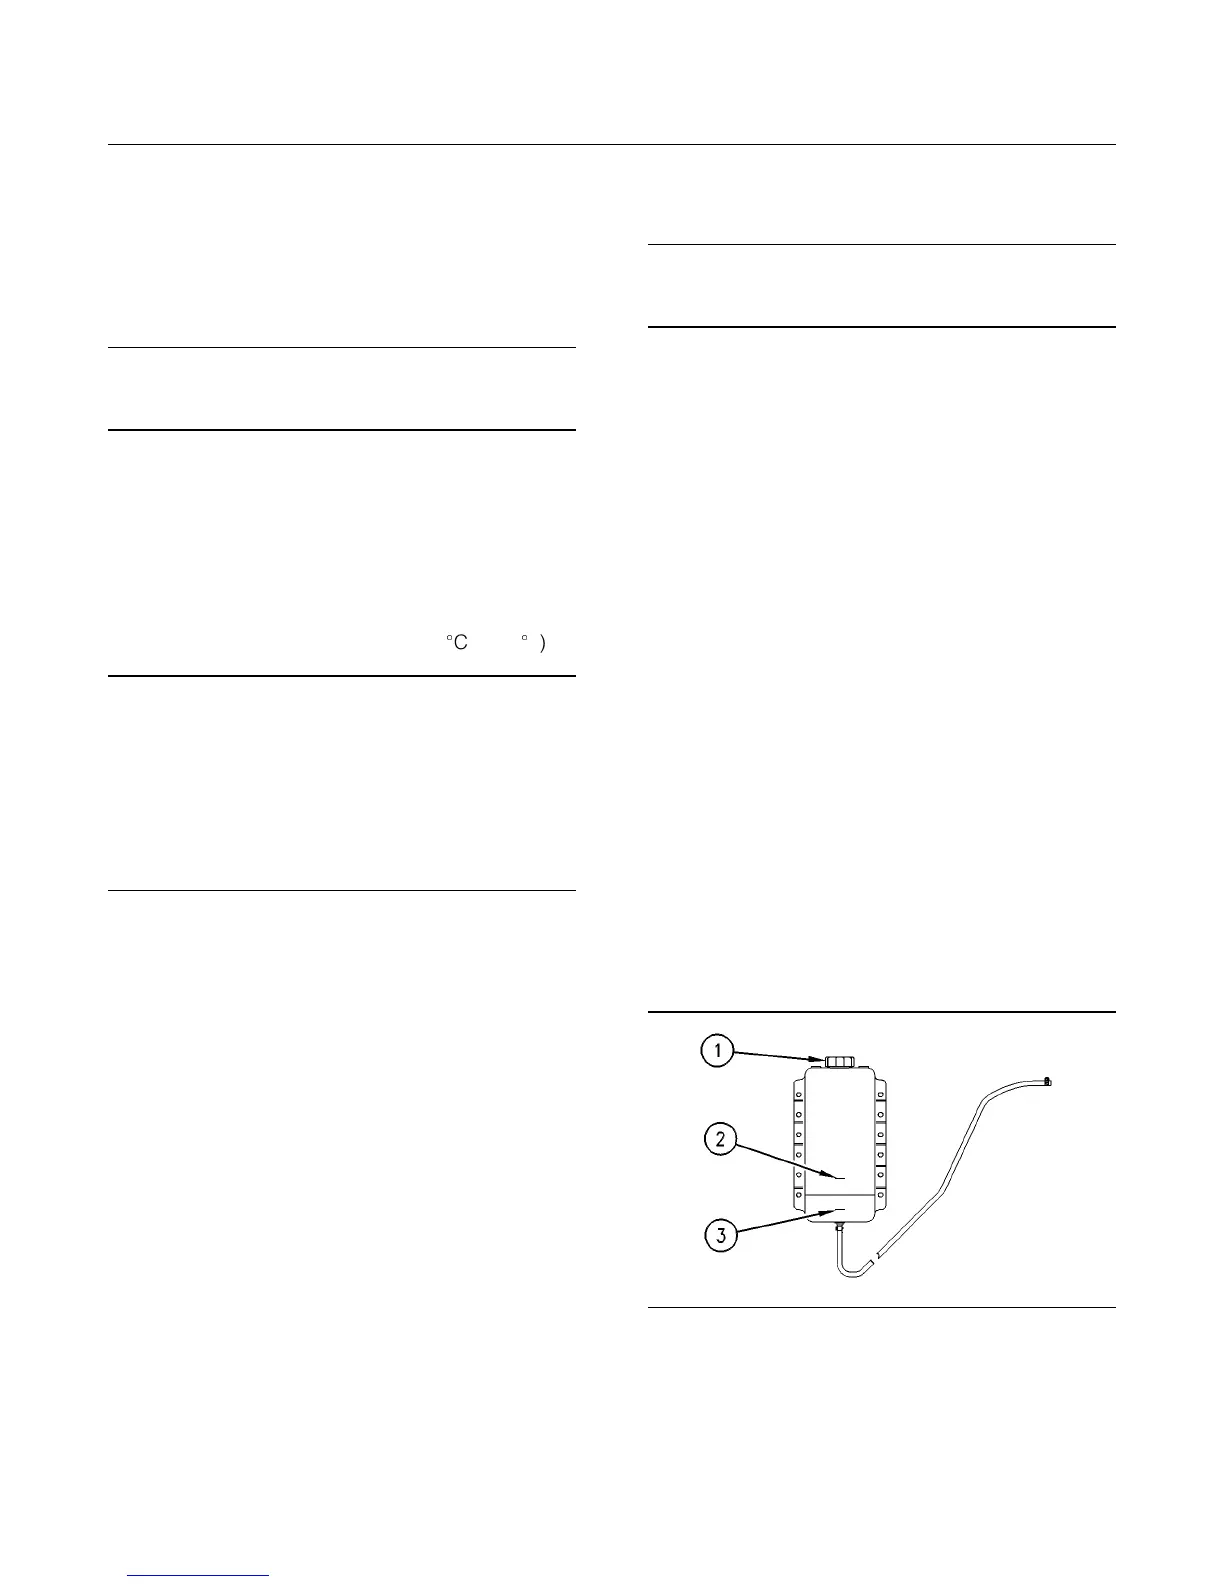
g00103638
Illustration 18
(1) Recovery tank filler cap
(2) “COLD FULL” mark
(3) “LOW ADD” mark
5. Loosen the cap for the coolant recovery tank
slowly in order to relieve any pressure. Remove
the cap for the coolant recovery tank.
 Loading...