6
5
7
2
RUBBER
SCR EW
COVE R
8
SCREW
CONE GEAR
6B
6A
【】Figure 7
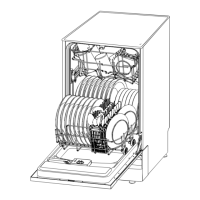
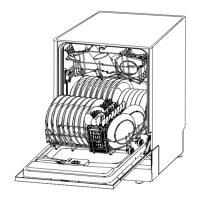
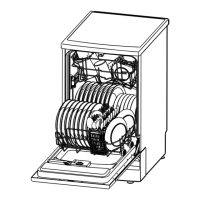
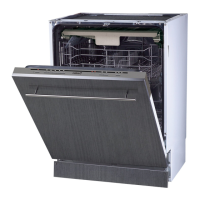
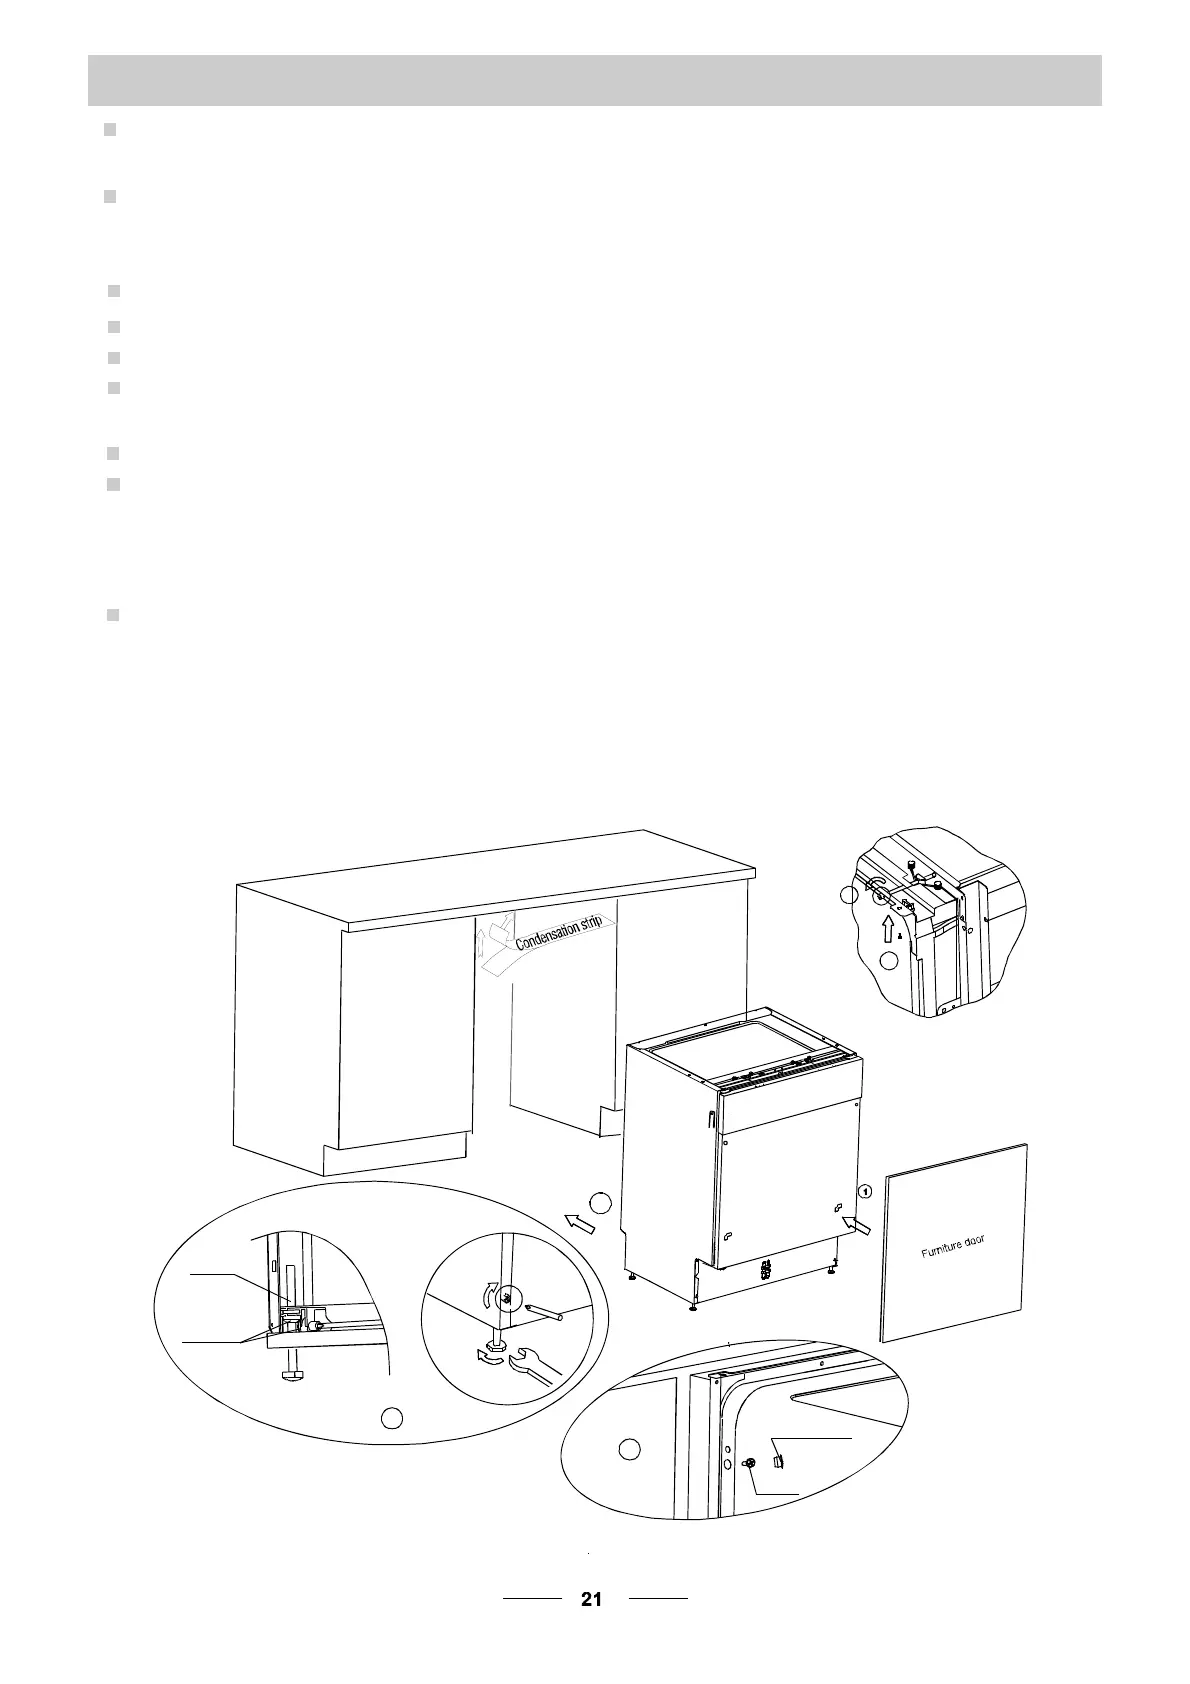
Dishwasher installation steps
●
.
.
.
.
7
8
1 Install the furniture door to the outer door of the dishwasher using the brackets
provided. Refer to the template forpositioning of the brackets.
2 Adjust the tension of the door springs by using anAllen key turning in a clockwise
motion totighten the left and right door springs. Failure to do this could cause damage
to your dishwasher (Illustration 2)
3 Con ne ct t he i nle t h ose to th e cold wat er s uppl y
4 Con nec t th e d ra in hos e. Re fer t o diag ra m ( Figu re 6 )
5 Con nec t the p ower co rd
Affix the condensation strip under the work surface of cabinet.P lease ensure
the condensation strip is flush with edge of work surface.
Place the dishwasher into position.
Level the dishwasher. The rear feet can be adjusted from the front of the dishwasher
by t urni ng t he s cre ws on th e le ft a nd r ight ha nd s ide of t he ca binet (Illu st rati on 6A ).
To adjust the front feet, use a wrench and turn the front feet until the dishwasher is level
(Illust ration 6B).
9 The dishwasher must be secured in place. There are two ways to do this:
A. Normal work surface-secure to the work surface by using two woodscrews ensuring
the dishwasher weight is not being hit by the surface(Illustration 7).
B. Ma rble or gr ani te w ork top-s ecure the b ra cke t to t he s ide pan el of the d ishw asher
and secure the dishwasher to the furniture housing. Put the rubber cap over the screw
(Illustra tion 8).
6
 Loading...