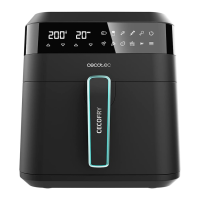
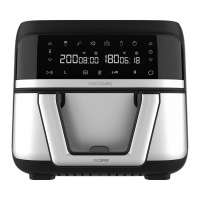
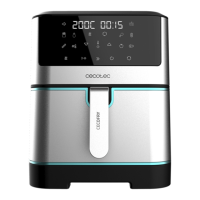
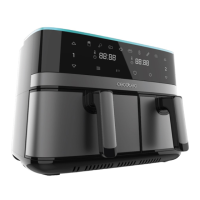
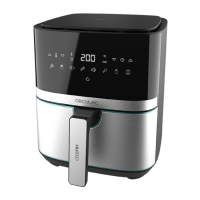
CECOFRY EXPERIENCE WINDOW WHITE 6000
CECOFRY EXPERIENCE 6000
CECOFRY EXPERIENCE WINDOW 6000
33
you wish to end the cooking process, hold down this icon (7) for 3 minutes. If you do not
press any icon for the next minute after pausing, the fryer will enter standby mode and
will beep 3 times.
8. When you hear an alarm, it means that the preparation time has come to an end. Use the
handle (4) to remove the basket (3). Depending on the type of ingredients, steam may be
released, so be careful when removing the basket (3).
9. Check if the ingredients are ready. If not, put the basket (3) back inside the device and set
the timer for a few more minutes.
10. To remove the ingredients, place the basket (3) on a heat-resistant surface.
11. Place the basket ingredients on a proper container. Use tongs to remove ingredients, as
this will prevent residual cooking oil from dripping onto the container. Be careful not to
burn yourself. Do not place the basket (3) upside down to remove the food.
12. You can continue using the fryer if desired or you can nish the cooking process, to do
so, hold down the On/o icon (7) for 3 seconds.
Control panel
On/off icon
- When the basket (3) and the rack (5) are placed in the correct position inside the air fryer,
the On/o icon (7) will light up.
- To turn the air fryer on, press the On/o icon (7), the air fryer will beep, and the display
will show 200ºC / 15 minutes alternately.
- You can set the desired time and temperature or select a pre-set function. Press the On/
o icon (7) to start the selected function or the manual setting. If you press this icon
again (7), the fryer will pause.
- To nish the cooking process, hold down the On/o icon (7) for 2 minutes.
Pre-set functions
To use the pre-set functions, press the pre-set function icon (13) until the desired function
icon starts ashing and the display will show the pre-set time and temperature for this
function. You can also set it if desired with the temperature increase/decrease icons (8/9)
and the time increase/decrease icons (10/11).
The table below shows the temperatures and times of the pre-set functions, the amount
of food that can be inserted, and whether stirring is required. The table shows times and
temperatures for all three references.