CECOFRY RAINCECOFRY RAIN
4746
ENGLISH ENGLISH
with hot water, detergent and a non-abrasive sponge.
- Clean the inside and outside of the appliance with a soft damp cloth. Do not ll the
appliance with oil or other liquids.
- Place the metal grille into the appliance until it clicks into place as shown in gure 8.
Protective metal grille
Installation. Fig. 8
The protective metal grille is located at the top of the inside of the air fryer. This grille protects
the heating element. Due to the use of oil spray this part is removable for cleaning.
The protective metal grille features:
- A exible ange that can be pressed to facilitate the exit or entry of the grille.
- A xed ange to support the grille before tting it against the exible ange.
- Two lateral supports to guide the grille.
To attach or remove the grille:
To attach the grille to its bracket you rst need to insert the grille into the xed ange and be
guided by the two side brackets, once this step is done, you have to press the grille against the
exible ange to x the grille completely.
Cleaning
- The grille should be cleaned after each use to prevent oil build-up on the grille.
- To clean the grille, use hot water, a non-abrasive detergent and a non-abrasive sponge.
- Make sure that the fryer is completely cool before cleaning.
3. OPERATION
Preparation
1. Always place the appliance on an horizontal, at and stable surface. Do not place the
appliance on hot surfaces such as induction hobs.
2. Do not place the appliance on a dry, stable, and heat-resistant surface.
3. Place the basket rack in the basket itself as shown in gure 3.
4. Make sure that the oil tank is tted to the appliance and that it is full. If the oil tank is not
inserted correctly or is empty, the appliance will emit an acoustic alert and the message
“Add Oil” will appear on the control panel display every time the device is to spray oil. The
appliance will not spray oil on the food if there is not enough oil in the tank or if the tank
is empty and will continue the process until the end of the programme. To add oil, remove
the oil tank as shown in the gure. 7, open the tank cover and ll the tank to the MAX mark.
5. do not use the basket or grille with oil or any other liquid.
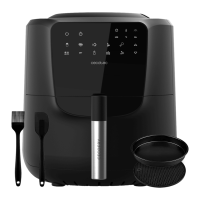
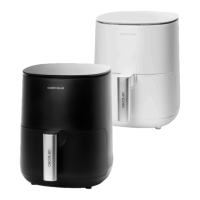
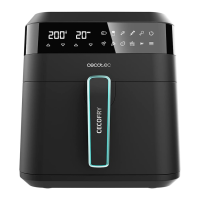
1. PARTS AND COMPONENTS
Fig. 1
1. Control panel
2. Main body
3. Display
4. Basket
5. Handle
6. Oil tank
7. Air outlet
8. Power cable
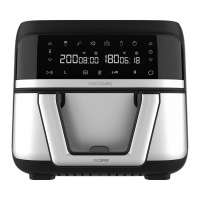
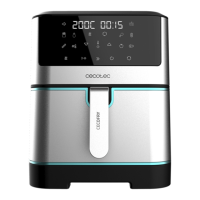
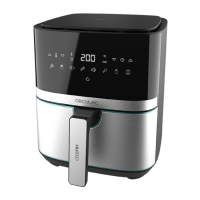
Control panel. Fig. 2
1. Menus
2. Temperature touch icon
3. Timer touch icon
4. Timer knob
5. Oil level touch icon
6. Power/Start/Pause button
7. Increase touch icon
8. Display
9. Decrease touch icon
Note:
The graphics in this manual are schematic representations and may not exactly match the
appliance.
2. BEFORE USE
- This appliance is packaged in a way as to protect it during transport. Take the appliance
out of its box and remove all packaging materials. You can keep the original box and other
packaging elements in a safe place. This will help you prevent damage to the appliance
when transporting it in the future. In case the original packaging is disposed of, make sure
all packaging materials are recycled accordingly.
- Make sure all parts and components are included and in good conditions. If there is any
piece missing or in bad conditions, contact the ocial Cecotec Technical Support Service
immediately.
- Clean the basket, basket grille, heating element protective grille and oil tank thoroughly