HYDROBOOST 10000 LIBERTYHYDROBOOST 10000 LIBERTY
3736
ENGLISH ENGLISH
HYDROBOOST 10000 LIBERTYHYDROBOOST 10000 LIBERTY
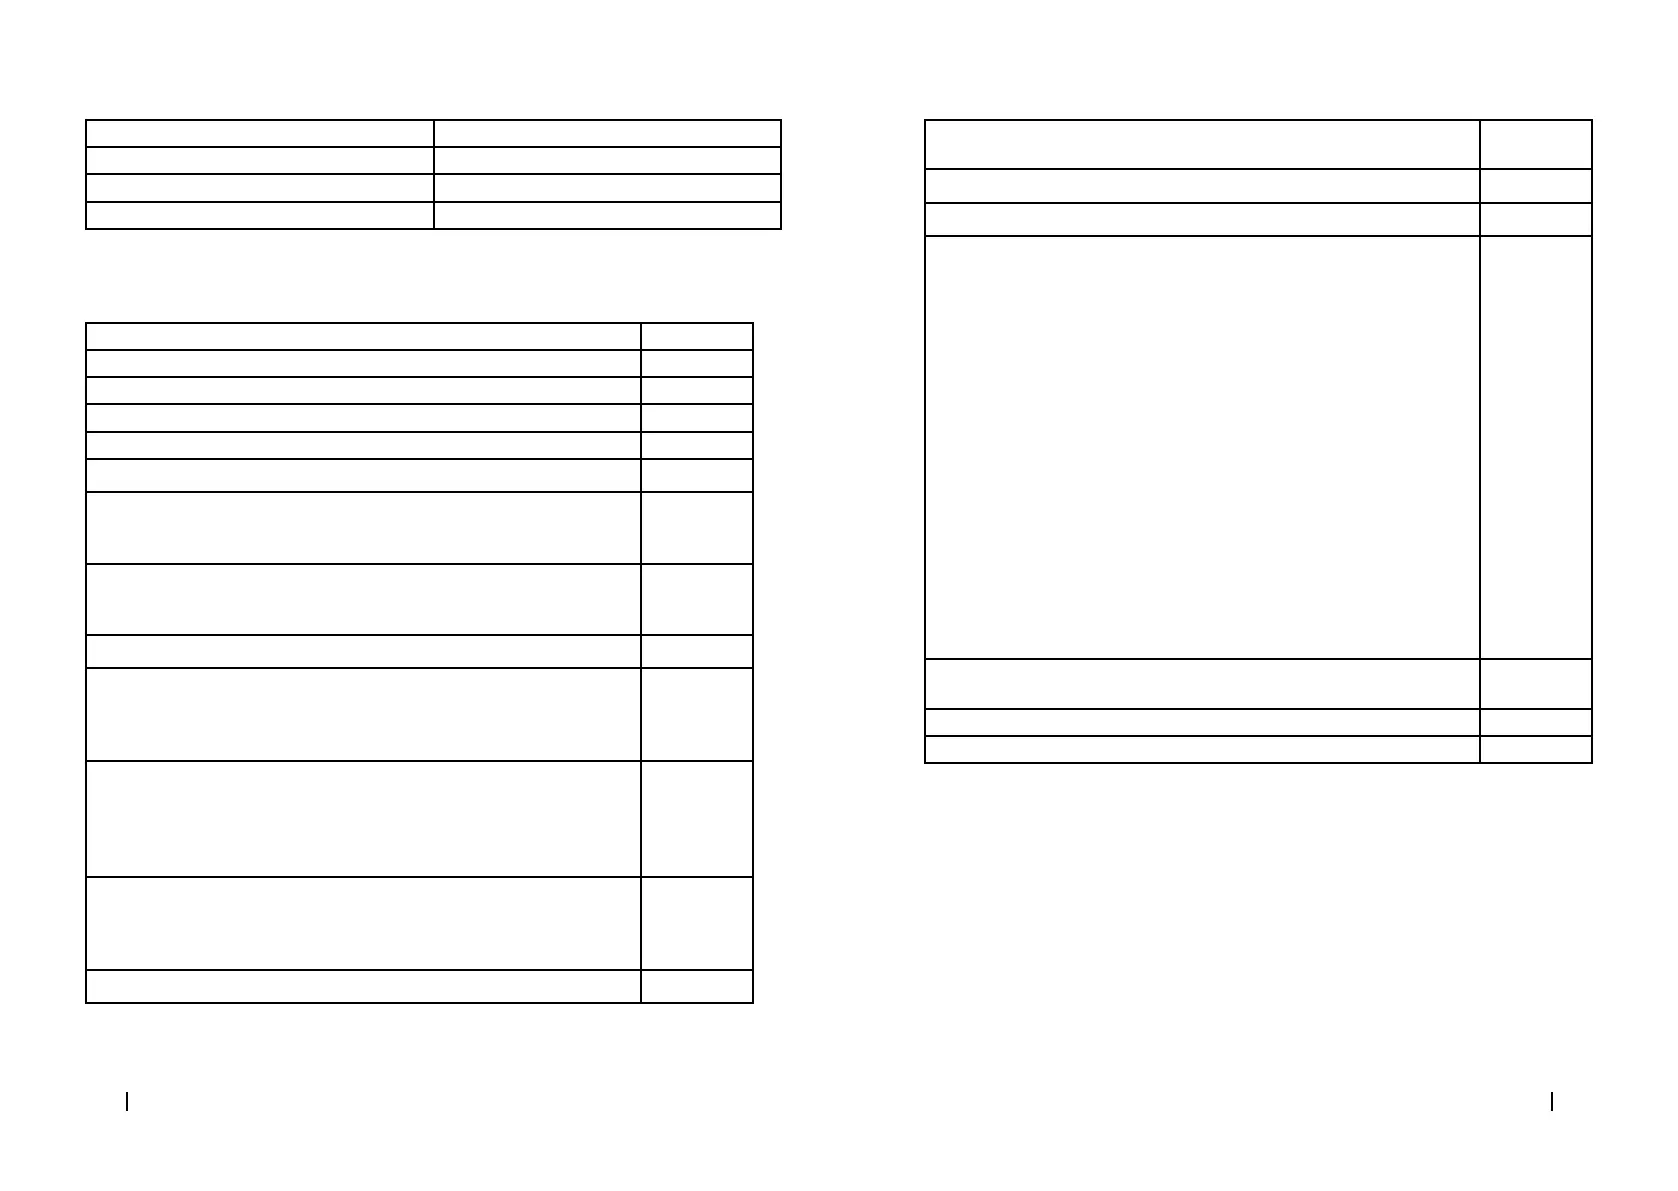
Indicator status Status description
Red light is always on Charging
Green light is always on Finished charging
Flashing red light Battery failure
3. PRODUCT ASSEMBLY
Step Figure
Removing the battery. Fig. 2
Charging the battery. Check the charging instructions for further details. Fig. 3
Battery indicator Fig. 4
Installing the battery. Fig. 5
Installation
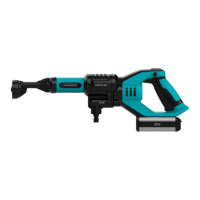
Installing the multi-function nozzle
Note: When the nozzle is installed, shake the nozzle gently to check if it’s
correctly installed.
Fig. 6
Fig. 7
Connecting the water inlet’s hose
Note: When the hose is installed, shake the nozzle gently to check if it’s
correctly installed.
Fig. 8
Fig. 9
Operation
Select the operating mode.
The device can operate under two modes: High mode, which is used for
cleaning the most stubborn dirt, and the Energy-saving mode (ECO), to
clean the easier dirt.
Fig. 10
Operation
Note: The air inside the hose must be drained every time the device is
used. Hold the device below the waist (<1.5 m) and select the high pressure
mode. The water will be suctioned with the hose and will be ejected. This
process takes about 15 seconds.
Fig. 11
Select the water-spray eect
The water-spray eect (multi-angle nozzle) must be selected according to
the working conditions. The 0º, 15º and 40º modes are suitable for cleaning
and watering.
Do not use turbid, muddy or corrosive water.
Warning Fig. 12
Fig. 13
Other
The device can also be used with other accessories.
Assemble the detergent bottle to remove by spraying on the most
stubborn dirt. Adjust the detergent-spray rate by turning the knob.
Use only soap for pressure washers.
The proportion of water and soap should be: 5,4 % of soap and 94.6 % of
water, 1:19 approximately.
Try the soap where it will not be too visible before using the device.
Open the bottle for soap and ll it with water and soap.
Cover it again.
Remove the lance.
Install the bottle for soap in the spray gun.
Let the soap act on the surface for some minutes. In the meantime, scrub
the dirtiest zones with a brush. Do not let the soap touch the surface.
Remove the bottle for soap from the spray gun and replace it for the lance.
You can also remove it from the tip of the lance.
Clean the soap from the surface.
Note: Wash the bottle for soap with water after each use.
Final rinse
Start the nal rinse from the bottom to the top. Make sure the surface is
correctly rinsed and that the dirt has completely been removed.
Fig. 14
Fig. 15
Assemble a long nozzle (lance) to clean the dirt on the ground or in walls.
Adjust the fan’s spray angle by rotating the tip.
Fig. 16
Fig. 17
Cleaning the inlet’s connector. Fig. 18
Cleaning the inlet lter. Fig. 19
4. OPERATION
Adjusting water stream
The angle of the water stream coming out of the nozzle can be adjusted with the pulverising
nozzle by rotating the tip. This will vary the water pattern from approximately a 0° narrow
high-impact stream to a 60° wide fan spray.
Fig. 20
This appliance oers 2 modes:
Focused mode