PERFECTCOUNTRY 2000 EASYMOVE
3. PRODUCT ASSEMBLY
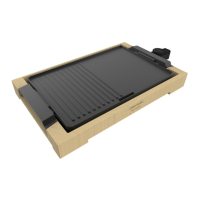
The food tables (9) are xed on the grill holder (8) with a ST4*12 screw (A).
Fig. 3.
Introduce the support tubes in the holes on the grill holder. There is a xing pin at the end of
the support tube, align it with the slot on the grill holder’s lower part and push it until tted into
place. A click will indicate it has been properly assembled.
Fig. 4.
Put the axle (17) through the support tube (15)(16).
Install a wheel (18) at each end of the axle (17).
Then x the wheel (18) with the pins (B) inserted into the positioning holes at both ends of the
axle (17).
Install the wheels (18) on both sides with the wheel cover (19).
Fig. 5.
The food plates (13) are respectively buckled on the food tray holder (12) of the support pipe
assembly (11), (15), 16.
Set the grill holder (8) with the oil collecting tray (7) into the hook (10).
Fix the grill holder (8) and the hook (10) with M6*70(C) nuts.
Fig. 6.
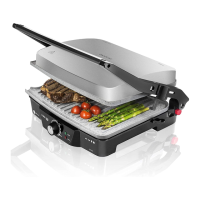
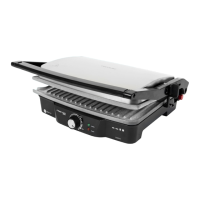
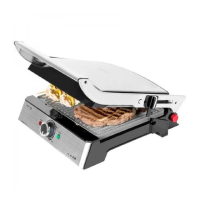
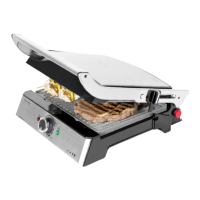
Place the grill plate (6) in the grill holder (8).
Insert the power socket (5) of the grill plate into the grill holder of the socket hole. Then, lower
the grill plate onto the grill holder.
Make sure it is cool and disconnected from the power.
Fig. 7.
The grill plate can only be used with this grill holder.
Warning: Do not unscrew these plastic feet under the grill plate. Removing the plastic feet
would reduce the gap between the grill plate and the base, which could cause the base to melt.
Use two m4x14 screws and stainless-steel at washers to screw clockwise the grill handle
and cover.
Fig. 8.
Insert the power plug into the wall socket.
Make sure the product is properly assembled before operating it.
Fig. 9.
If there is no need to use the barbecue feet, just assemble the grill plate to the grill holder and
connect the power cord.

 Loading...