Step 1: Picnic Table Assembly
Part 4
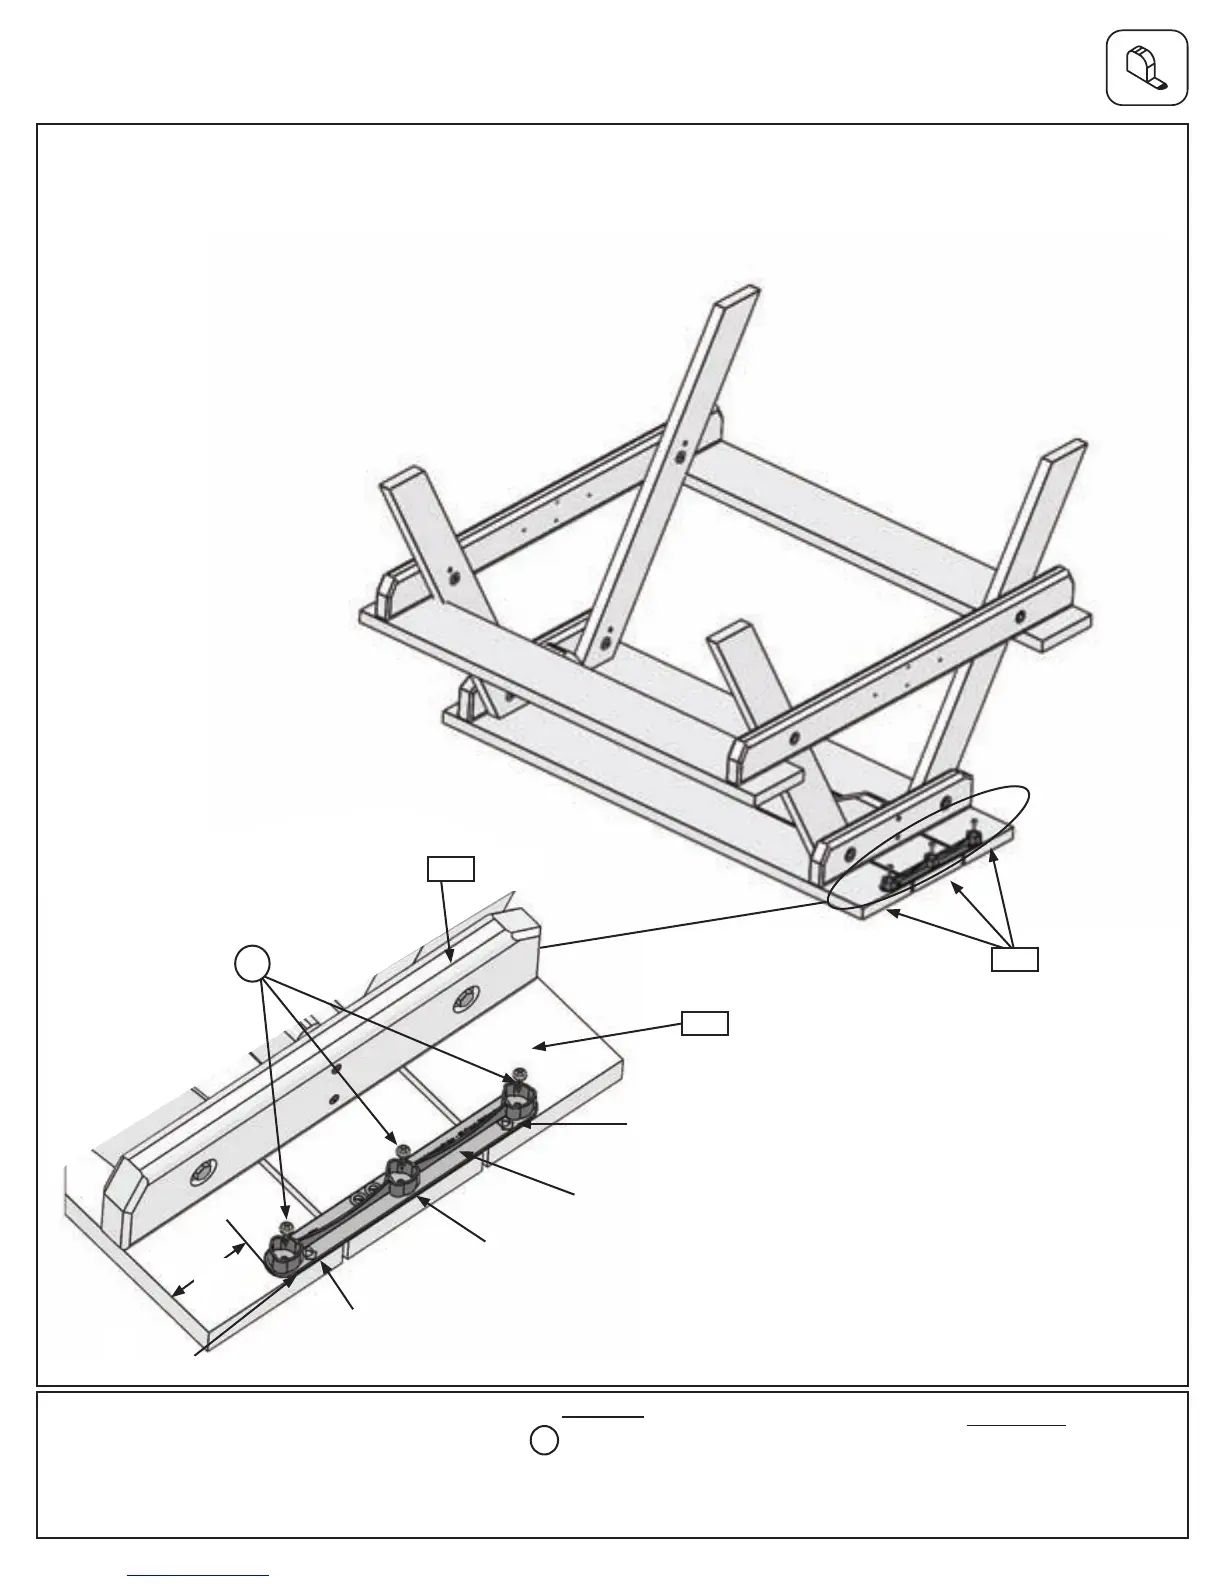
J:OntheendoftheTableAssemblythatoverhangsthe(011)SupportTablemeasure3”fromtheedgeofone
oftheoutside(015)TableTops,thenplace1TubeMountatthemarkedoutspotwiththearrowsfacingout.The
TubeMountshouldbeushtotheendsofthe(015)TableTopsandthecentreoftheTubeMountshouldalign
withthecentrescrewsin(011)SupportTable.AttachTubeMounttoeachofthe(015)TableTopswith3(S10)#8
x1”PanScrews.Donotovertightenscrews.(g.1.9and1.10)
Other Parts
1 x Tube Mount
3 x #8 x 1” Pan Screw
Hardware
011
015
NoticeArrowspointout
TubeMount
NoticeArrowspointout
NoticeTubeMountcentrealignstocentrescrew
inSupportTable.
Fig. 1.9
3”
Fig. 1.10
Flushtoboards
015
S10
S10
Note: DO NOT over
tighten screws
24 support@cedarsummitplay.com
 Loading...