Step 1: Picnic Table Assembly
Part 6
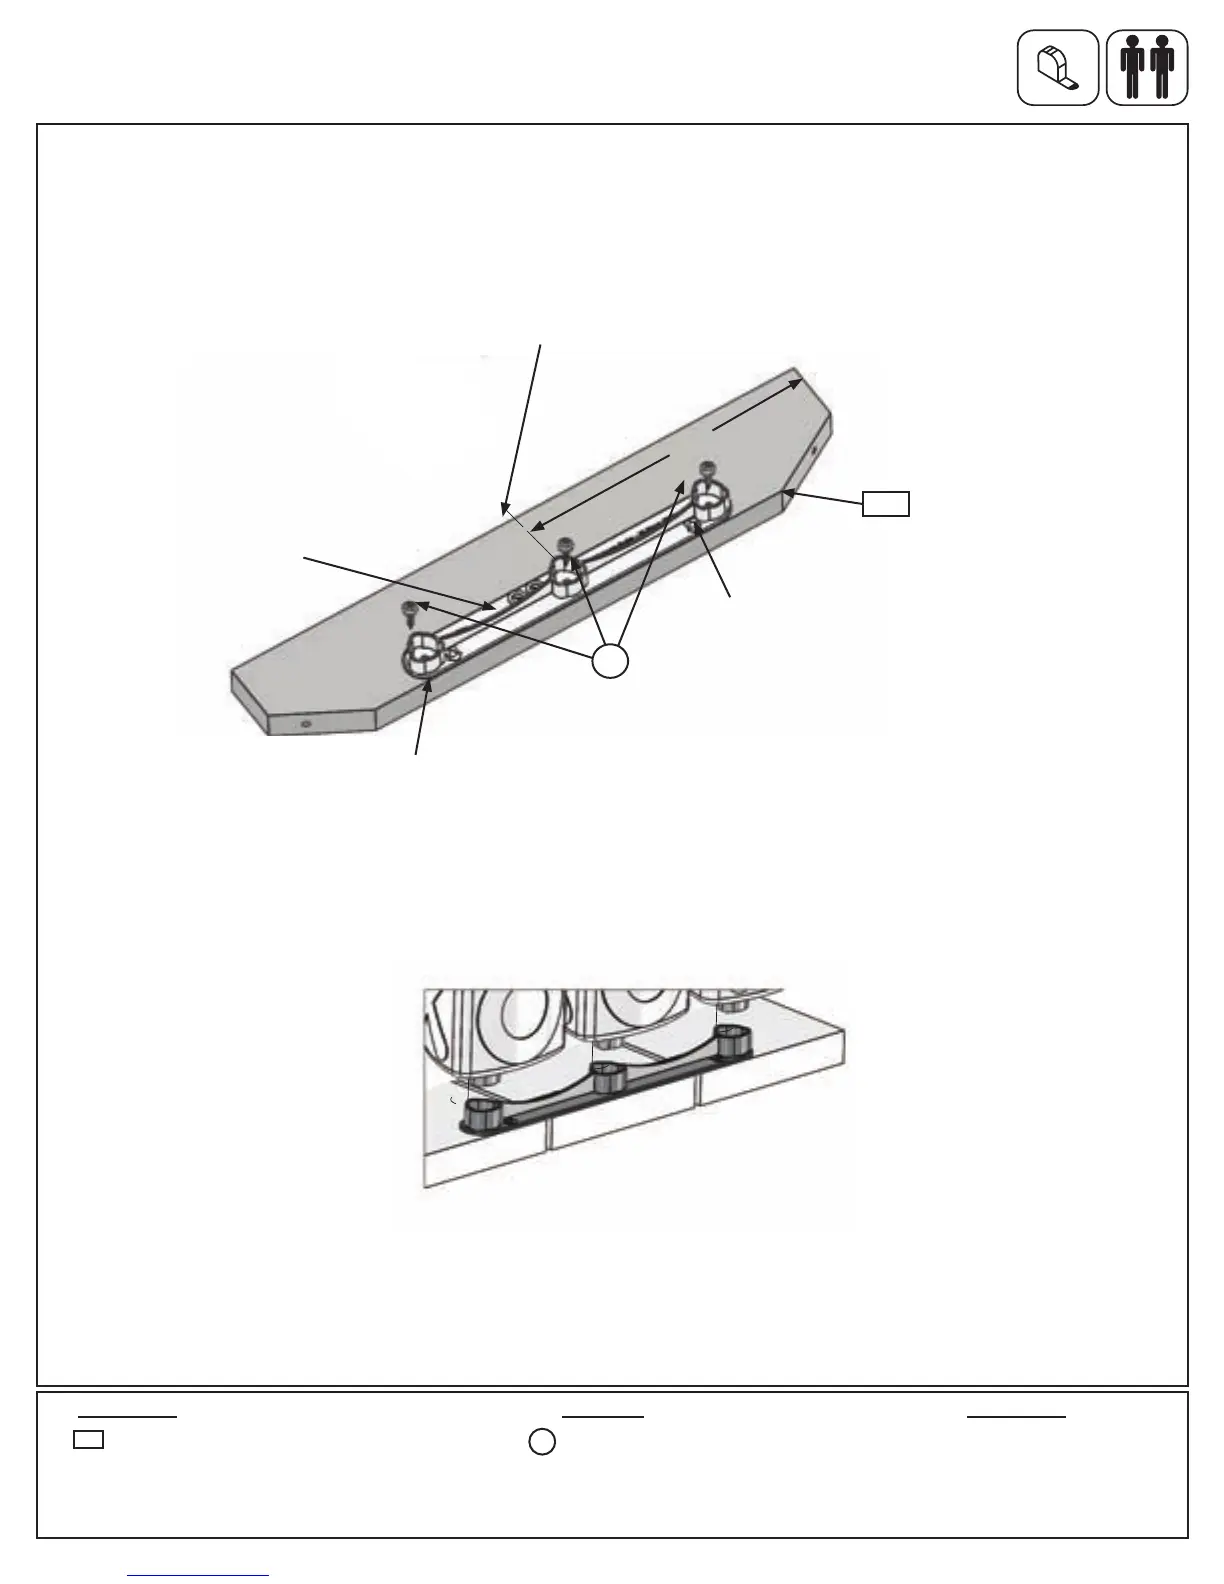
L:PlacetheotherTubeMounton(017)TTTBottom,centreshouldbe9”fromonesideasshowning.1.13.
Makesurethearrowsarefacingoutanditisushtothefrontedgeof(017)TTTBottom.Attachwith3(S10)#8x
1”PanScrews.Donotovertightenscrews.
M:PlaceeachTicTacToePostfromStep1,Part5intotheTubeMount.(g.1.14)
Other Parts
1 x Tube Mount
3 x #8 x 1” Pan Screw
Hardware
1 x TTT Bottom FSC 5/4 x 4 x 18”
017
Wood Parts
Fig. 1.14
TubeMount
S10
Noticearrow
pointsout
017
Fig. 1.13
Under Table Top View
NoticeTubeholdercentrealignstocentreofTTTBottom
9”
Flushtoedge
S10
Note: DO NOT over
tighten screws
26 support@cedarsummitplay.com
 Loading...