BIO X6 User Manual v. 1.0 27
3.5 Calibration trimming
The BIO X6 has a protocol for running an auto calibration trimming procedure. This
procedure consists of an automatic calibration followed by a manual calibration of all six
printheads. The whole process takes about 15 minutes.
Auto calibration trimming must be performed before using the system for the first time, to
ensure that the automatic calibration is correctly aligned.
1. Tap > Printing utilities > Machine Calibration > Perform auto calibration trimming
2. Attach all 6 pneumatic printheads. Use the same kind of nozzle/needle for all
printheads.
3. Attach the surface probe and the metal reflectors.
Objects left on the printbed may damage the printer. Ensure the printbed is
empty without Petri dish, well plate, glass slice, or debris.
4. Tap Start calibration to start the automatic calibration.
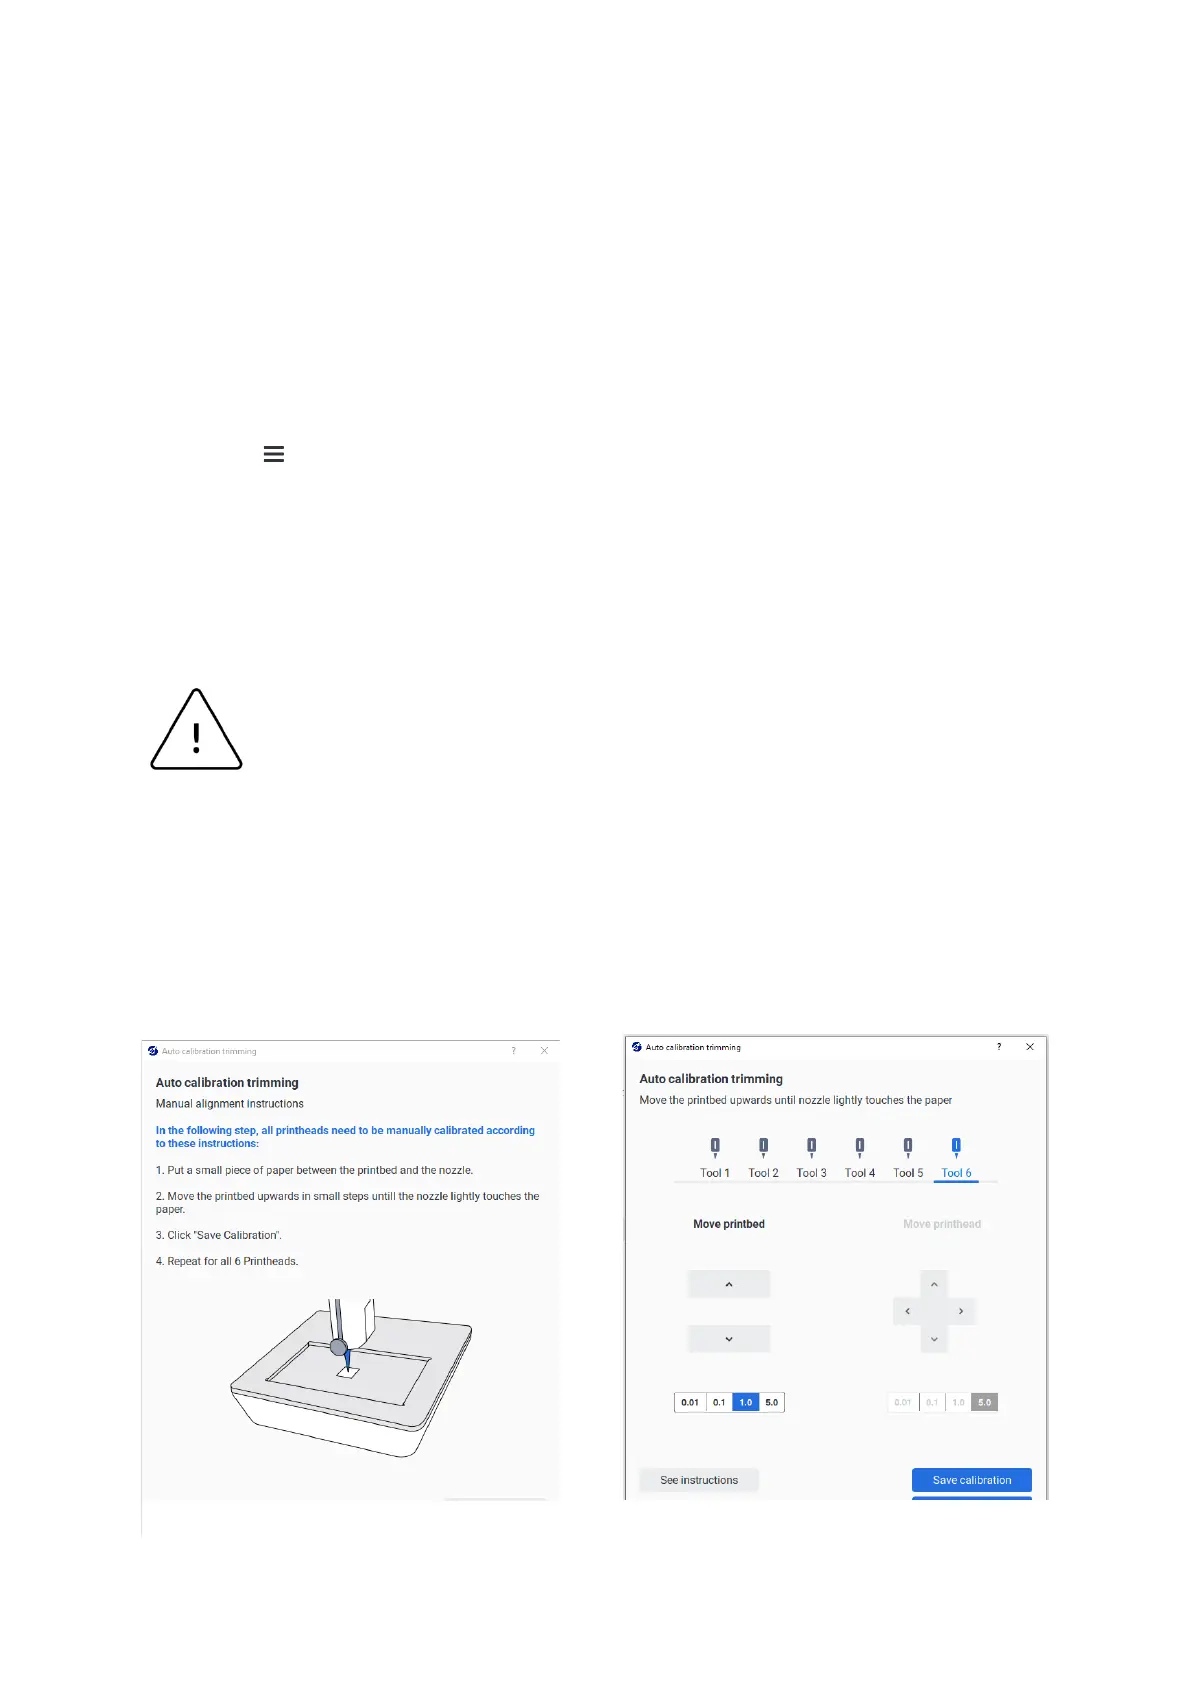
5. Tap Continue to proceed to the manual calibration of each printhead.
6. Follow the step-by-step instructions shown on the screen.
 Loading...