4
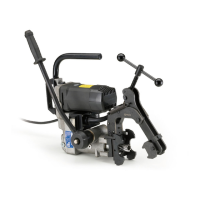
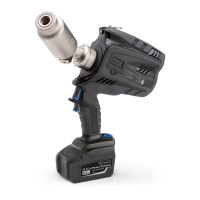
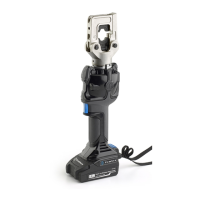
2. INSTRUCTIONS FOR USE (Ref. to Fig. 1 and 2)
2.1) Setting
With the tool is in rest position operate as follows:
– Select the appropriate die set for the connector.
– Insert the die (91) in the upper seat of the tool head until it is locked by die/head pin (34). To ease
the die insertion, keep die/head release pin (32) depressed.
– Insert the die (90) in the seat on the head of main ram (28) until it is locked by die/ram retainer
pin (39). To facilitate this operation an advancement of 15÷20 mm (0.59-0.79 in.) of the ram (28)
is suggested, then keep die/ram release pin (38) depressed.
– Insert the conductor in the connector.
– Position the connector between the dies and ensure the correct location of the crimp.
2.2) Die advancement
– Set the tool on release position by rotating main hanle (04); open the moveable handle
(56).
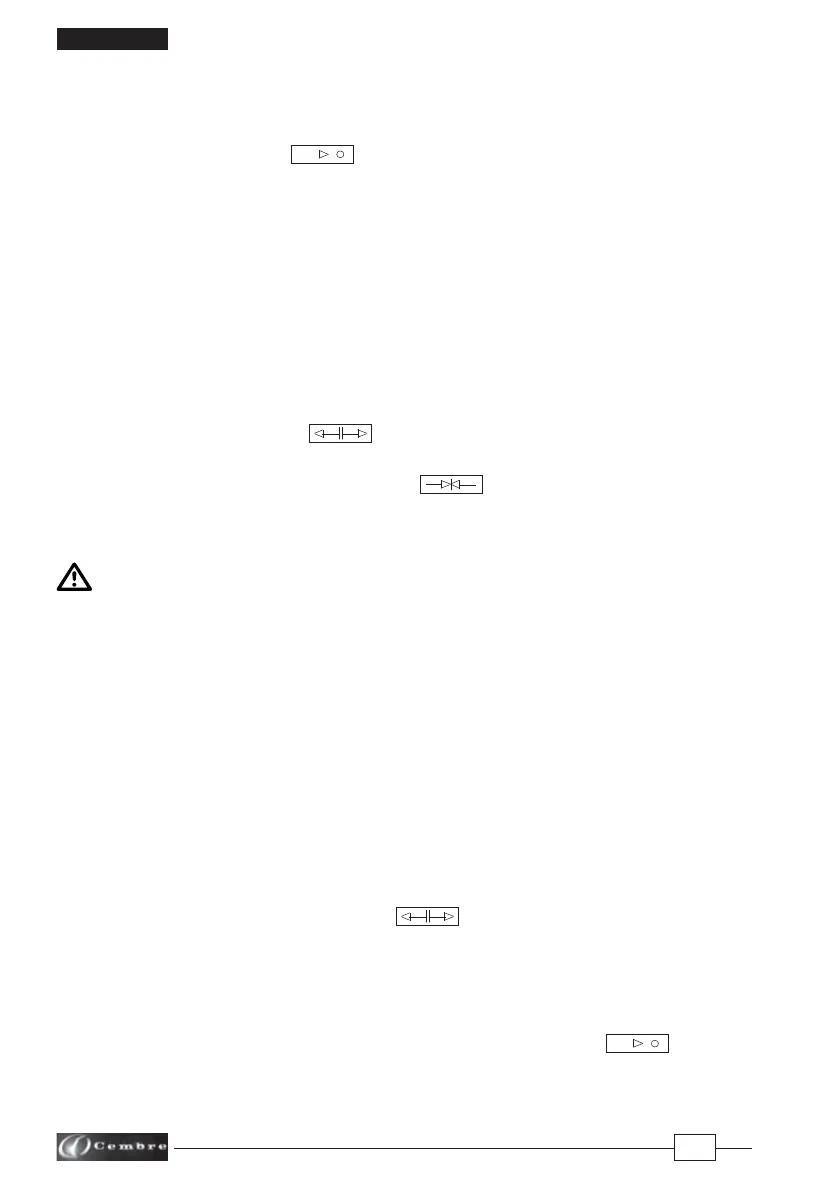
– Rotate main handle (04) to operating position .
– Operate moveable handle (56) for lower die advancement. This fi rst stage rapidly closes the dies
to the connector.
Never place the tool under pressure without inserting the dies, as this could cause damage
to the head and the ram.
Make sure the dies are exactly positioned on desired crimp point, otherwise re-open dies following
instructions as per § 2.4 and position the connector again.
2.3) Crimping
– Continue operating the moveable handle (56). The tool will automatically change over to the
high pressure stage. The ram will advance until the dies meet.
– It is recommended to continue pumping until the maximum pressure valve is activated and a
"click" is heard.
2.4) Dies re-opening
– Rotate the main handle to release position .
Close handles thoroughly: the ram will then retract, with the consequent opening of the dies.
2.5) Rest setting
– Retract thoroughly the ram, operating as per § 2.4.
– Keeping handles closed rotate further the main handle to rest position ; the moveable
handle will be thus locked.
– Store the tool in the case.
ENGLISH
LOCK
LOCK


 To Next Page