1. Solar panel & camera installation
2. Camera conguration
No light No battery or powered o
Blinking red light Not congurated
Red light No Wi-Fi connection
Solid blue light on The camera runs correctly
Green light Movement detected
1. Place the 6 provided batteries on panels batteries’ compartment.
2. For best usage, charge the solar panel during 8 hours with the provided USB power cable.
3. Screw the wall support into the panel and link panel’s cable with the camera’s one. Pay at-
tention to put it on right direction and correctly screw the waterproof cap to avoid damage by
water leakage.
4. Switch on the battery button.
5. After camera’s conguration to Wi-Fi, install the panel and camera outdoor. Ensure the solar
panel is turned correctly to the sun direction to maximize product’s eciency.
1. Plug in the camera to the solar panel, then press and hold the camera’s power key during 3
sec.
2. Connect your smartphone to the Wi-Fi network (make sure your Wi-Fi is 2,4GHz)
3. Download “My Chacon” app from the Apple Store or Android Play Store depending on your
device. This camera is also compatible with the DiO One app.
4. Launch “My Chacon” app and sign up for the rst use.
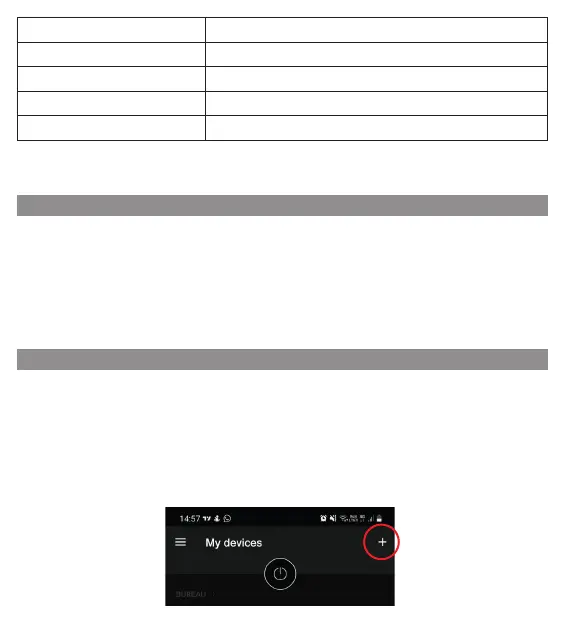
5. Tap «+» in the top right corner and select the product type you want to add from the list. Then
follow the on-screen instructions.
Notice: To reset the device, press and hold the reset button for 5 seconds.
The camera beeps when the operation is complete.