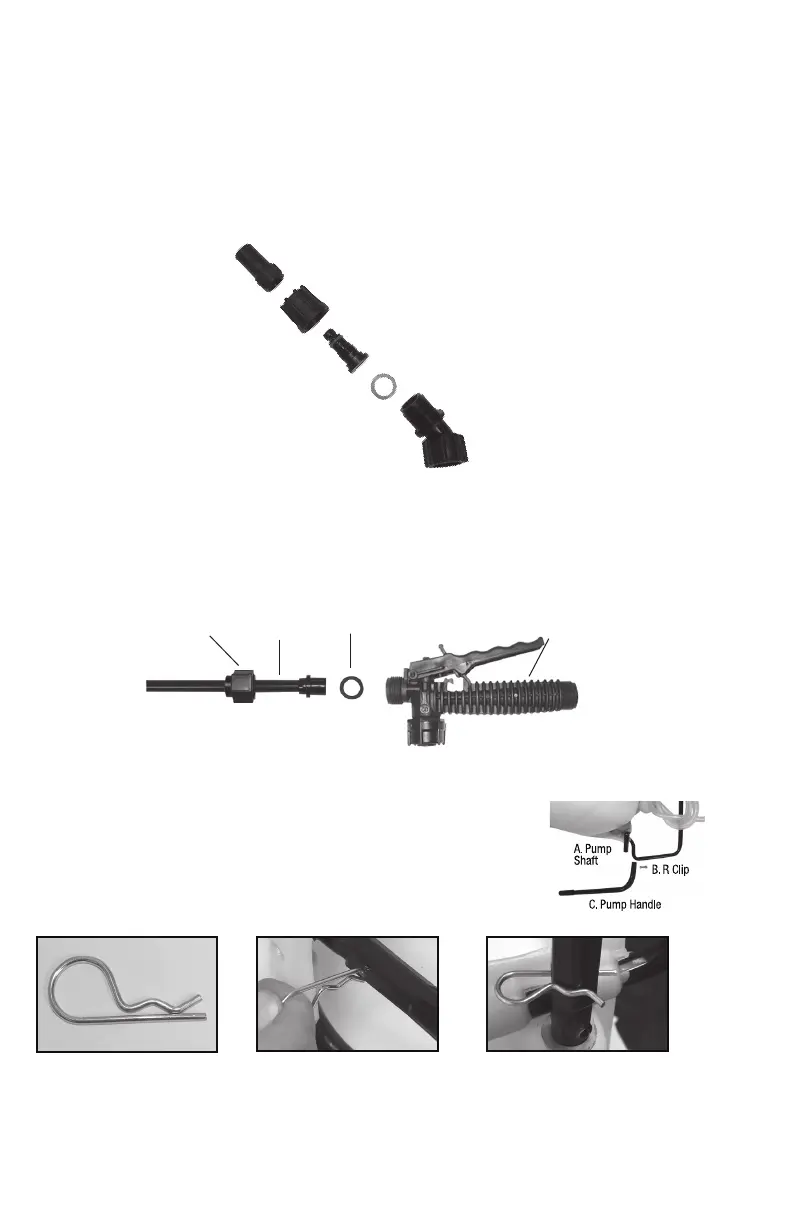
1. Poly
Nozzle Cap
2. Retaining
Nut
3. Nozzle
Body
4. Nozzle
Gasket
5. Elbow
Figure 1
2E
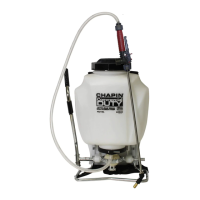
SPRAYER COMPONENTS & USE INFORMATION
NOZZLE ASSEMBLY
Figure 1
Unscrew the nozzle cap (1) from the nozzle body (3) with retaining nut (2) fastened tightly to
the elbow (5). Unscrew the retaining nut (2). Push the nozzle body (3) with the nozzle gasket
(4) out of the retaining nut (2). To reinstall the nozzle, reverse the above instructions.
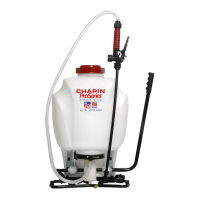
O-ring
Wand
Retaining Nut
Shut-off
Valve
WAND ASSEMBLY
1. Make sure the o-ring is installed on the end of the wand. Insert the wand into shut-off valve.
2. Turn and tighten the retaining nut clock-wise onto the shut-off valve.
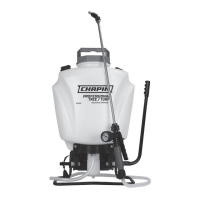
The pump handle can be mounted on either side of the pump
shaft (A). To install the pump handle place the handle (C) over
the shaft (A) aligning the pump handle hole and shaft hole. Push
the straight side of the R-clip (B) through the aligned hole as
shown in figure 1 thru 3.
INSTALLING THE PUMP HANDLE
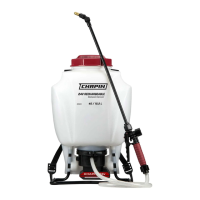
Figure 2
Line up holes
Figure 3
Slide clip through holes
Figure 1
R Clip