• Ashortpowersupplycordisprovidedwiththisappliancetoreducetheriskofsomeonebecomingentangledinortripping
over a longer cord and causing the Kettle to overturn, discharging its hot contents. While EdgeCraft does not recommend
it, extension cords are available and may be used if care is exercised in their use. If an extension cord is used, it should be
a grounded three conductor cord rated at not less than 15 amperes and match the
configuration of the plug. The longer cord should be arranged so that it will not drape over the countertop or
tabletop where it can be pulled on or tipped over by children or the infirm.
• Plugbaseunitintoathreewaygrounded110-120volt,ACoutlet.
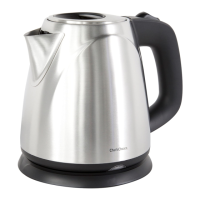
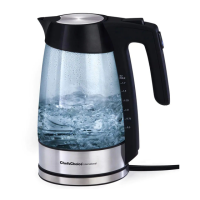
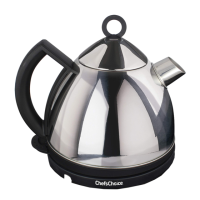
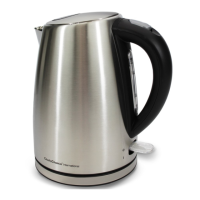
• TheKettlepowerswitch(2)has2positions-“ON”(I)and“OFF”(O).PlaceKettleonit’sbaseandpushtheswitchdownto
the “ON” position. The light (5) at the bottom of the kettle will illuminate to indicate the power is on.
• TheKettlenormallyswitchesoffautomaticallywithinabout30secondsaftertheboilingpointisreached.
• ThetimerequiredfortheKettletoautomaticallyswitchoffaftertheboilingpointisreachedwillvarydependingonthe
amount of water in the Kettle; it will switch off faster after boiling if filled to its “maximum” level than if filled to only a
minimum level.
• Ifonlywarmwaterisdesired,youcaninterrupttheheatingprocedureatanytimebysimplyliftingthekettleoffofits
power base. In order to restart the heat-
ing, place the kettle on its power base
and verify power switch (2) is in the
“ON” (|) position. The operation light will
light up indicating that the power is on.
• TheKettlecanbeliftedeasilyfromthe
base for pouring or serving. The pouring
spout has been specially designed to
easily pour even small amounts of water.
• ReplacetheKettleonthebaseunitwhen
finished pouring.
• Thepowerswitchmustbepushedto
the “ON” (|) position again if you wish to
restart the heating of the water. Always
check the water level before turning the
power switch “ON”. Make certain there
are at least three cups (0.7 liters) of water
in Kettle before turning switch “ON”. Avoid
boiling the kettle dry.
Figure 1.
7
8
9
4
5
10
1
2
6
3
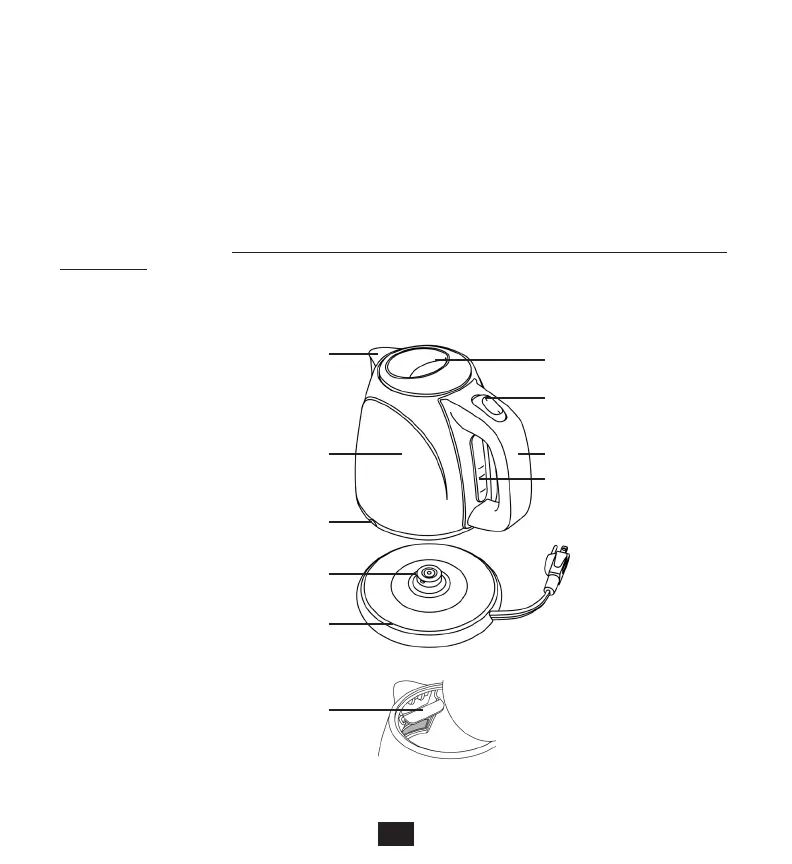
1. Lid release button
2. Power Switch
3. Water Level Gauge
4. Base Unit
5. Illuminated Operation Light
6. Handle
7. Spout
8. Stainless Steel Body
9. 360° Power Connector
10. Filter Screen
4
 Loading...