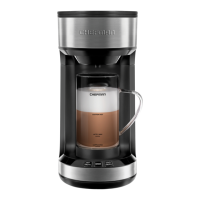
9 10
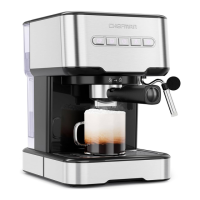
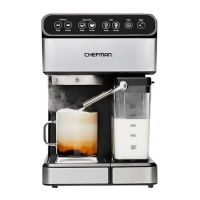
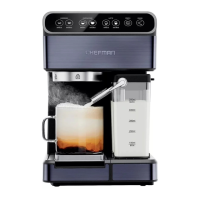
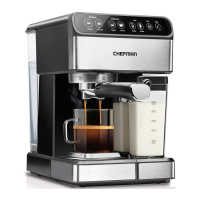
HOW TO FILL THE MILK RESERVOIR
If you plan to prepare cappuccino or latte, you will need
to ll the milk reservoir; it can be left empty or even off
the unit for espresso.
To remove the milk reservoir from the unit, tilt it up before
pulling it out. Fill it with cold milk to between the “Min”
and “Max” markings on the tank. To put the milk reservoir
back on the unit, tilt it down before sliding it rmly back
into place.
NOTE: You can use any type of milk—whole, skim, soy,
oat—to make froth.
HOW TO CHOOSE AND INSERT THE PORTAFILTER BASKET
To insert the basket into the portalter, simply drop the
basket into it.
Use the smaller basket for a single shot of espresso.
Use the larger basket for either making a larger size
drink or to have a double dose of espresso in a smaller
size drink.
DRINK SHOTS VOLUME (APPROX.)
Espresso Single 1.75 oz
Espresso Double 3.25 oz
Cappuccino Single 3.5 oz
Cappuccino Double 6.25 oz
Latte Single 5.75 oz
Latte Double 10 oz
CHOOSE THE RIGHT THE COFFEE AND GRIND
For best results, use freshly ground espresso beans as pre-ground beans lose their avor
fast. The grind should be ne, like table salt. If the grind is too ne (it will feel powdery
when rubbed between ngers), the water will not ow through even under pressure. If the
grind is too coarse, the water will ow through too fast, resulting in a weak avor. Finding
your preferred grind may take some practice.
HOW TO FILL THE WATER RESERVOIR
To ll the reservoir with water, you may either use a pitcher to ll it while on the unit or
remove it from the unit to ll it up at the sink. Open the lid and ll the reservoir with the
desired amount of cold water between the “Min” and “Max” markings on the tank. Never
use warm or hot water to ll the water reservoir. Close the water reservoir lid and place it
back in the unit, if necessary, ensuring it ts tightly in place.
OPERATING INSTRUCTIONS OPERATING INSTRUCTIONS