4
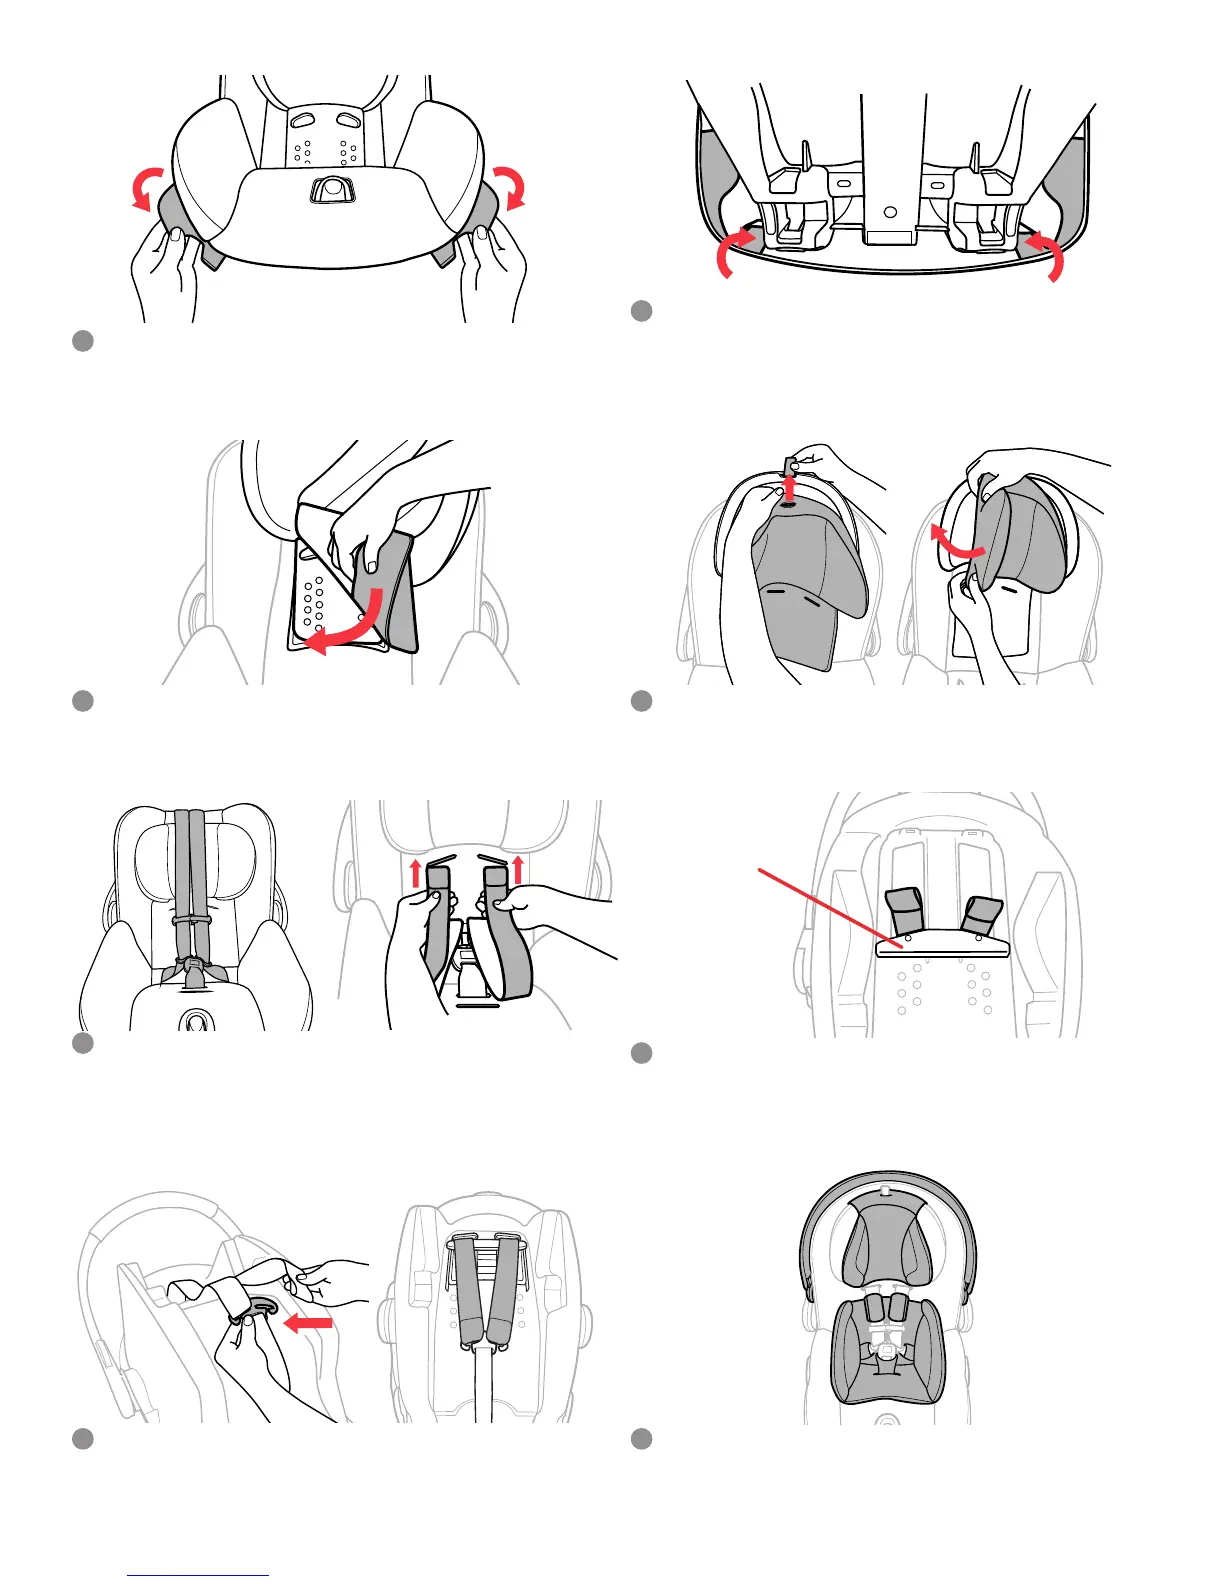
Flip the Carrier over and push both fingers of the
plastic tab into the correct slots, as shown.
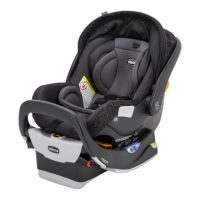
WARNING - Make sure the pad and all attachment tabs do not
interfere with the latch points on the Child Restraint.
24
HEAD REST
CROSS BAR
Fold the 2 plastic tabs under the edge of the Carrier
shell.
23
Attach the Head Rest Fabric by sliding the Adjustment
Strap through the button hole on the top of the fabric and
then wrapping the fabric around the Head Rest frame.
26
Locate the pocket on the back of the Head Rest fabric,
slide the bottom edge of the Head Rest Back Plate into the
pocket.
25
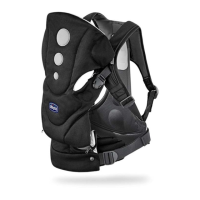
Flip the Carrier over and pull the Harness Straps
through the openings. Make sure the Harness Straps are
not twisted and above the Head Rest Cross Bar.
28
Lay Harness Straps over the seat back to make
sure the Harness Straps are NOT twisted and oriented as
shown. With the Head Rest in the lowest position, thread
Harness Strap ends into the openings on the Head Rest
Back Plate.
27
Re-attach the Shoulder Pads and Crotch Strap Pad.
Re-attach the Head Rest Insert, Newborn Positioner and
Canopy, if needed.
Refer to User Guide if needed.
30
Attach BOTH Harness Straps to the Splitter Plate.
WARNING - Make sure Harness Straps are not twisted and
both Harness Straps are securely attached to splitter plate.
29