11
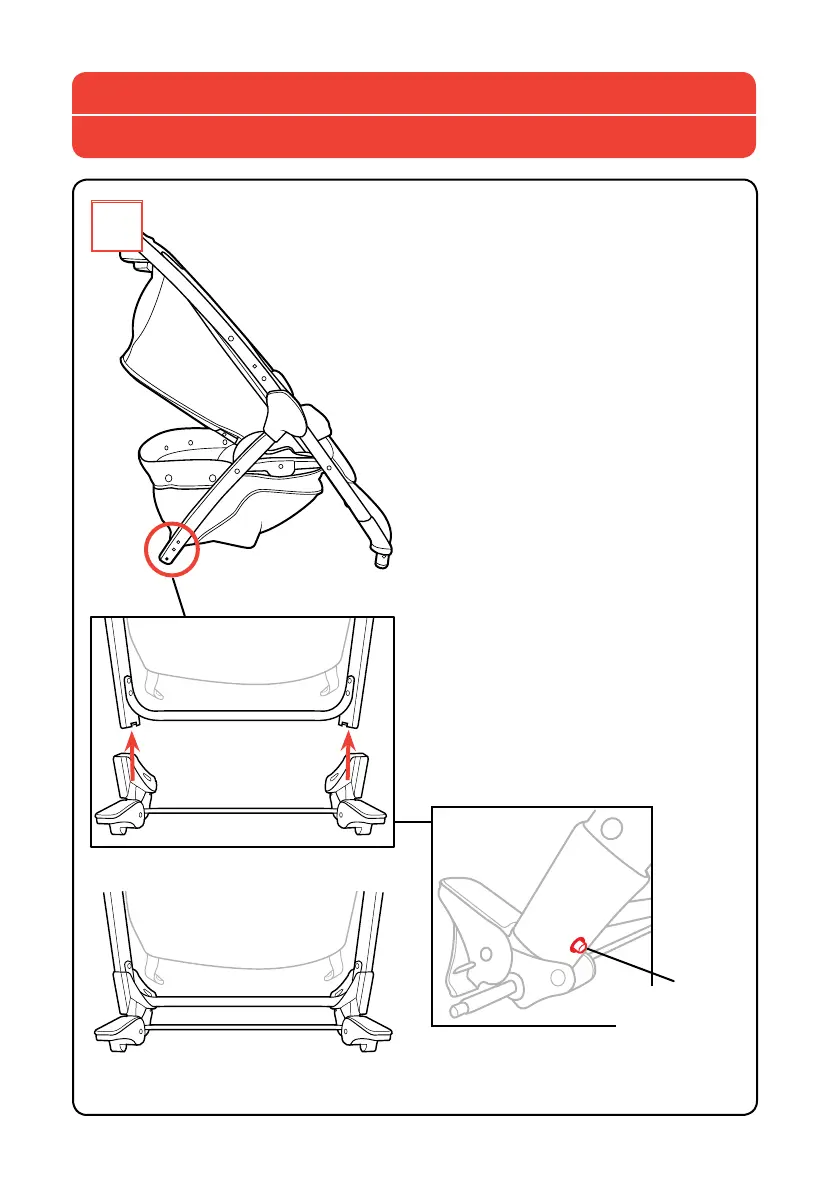
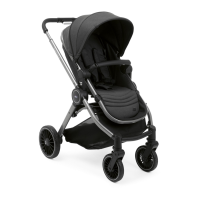
2.Removeanddiscardredplastic
endcapsontheRearAxle(D).Attach
theRearAxletotheStrollerFrame
asshown.TheRearAxleisattached
whenthesnapbuttonsclickintothe
holesontheRearAxlemount.
2.Retirerlescapuchonsrouges
enplastiquedel’essieuarrière(D)
etlesjeterimmédiatement.Fixer
l’essieuarrièreaucadredela
poussettecommecelaestillustré.
L’essieuarrièreestxélorsqueles
goupilless’insèrentavecundéclic
danslestrousdel’essieu.
Snap Button
Goupille
“CLICK!”
« CLIC! »
How to Assemble Stroller
Assemblage de la poussette
2