Great job! You successfully soldered your first component! We have many more
things to solder ahead of us, so we better hop to the next component.
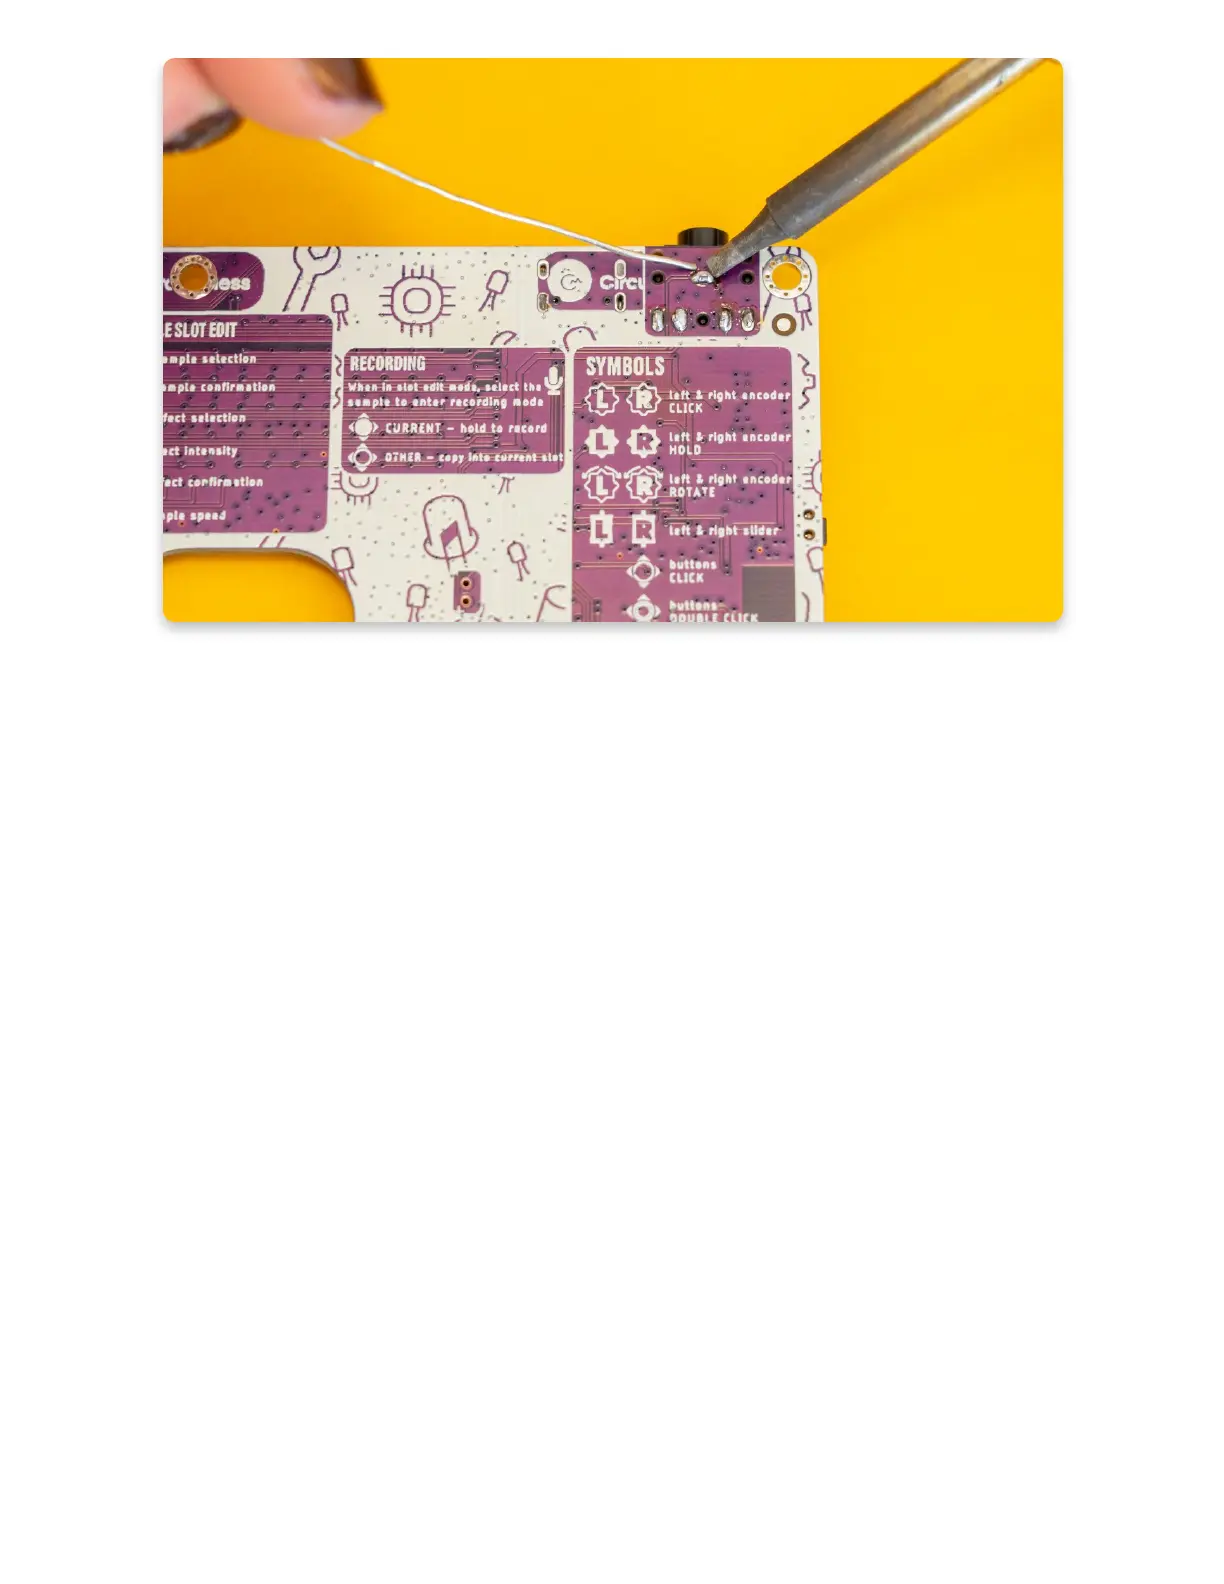
Part two - the speaker connector
The next thing we'll solder is the speaker connector. That is the little white thingy
you got in one of the plastic bags.
You need to put the speaker connector here:
Take your soldering iron, turn over the PCB and start soldering.
Beware not to solder the chip near the pins on the front side.
Part three - pushbuttons
Now is the time to solder thepushbuttons!
Buttons are the most commonly used input, and there are a total of 5 of them.
The buttons consist of two parts -the mechanical button parts and the button
caps. Buttons can work even without the caps, but pressing them with the caps on
feels way nicer, and they look a lot cooler.