As you can see, there are white stickers under each of the rubber feet. You'll have to
remove the sticker before putting them on the casing.
Stick the sticky side of the rubber feet to the bottom of the device.
This is what Synthia should look like after sticking the rubber feet!
What's next?
What's next?
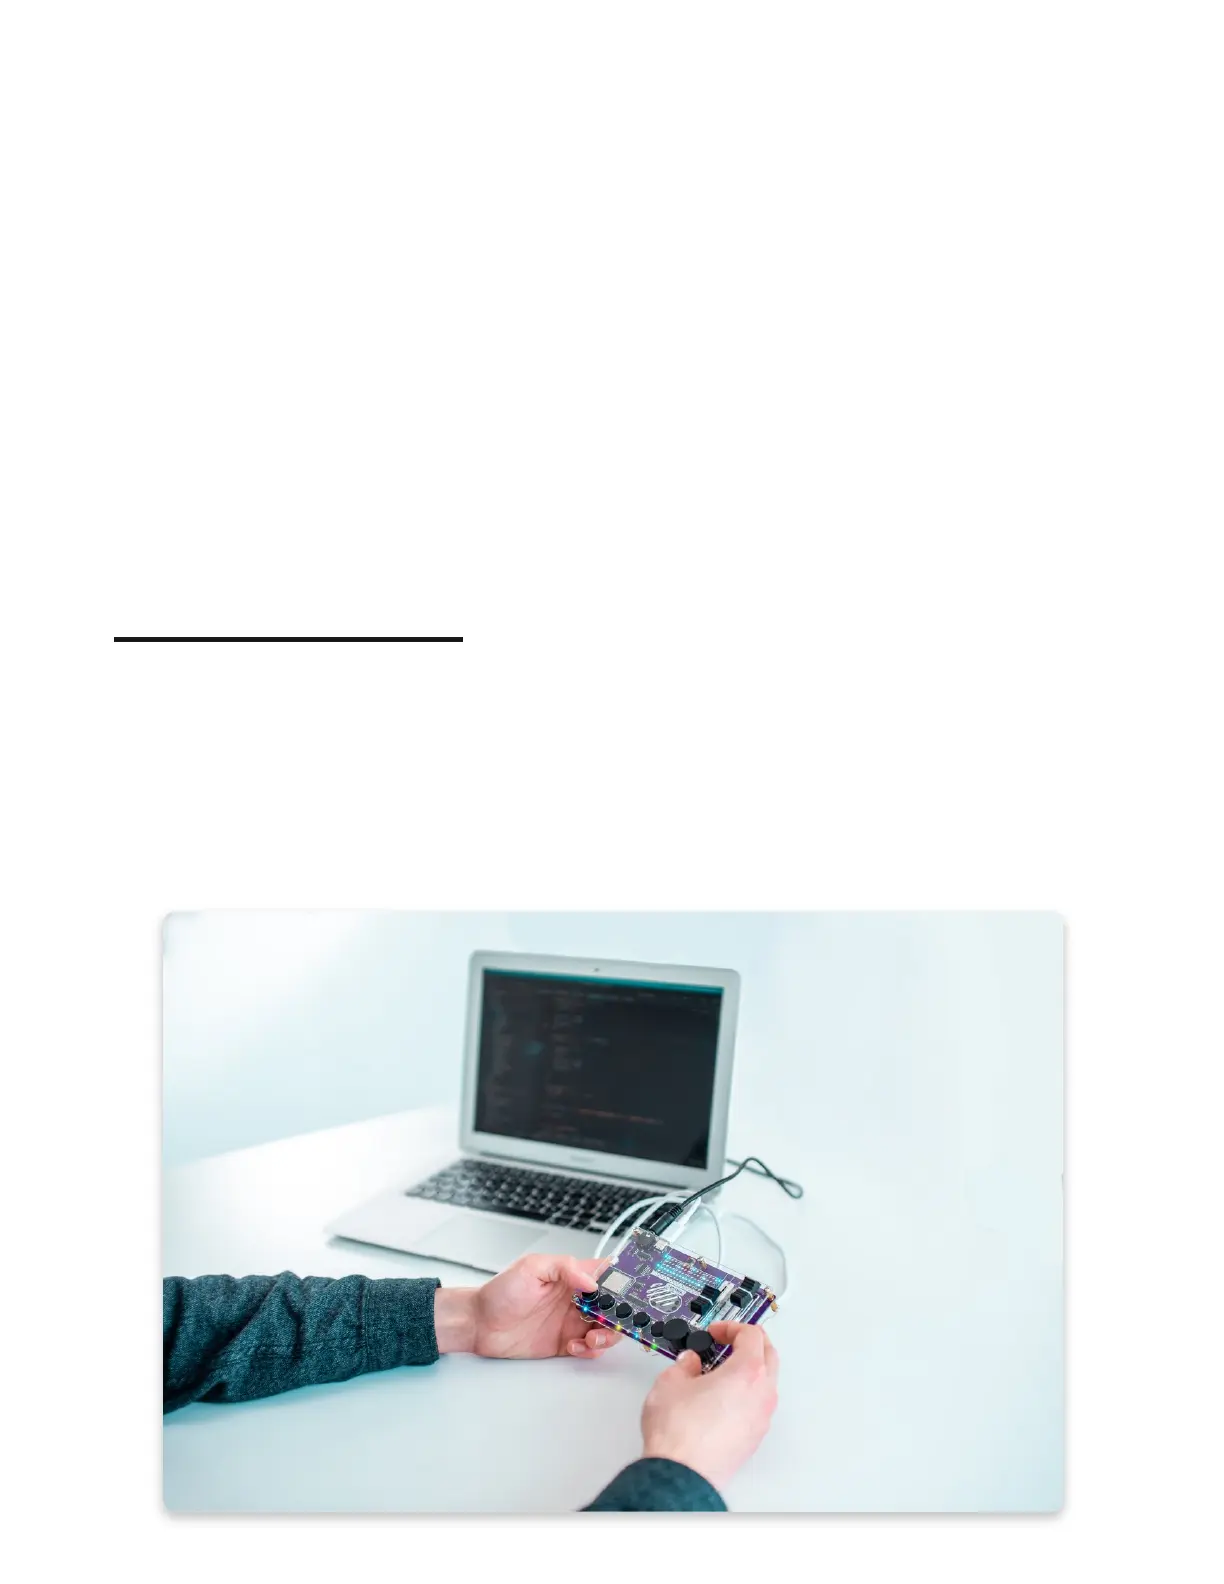
Congratulations! You successfully assembled a DIY digital music sampler, Synthia.
The next thing you'll have to check is how to use it, what amazing features we
prepared for your, and how to code it!
We are currently in the process of creating both usage and coding guides, so we'll
have to ask you for a bit more patience.